Legacy Cloud SOAR Main Menu
This article only applies to organizations having a legacy Cloud SOAR instance URL matching the pattern *.soar.sumologic.com. If it doesn't, refer to Cloud SOAR Overview for documentation of our latest Cloud SOAR SaaS version.
Dashboards
KPI Reports
Besides exporting dashboard statistics, users can also build KPI reports. To create a KPI report, click KPI Reports at the top of the screen next to the Export functionality. A new configuration box will be displayed.
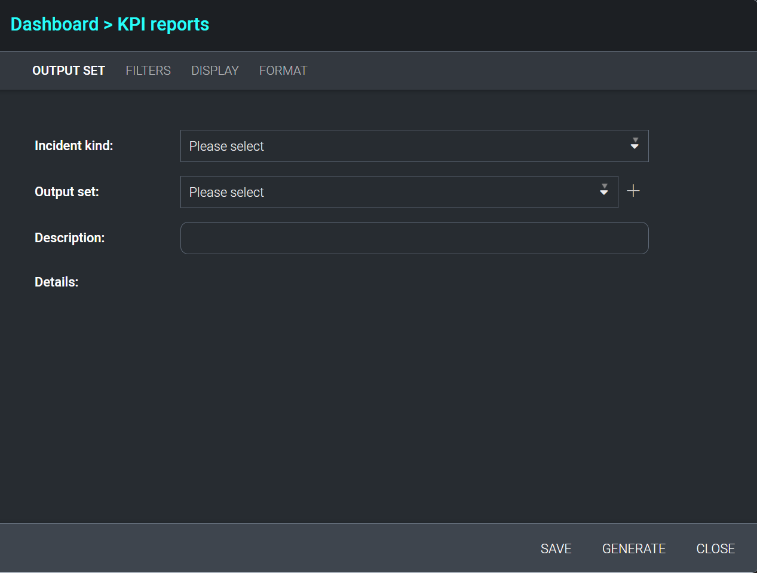
The Output Set tab allows users to select the incident kind they wish to run the KPI report for. The Output Set and Description fields allow the user to set these values for KPI reports they wish to save and generate again in the future.
The Filters tab allows users to filter the data which will be included in the KPI report by any number of incident attributes.
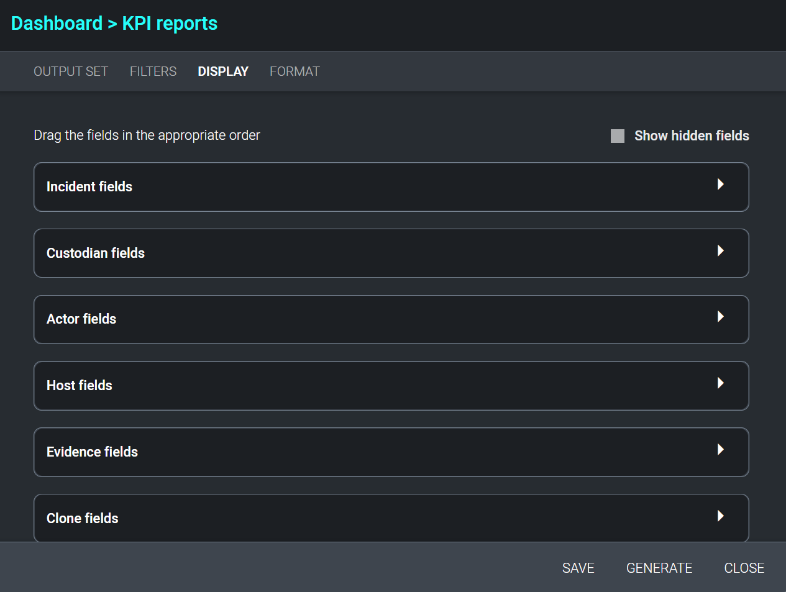
The Display tab allows users to select which fields will be shown in the KPI report. To include a field in the KPI report, check the checkbox next to the field name to be included. Field order can be changed by clicking on the six dots to the far left of the field name and dragging the field name up or down.
The Format tab allows users to select various formatting options, such as the sorting order and the file format (including PDF, PDF encrypted with an encryption key file, and Excel). Reports can also be scheduled to automatically run at a defined interval from this section.
Once the report is built, click Generate to run the report or Save to create the KPI report template.
KPI Output Sets can also be generated using the Cloud SOAR API. Please see the API manual for additional details.
Entities
Activity Log
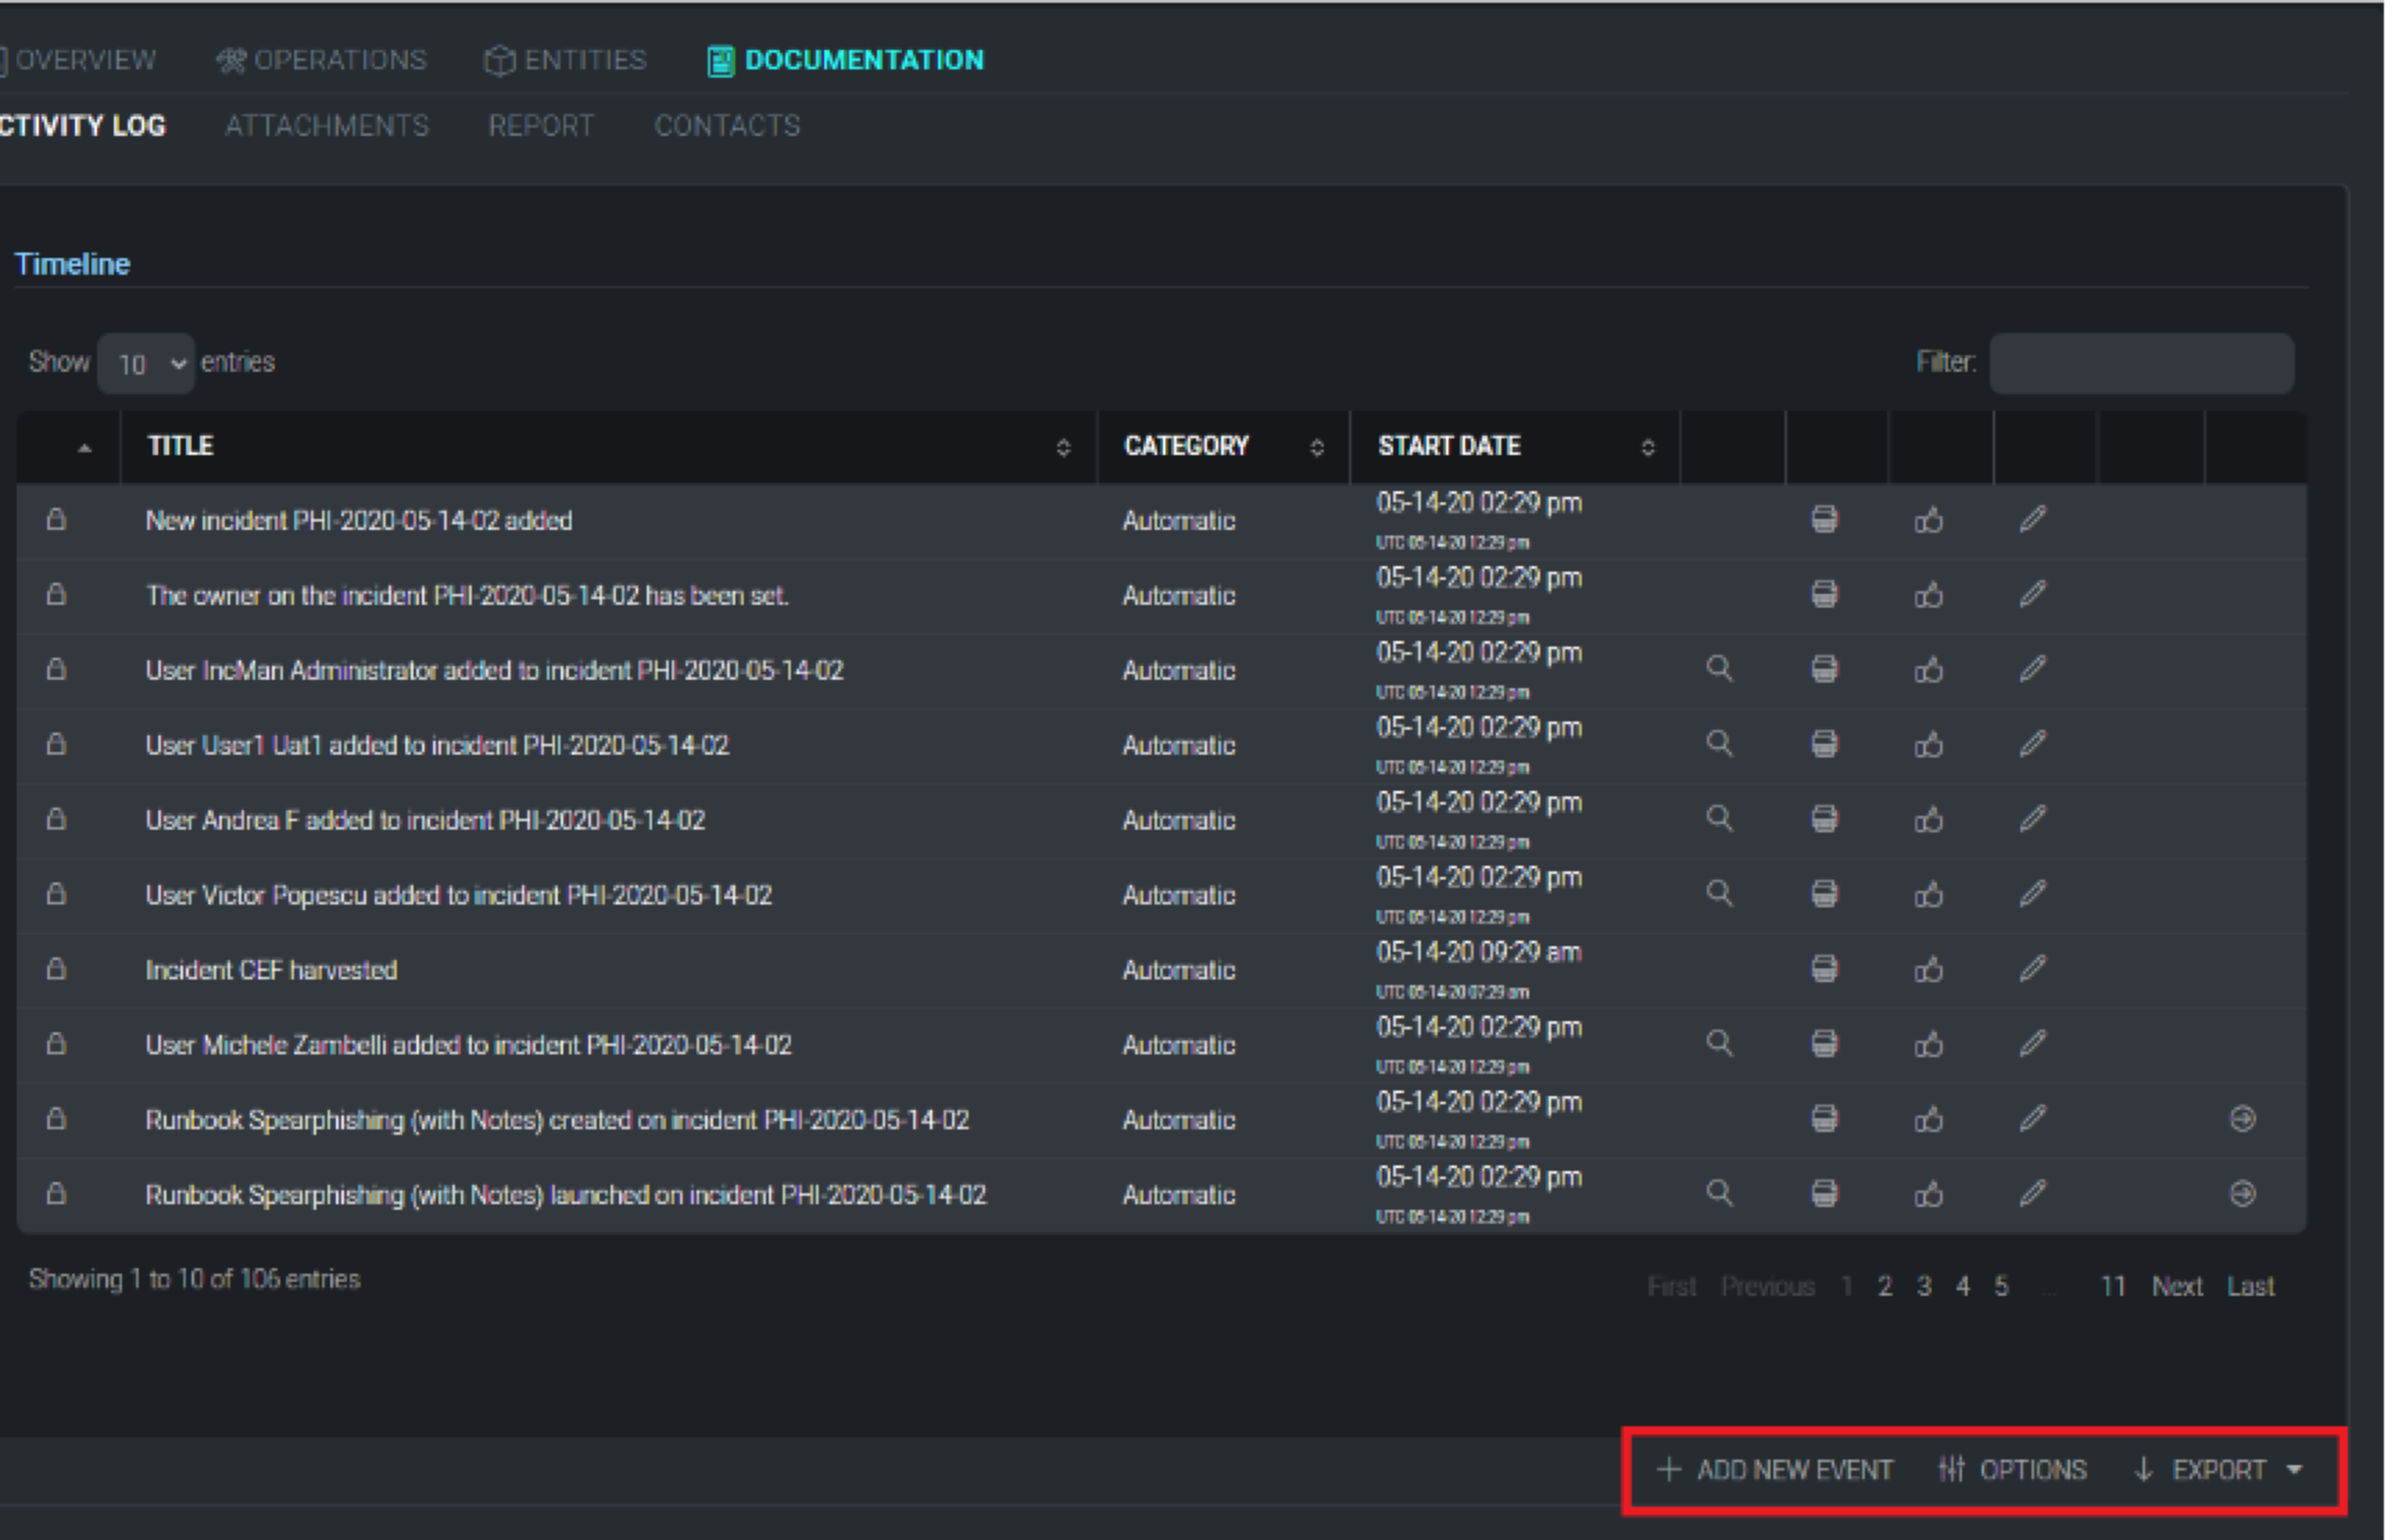
Cloud SOAR records a detailed audit log of all activity that is performed during an incident. A timeline of incident activity can be viewed in the incident Timeline section. Each incident has its own timeline and the events are classified under two categories: automatic if generated automatically by the system, or manual when created by the user.
To manually create a new timeline event, click +Add New Event from the top of the timeline screen.
A new configuration box will be displayed. Title the event and choose what category the event falls into. (Please note, these categories can be edited under the Custom Fields section). Add any additional information necessary and associate an existing knowledge base article where applicable.
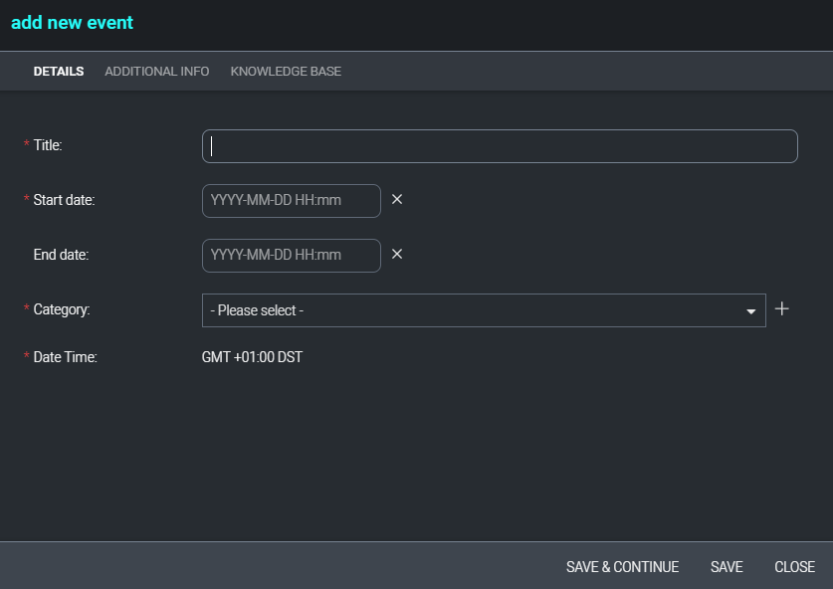
Once the event is created, users will see an additional list of options to the right of the event, they are as follows:
- Use event data in reports
- Mark event has irrelevant
- Edit the event
- Export event details
Final Incident Reports
The Final Incident Report section allows users to upload a pre-configured basedoc to be used for final incident reports. Users can choose to use an existing basedoc or upload a new one by selecting from the basedoc selections at the bottom of the screen.
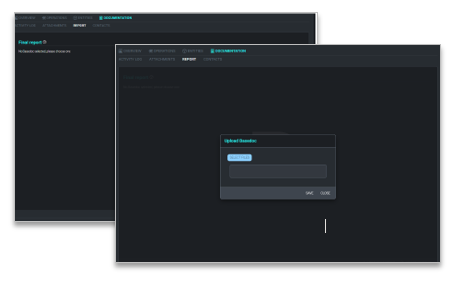
To add a new basedoc, click Upload Basedoc and select the template to use and click Save. Once the document has been uploaded users can choose which sections or tags to use in the report. These tags act as placeholders which will be filled in with the incident's details each time an incident report is executed.
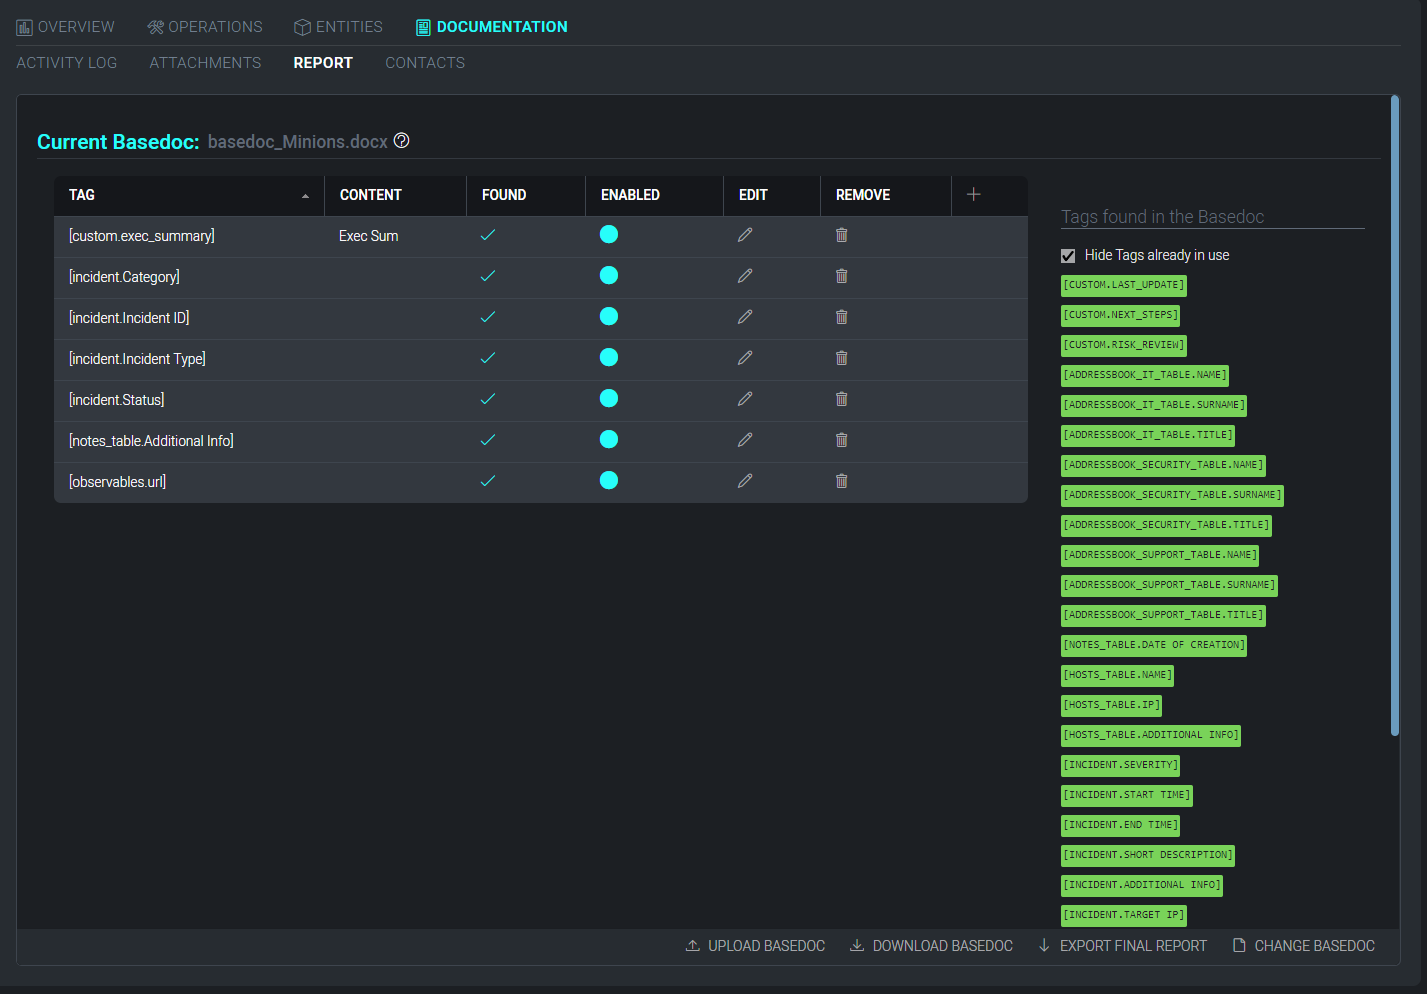
To add tags to the incident report, double click the tag from the right-side of the screen and it will be added to the tagging section for configuration. Once the tag is added, users can either edit the tag or remove unnecessary ones before executing the final report. Once finished, click Export Final Report at the bottom of the screen.
Custom Reports
Custom report templates can be defined by navigating to Configurations > Customizations > Report Template. The left pane of the Report Template screen contains a list of all current report templates. To add a new report template, click on the + icon above the report template list.
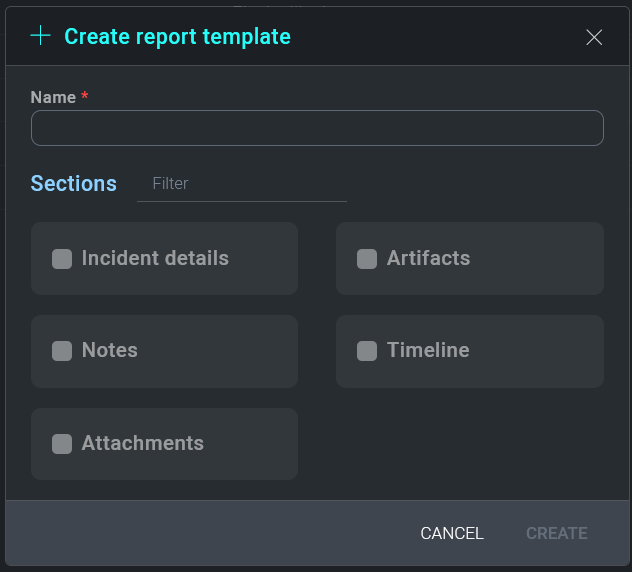
The Details tab of the new report template window allows the user to specify a unique name for the template as well as a template category and any appropriate tags.
The Sections tab of the new report template window allows users to drag and drop sections of the incident in to the report template. All incident sections are listed in the left-hand pane. Dragging incident sections to the right-hand pane will add the section to the report template. Sections will be printed in the report in the order they appear in the right-hand pane.
Once a report template has been defined, it can be generated by selecting Custom Report from the Export menu. Users may add a password or watermark to the custom report, which may be generated in PDF or Word Document format.