Integrate Sumo Logic with Bitium
Availability
| Account Type | Account Level |
|---|---|
| Cloud Flex | Trial, Enterprise |
| Credits | Trial, Essentials, Enterprise Operations, Enterprise Security, Enterprise Suite |
Bitium is a cloud-based identity management provider that can be integrated with Sumo Logic’s SAML 2.0 API to allow users to sign in to Sumo Logic using their Single Sign-On (SSO) credentials.SAML 2.0 API to allow users to Sign in to Sumo Logic using their Single Sign-On (SSO) credentials.
You can sign up for a free Bitium Trial account on the Bitum site.
Create a Bitium SSO app to connect to Sumo Logic
- Sign into Bitium.
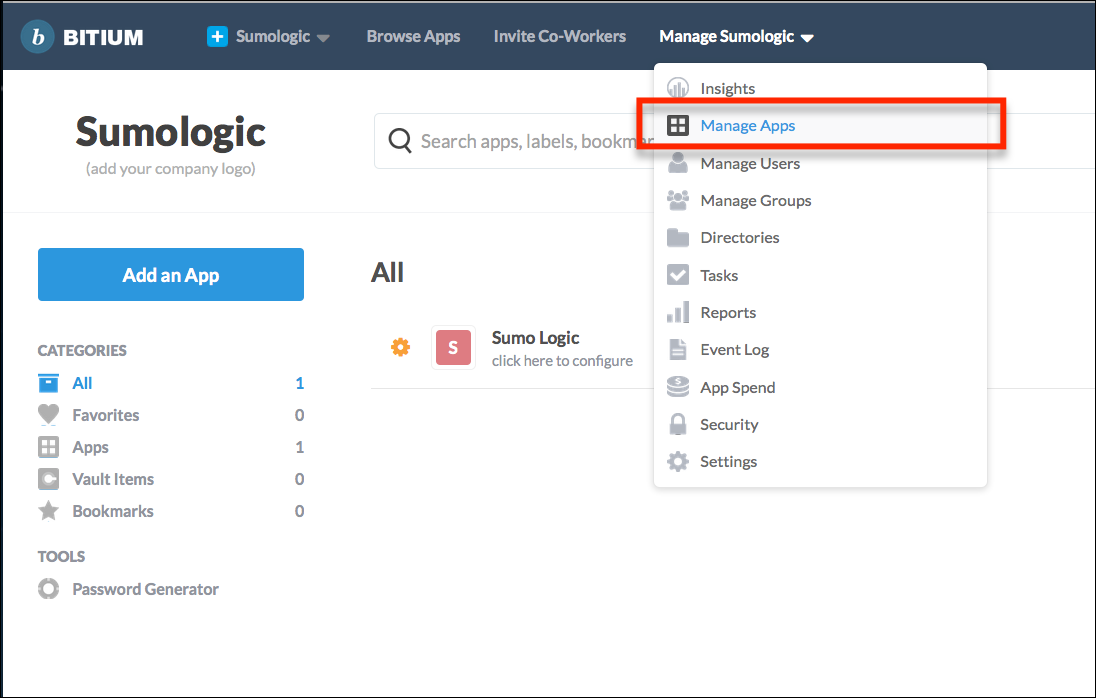
- From the Bitium menu, select Manage, and then select Manage Apps.
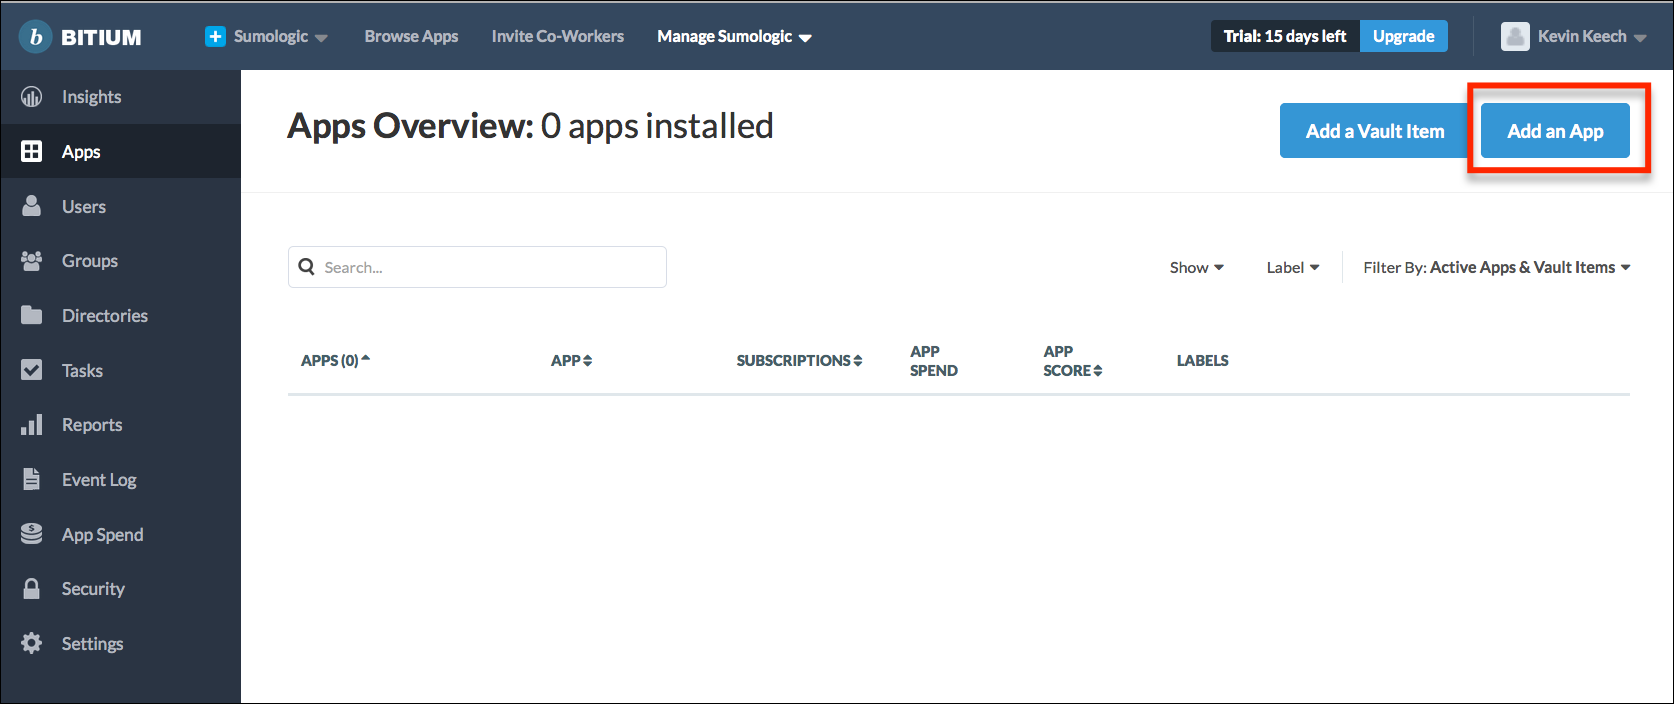
- On the Apps page, select Add an App.
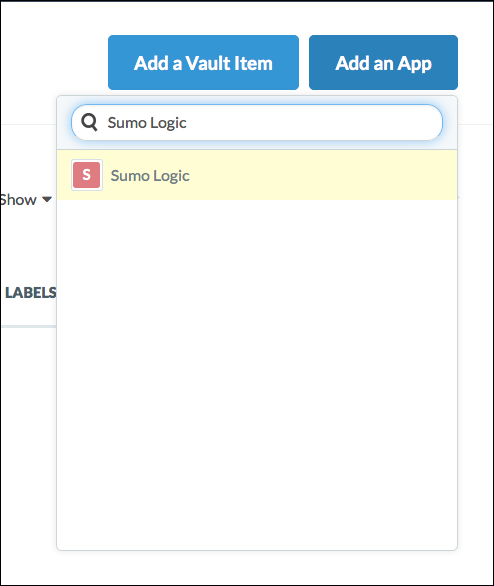
- Search for Sumo Logic to locate the Sumo Logic App for Bitium.
- On the App Install page, select Individual Account. Then under Single Sign-On, select SAML Authentication.
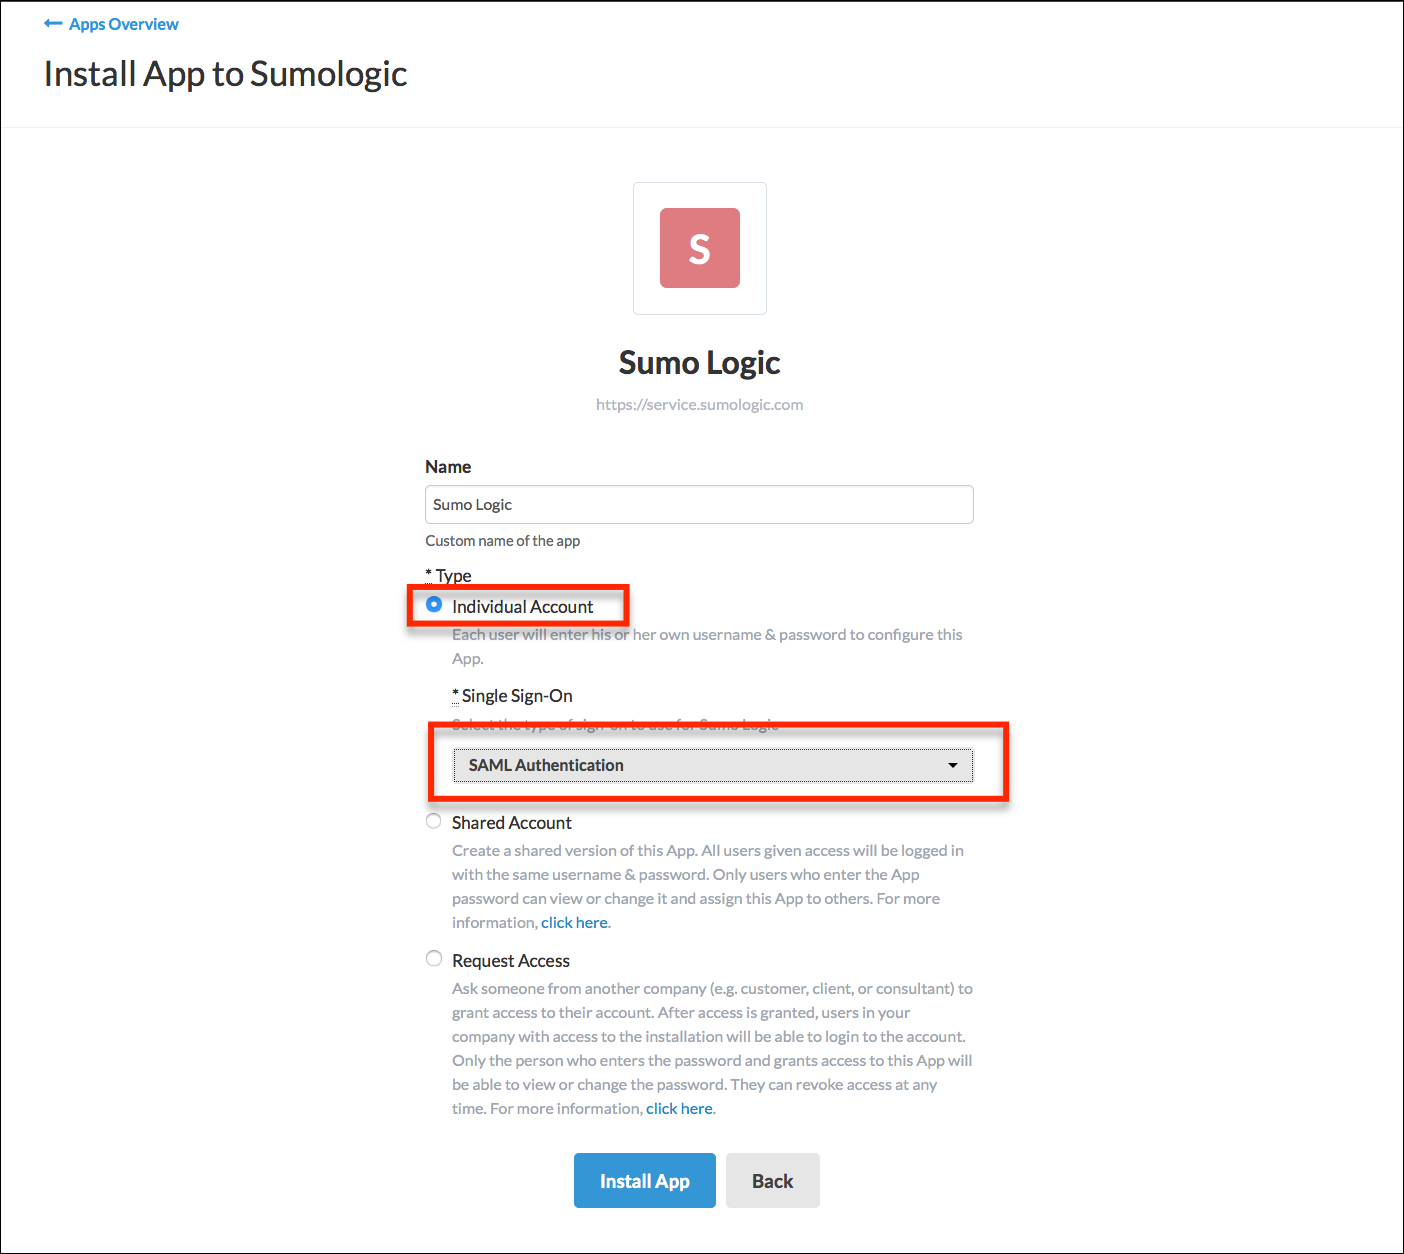
- Click Install App to move on to the next step.
- On the Install Success page, click Configure Single Sign-On.
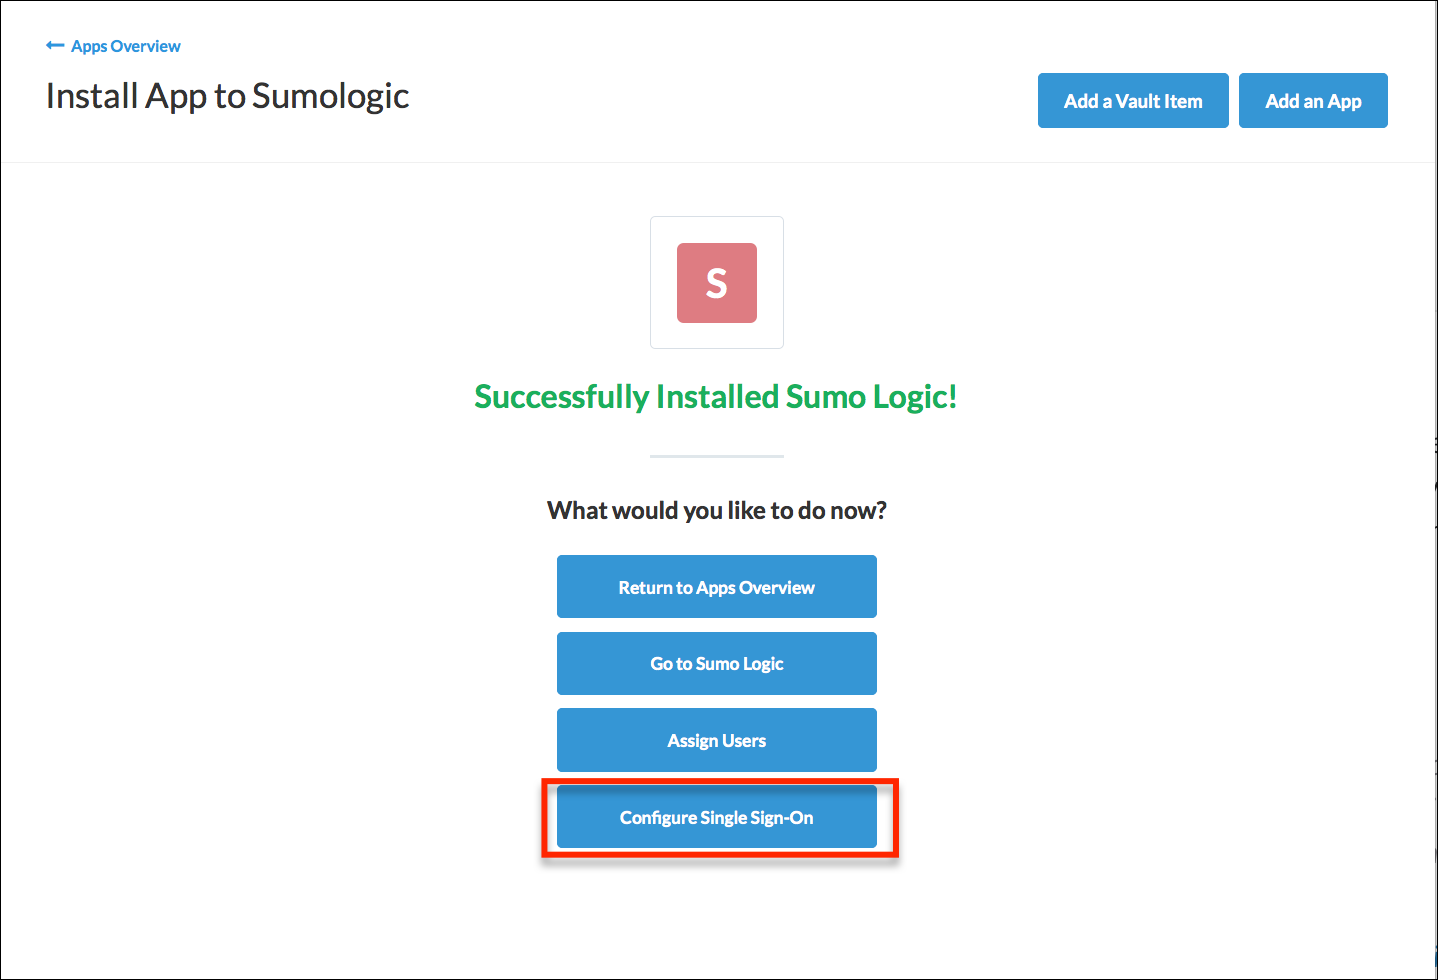
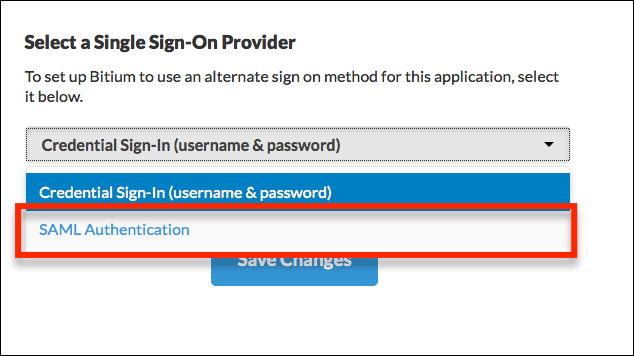
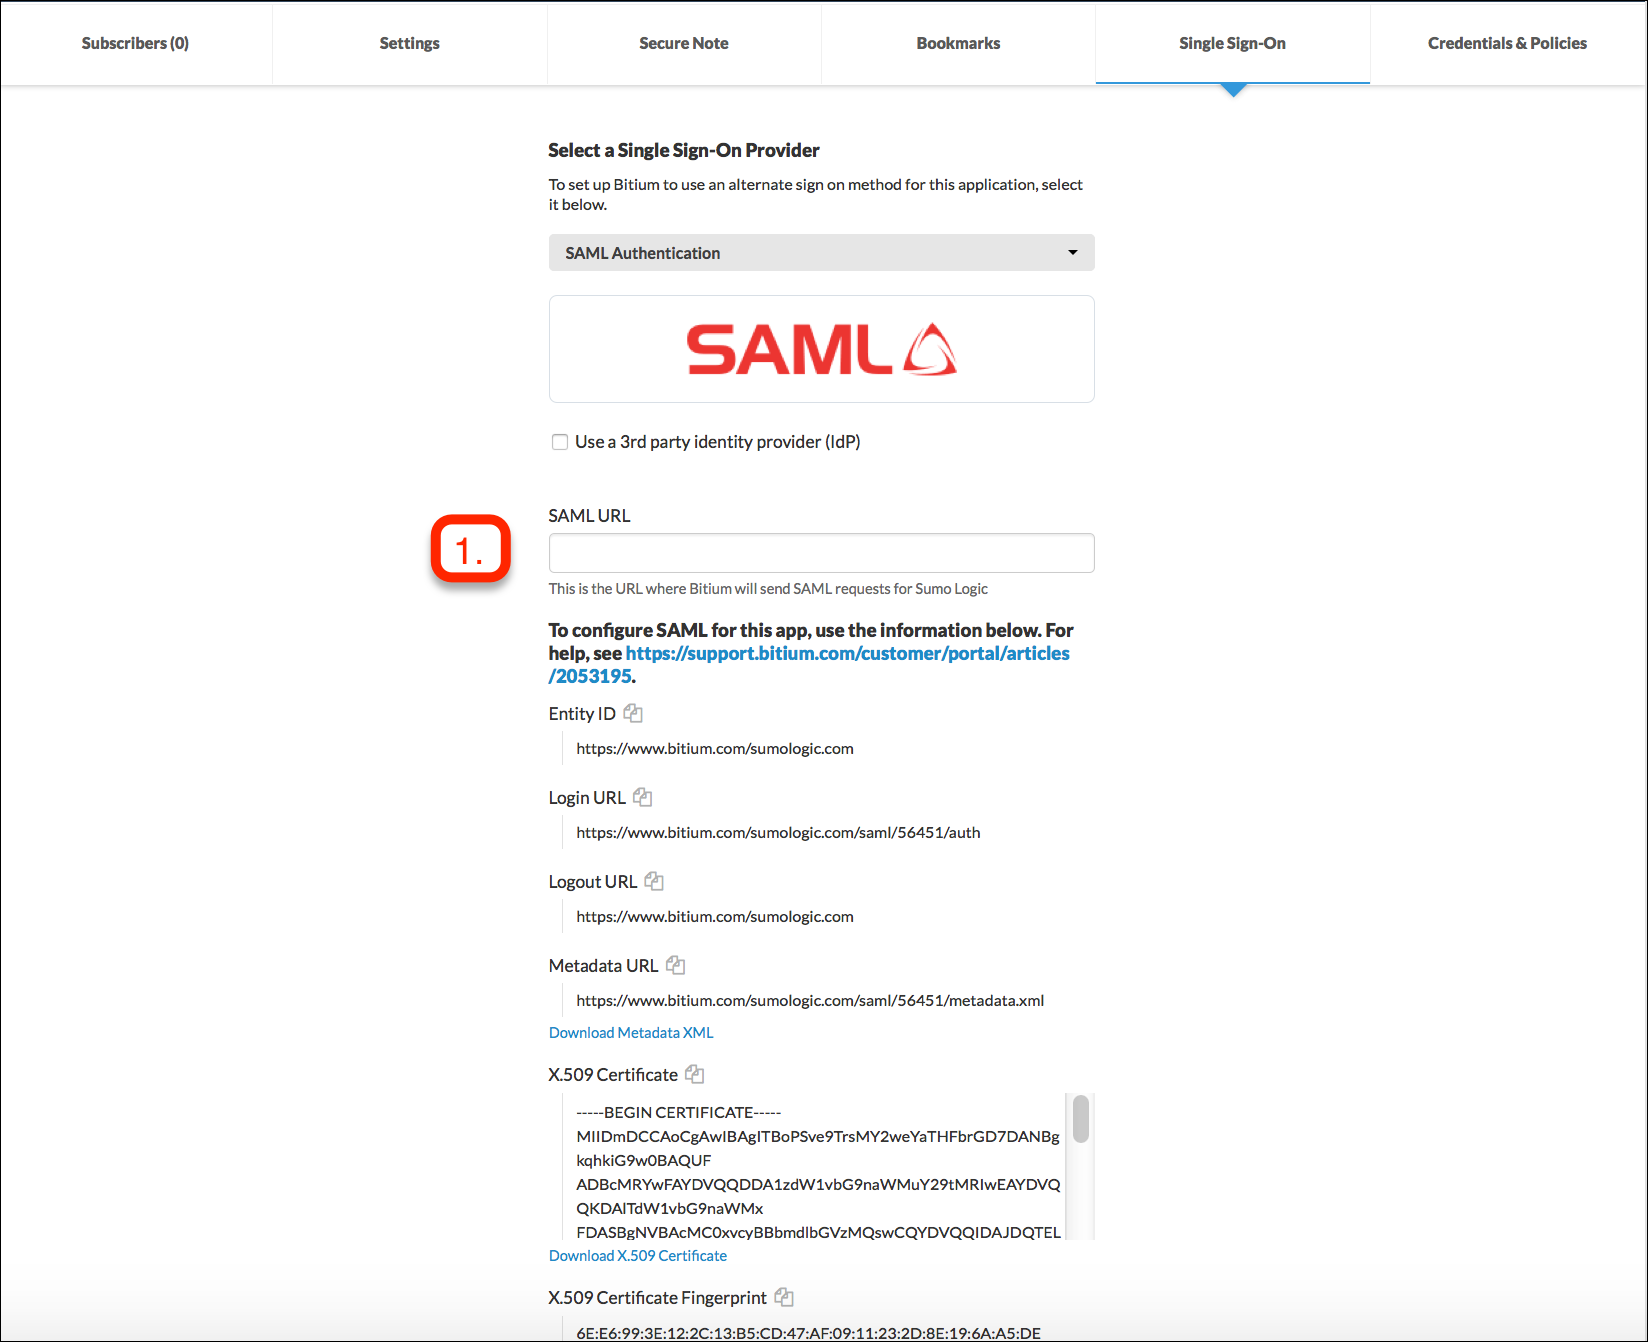
- For Single Sign-On Provider, select SAML Authentication.
- The SAML configuration details for the App are displayed. For the Sumo Logic configuration, use the following parameters from this page:
- EntityID
- Login URL
- LogOut URL
- X.509 Certificate
- Keep this page open to use these parameters in the next step, Configure SAML in Sumo Logic.
Configure SAML in Sumo Logic
- Log into Sumo Logic as an administrator.
- Classic UI. In the main Sumo Logic menu, select Administration > Security > SAML.
New UI. In the top menu select Administration, and then under Account Security Settings select SAML. You can also click the Go To... menu at the top of the screen and select SAML. - Click Configure, and configure the SAML settings.
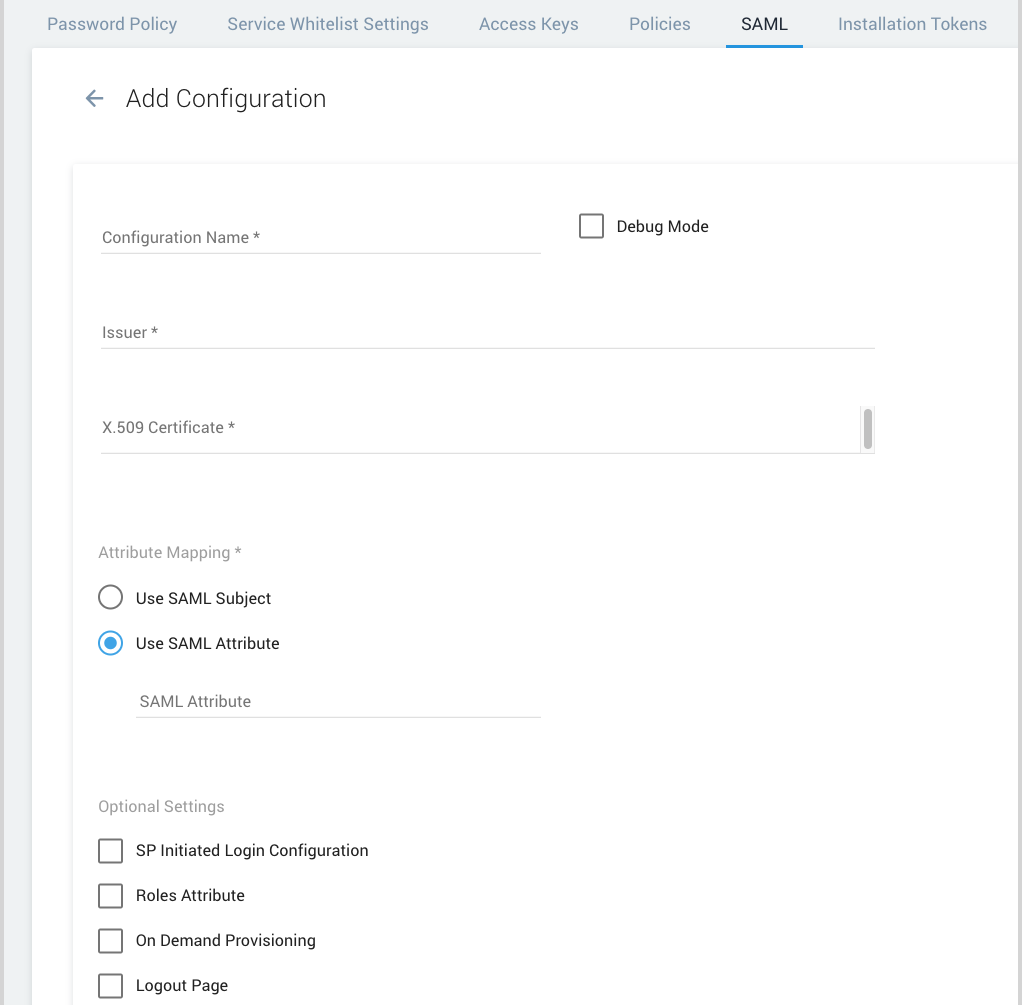
- Configuration Name. Type the name of the SSO policy (or another name used internally to describe the policy).
- Debug Mode. Select this option if you'd like to view additional details when an error occurs.
- Issuer. Type the unique URL associated with your organization's SAML IdP. This is the Identity Provider Issuer from Step 12 in the previous section.
- X.509 Certificate. Copy and paste your organization's X.509 certificate, which is used to verify signatures in SAML assertions. This is the Certificate, also from Step 12.
- Attribute Mapping. Depending on your IdP, select:
- Use SAML subject, or
- Use SAML Attribute and then type the email attribute name in the text box.
- SP Initiated Login Configuration. (Optional) This section has instructions for setting up SP-initiated login. When SP initiated login has been enabled, your SAML configuration will appear as an additional authentication option within your subdomain-enabled account login page.
note
SP initiated login requires a custom Sumo Logic subdomain. If a custom subdomain has not yet been configured for your org, following the instructions in the Change account subdomain section of the Manage Organization topic.
- Authn Request URL. Enter the URL that the IdP has assigned for Sumo Logic to submit SAML authentication requests to the IdP. This field is required if you checked the SP Initiated Login Configuration checkbox.
- Disable Requested Authn Context. (Optional.) If you check this option, Sumo will not include the RequestedAuthnContext element of the SAML AuthnRequests it sends to your Idp. This option is useful if your IdP does not support the RequestedAuthnContext element.
- Sign Authn Request. (Optional.) If you select this option, Sumo will send signed Authn requests to your IdP. When you click this option, a Sumo-provided X-509 certificate is displayed. You can configure your IDP with this certificate, to use to verify the signature of the Authn requests sent by Sumo.
- Roles Attribute: When you click this option, Roles Attribute field appears. Enter the SAML Attribute Name that is sent by the IdP as part of the assertion. For details, see Set SAML for Single Sign-On.
- On Demand Provisioning. Select this option to have Sumo Logic automatically create accounts when a user first logs on. For more information, see Set Up SAML for Single Sign-on..
- First Name
- Last Name
- On Demand Provisioning Roles. Add a role for all Bitium users, such as Administrator.
- Logout Page: Select this option and enter a URL if you'd like to point all users to the URL after logging out of Sumo Logic. For more information, see Set Up SAML for Single Sign-On.
- Click Add.
- View the summary of the SAML configuration parameters. Leave this dialog open so that you can use these settings in Bitium.
Add Sumo Logic SAML Settings to SAML Settings to Bitium
- Go back to the Bitium SAML Configuration page.
- Within the SAML URL text box, enter the Authentication Request URL displayed in step 6 of the previous section.
- Click Save Changes to complete the application install.
- Assign users as needed to the Sumo Logic App.
- You are now configured to sign in to Sumo Logic through Bitium.
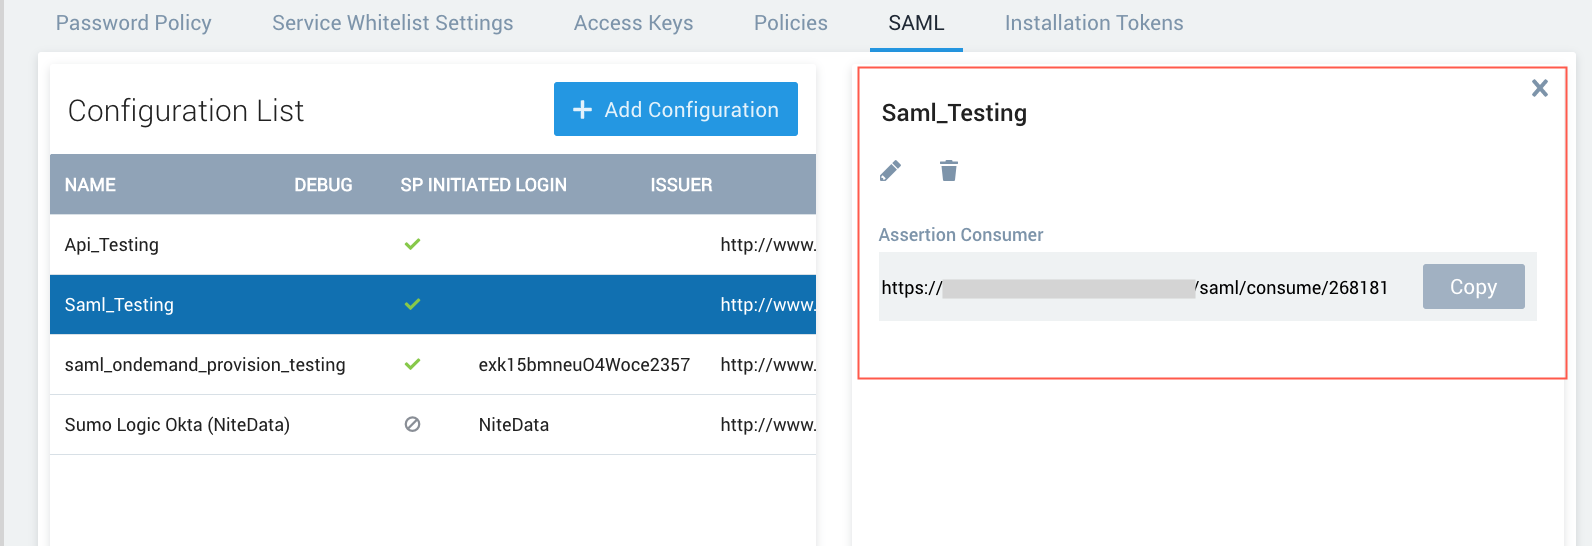
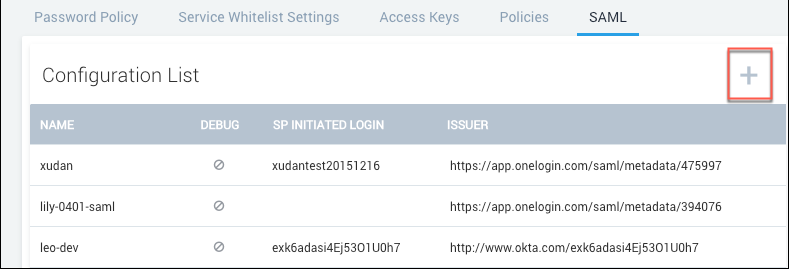
Create multiple SAML configurations
You can create multiple SAML configurations in Sumo. To create an additional SAML configuration, click the plus (+) icon to create a new configuration. Enter the settings for the new configuration, as described the previous section.
Require SAML for sign-in
After you create a SAML configuration, you can require users to sign in using SAML and prevent users from bypassing SAML with a username and password for login. Before you do so, follow the instructions in Check SAML Usage.
Check SAML Usage
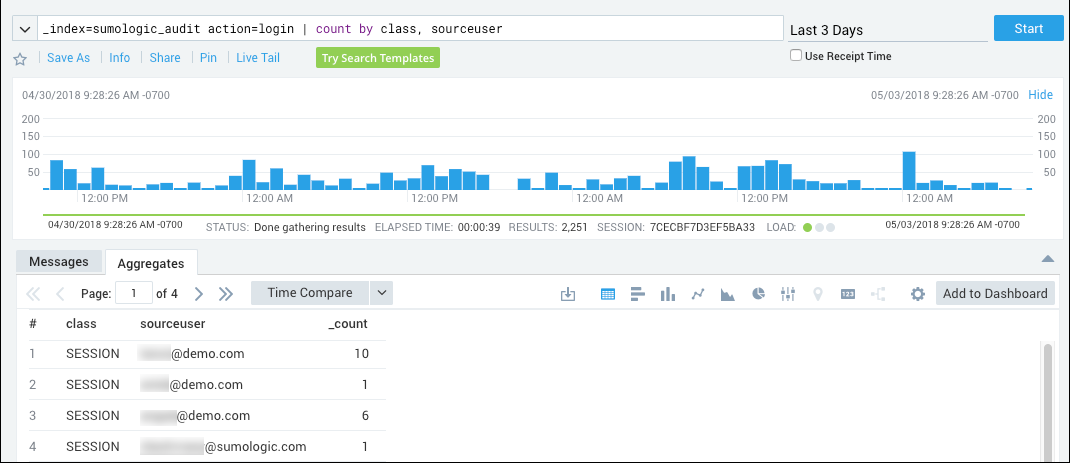
If you intend to require Sumo users to sign-in using SAML, as described in the following section, Require SAML for sign-in, it is a best practice to first check whether some users are still logging in directly, instead of using SAML. You can run the following query to see, for a particular time range, whether users signed in using SAML or with their username and password:
_index=sumologic_audit action=login | count by class, sourceuser
This query depends upon data in the Sumo audit index. If the audit index is not enabled, the query will not return results. To enable the index, follow the instructions in Enable and Manage the Audit Index.
The query results show, for each user that has accessed Sumo over the time range, the number of times they have logged in using SAML or by entering a Sumo username and password. In the class column:
- "SAML" indicates the user signed in using SAML.
- "SESSION" indicates the user authenticated by entering a username and password.
If the same user accessed Sumo using both methods (SAML and direct logon) during the time range, the query results will include a row for each method, showing how many times each method was used.
Require SAML for sign-in
Click Require SAML Sign In to require users to sign in using SAML.
After you lock down SAML, any new users you allowlist will have to select Forgot Password from the login screen to recover their credentials. This is because a SAML-locked down user does NOT have a password.
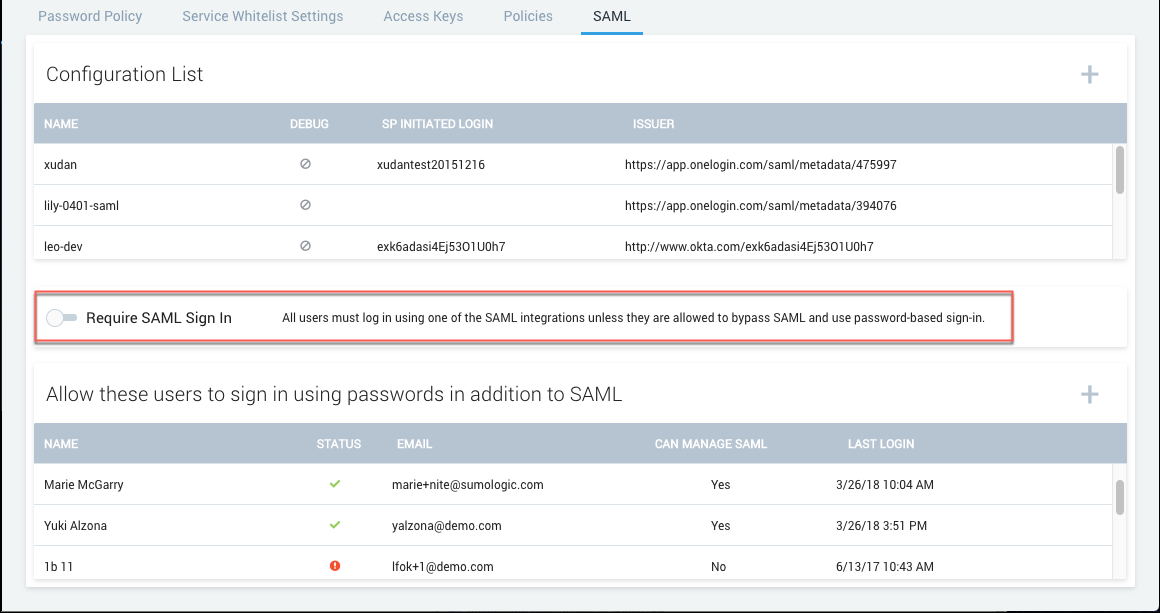
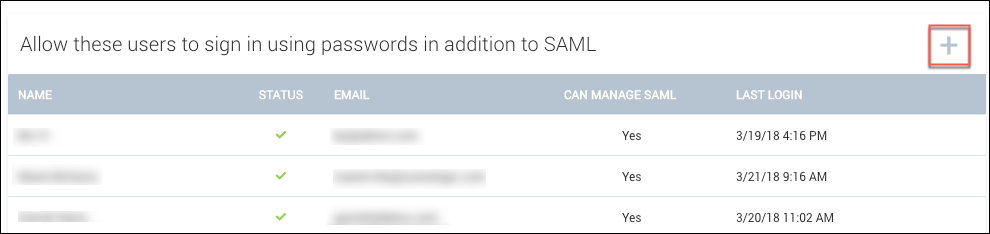
Sumo automatically adds your account under Allow these users to sign in using passwords in addition to SAML as an allowlisted user as a preventative measure to ensure you’re still able to access Sumo if you run into issues.
Having only one user able to bypass SAML may not be convenient or practical if you have a global company or a large team. You can add additional allowlisted users by clicking the (+) icon next to Allow these users to sign in using passwords in addition to SAML:
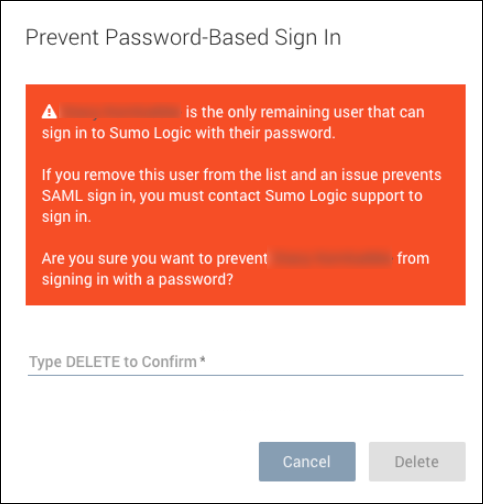
We do not recommend denying all users password access to Sumo even if you want to enforce log in by SAML. If you attempt to delete your last remaining allowlisted user, you will receive a warning that this is not a recommended practice:
SAML lockdown limitations
There are user account changes an admin cannot perform when the Require SAML Sign In option is selected:
- You cannot change a user's login email address when SAML is locked down.
- You cannot reset a user's password when SAML is locked down.
- If a user's account has been locked as a result of too many failed login attempts, you cannot unlock the account while SAML is locked down.
To make these changes, you must toggle off the Require SAML Sign In option, make the updates, and then turn Require SAML Sign In back on.