Atlassian Jira Cloud

Version: 1.1 Updated: Sept 10 , 2025
Jira is a proprietary issue tracking product developed by Atlassian that allows bug tracking and agile project management.
This integration uses the Jira REST API v3.
Actions
- Add Comment to Issue (Notification) - Add a comment to the specified issue.
- Create Issue (Notification) - Create a new issue in the specified Jira project.
- Delete Issue (Containment) - Delete the specified issue.
- Get Issue (Enrichment) - Returns the details for an issue.
- Get Issue Comments (Enrichment) - Get the comments of issue.
- List Issue Fields (Enrichment) - List the issue fields.
- List Issue Transitions (Enrichment) - Returns either all transitions or a transition that can be performed by the user on an issue, based on the issue's status.
- List Issue Types (Enrichment) - List the types of issue.
- List Projects (Enrichment) - List the current projects.
- List Statuses (Enrichment) - Returns a list of the statuses.
- List Users (Enrichment) - Returns a list of all users.
- Search Into Issues (Enrichment) - Search Jira Issues.
- Update Issue (Notification) - Update the specified issue field with the specified value.
- Issues Jira Daemon (Daemon) - Daemon to pull Jira issues.
Atlassian Jira Cloud configuration
Sign in to Jira with your Atlassian account.

Create an API token
Create an API token from your Atlassian account:
- Log in to https://id.atlassian.com/manage-profile/security/api-tokens.
- Click Create API token.
- From the dialog that appears, enter a memorable and concise Label for your token and click Create.
- Click Copy to clipboard, then paste the token to your script, or elsewhere to save.

Revoke an API token
A revoked token no longer works and is permanently removed from your account. If you revoke an API token currently being used, you can replace it with a new token. To revoke an API token:
- Log in to https://id.atlassian.com/manage-profile/security/api-tokens.
- Select Revoke next to the API token that you want to revoke.
- To revoke all API tokens for your account, select Revoke all API tokens.
Configure Atlassian Jira Cloud in Automation Service and Cloud SOAR
Before you can use this automation integration, you must configure its authentication settings so that the product you're integrating with can communicate with Sumo Logic. For general guidance, see Configure Authentication for Automation Integrations.
How to open the integration's configuration dialog
- Access App Central and install the integration. (You can configure at installation, or after installation with the following steps.)
- Go to the Integrations page.
Classic UI. In the main Sumo Logic menu, select Automation and then select Integrations in the left nav bar.
New UI. In the main Sumo Logic menu, select Automation > Integrations. You can also click the Go To... menu at the top of the screen and select Integrations. - Select the installed integration.
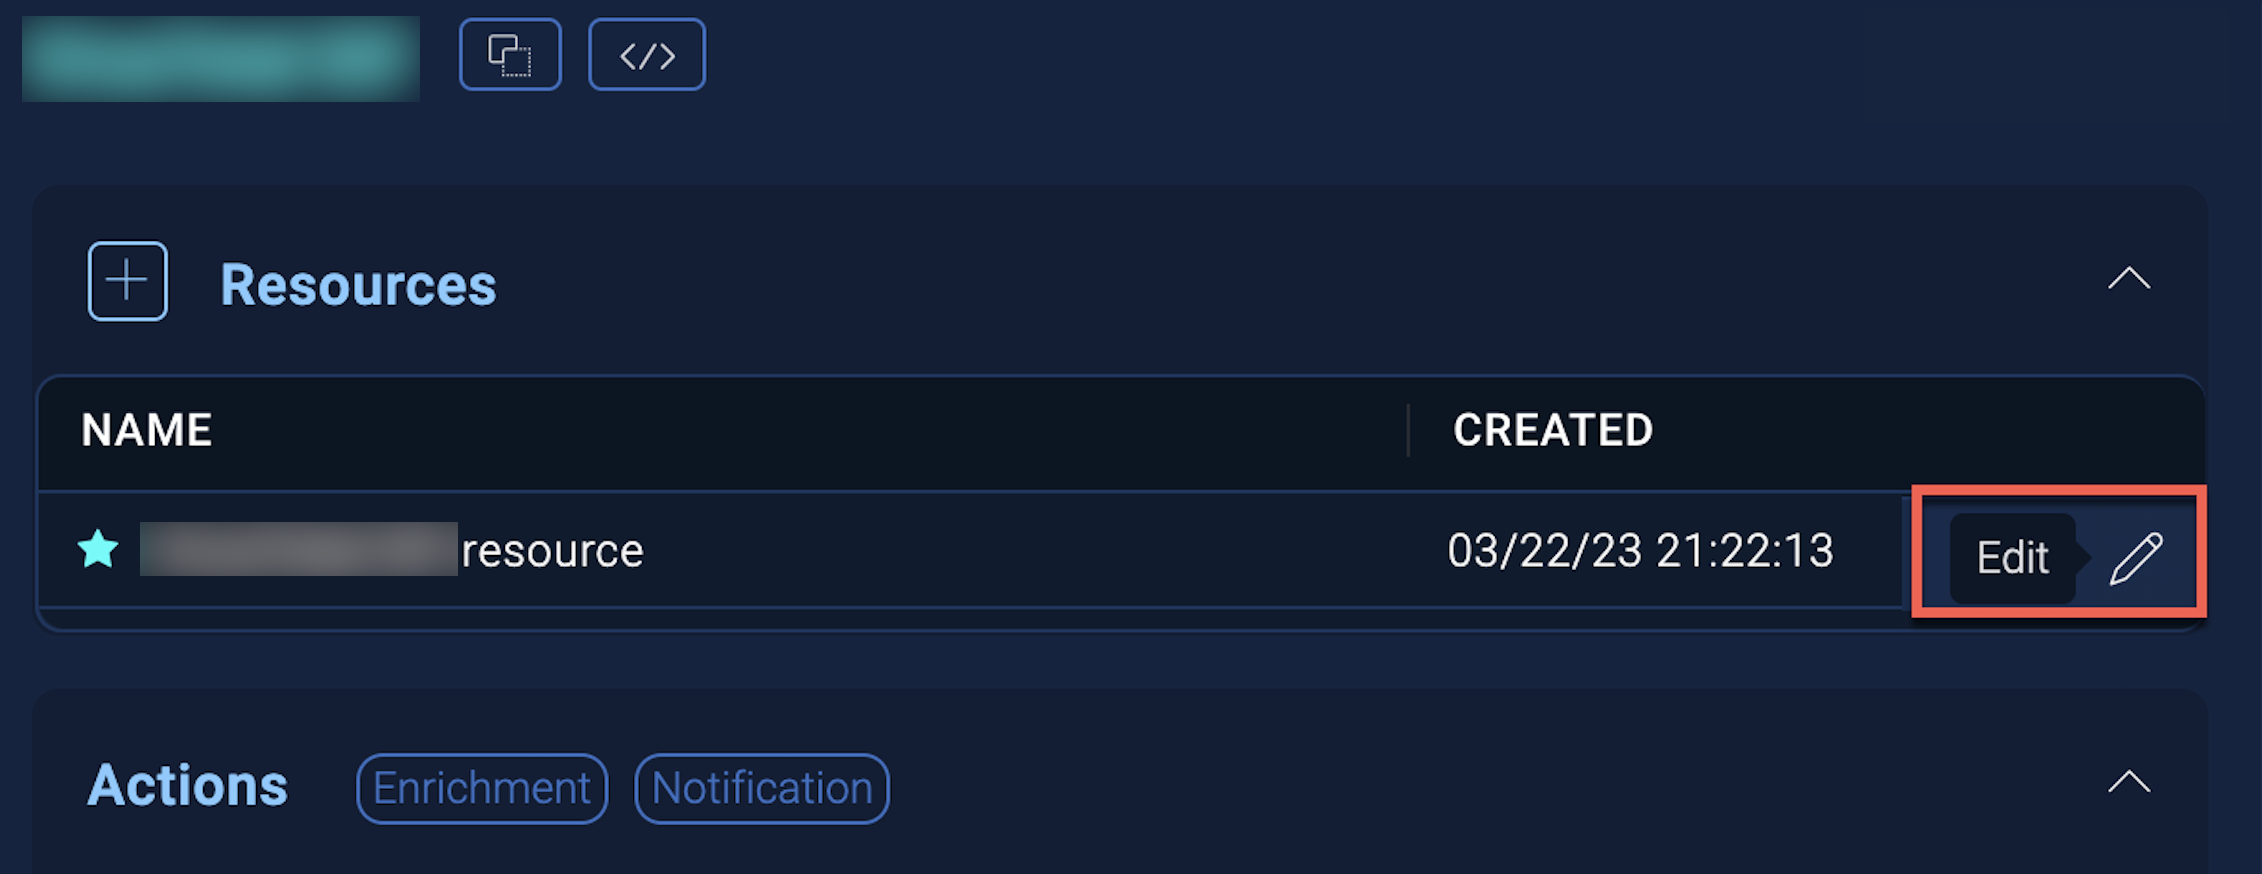
- Hover over the resource name and click the Edit button that appears.

In the configuration dialog, enter information from the product you're integrating with. When done, click TEST to test the configuration, and click SAVE to save the configuration:
-
Label. Enter the name you want to use for the resource.
-
URL API. Enter your Atlassian site URL. For example,
https://your-atlassian-site.atlassian.net/. For information, see Atlassian documentation. -
Username. Enter the username (email address) of the admin user authorized to authenticate the integration.
-
API Token. Enter the token you created earlier.
-
Verify Server Certificate. Select to validate the server’s SSL certificate.
-
Connection Timeout (s). Set the maximum amount of time the integration will wait for a server's response before terminating the connection. Enter the connection timeout time in seconds (for example,
180). -
Cloud SOAR API URL. Enter your Sumo Logic API URL (for example,
https://api.us2.sumologic.com). Enter the API endpoint URL for your region. -
Access ID. Enter the access ID for your Sumo Logic access key. Select Default as the scope when generating access keys.
-
Access Key. Enter the access key corresponding to your Sumo Logic access ID.
-
Automation Engine. Select Cloud execution for this certified integration. Select a bridge option only for a custom integration. See Cloud or Bridge execution.
-
Proxy Options. Select whether to use a proxy. (Applies only if the automation engine uses a bridge instead of cloud execution.)
- Use no proxy. Communication runs on the bridge and does not use a proxy.
- Use default proxy. Use the default proxy for the bridge set up as described in Using a proxy.
- Use different proxy. Use your own proxy service. Provide the proxy URL and port number.

For information about Atlassian Jira Cloud, see Jira Cloud documentation. For the REST API v3, see the REST API v3 documentation.
Category
Ticketing System
Change Log
- March 20, 2025 - First upload
- Sept 10, 2025 (v1.1) - Added daemon action