Check Point

Version: 1.4
Updated: Jun 26, 2023
Utilize Check Point to gather enrichment data and issue containment actions during incident investigations.
Actions
- Domain Information (Enrichment) - Gather domain information.
- IP Information (Enrichment) - Gather IP information.
- User Attributes (Enrichment) - Gather user attributes for a specific user account.
- Show Access rule-base (Enrichment) - Get access rule-base.
- Show Threat rule-base (Enrichment) - Get threat rule-base.
- Block IP (Containment) - Block the specified IP address.
- Unblock IP (Containment) - Unblock the specified IP address.
- Block Domain (Containment) - Block a specific domain.
- Unblock Domain (Containment) - Unblock a specific domain.
- Unlock User (Containment) - Unlock a specific user account.
- Block Port (Containment) - Block a specific port.
- Unblock Port (Containment) - Unblock a specific port.
- Add Rule (Containment) - Add a new rule.
- Delete Rule (Containment) - Delete an existing rule.
- Add Threat Rule (Containment) - Add a new threat rule.
- Delete Threat Rule (Containment) - Delete an existing threat rule.
- Add Host To Specific Group (Containment) - Add host to a group.
- Assign Global (Containment) - Assign global policy.
- Install Policy (Containment) - Install a specific policy.
- Show Access Rule (Enrichment) - Get access rule.
Category
Network Security
Configure Check Point in Automation Service and Cloud SOAR
Before you can use this automation integration, you must configure its authentication settings so that the product you're integrating with can communicate with Sumo Logic. For general guidance, see Configure Authentication for Automation Integrations.
How to open the integration's configuration dialog
- Access App Central and install the integration. (You can configure at installation, or after installation with the following steps.)
- Go to the Integrations page.
Classic UI. In the main Sumo Logic menu, select Automation and then select Integrations in the left nav bar.
New UI. In the main Sumo Logic menu, select Automation > Integrations. You can also click the Go To... menu at the top of the screen and select Integrations. - Select the installed integration.
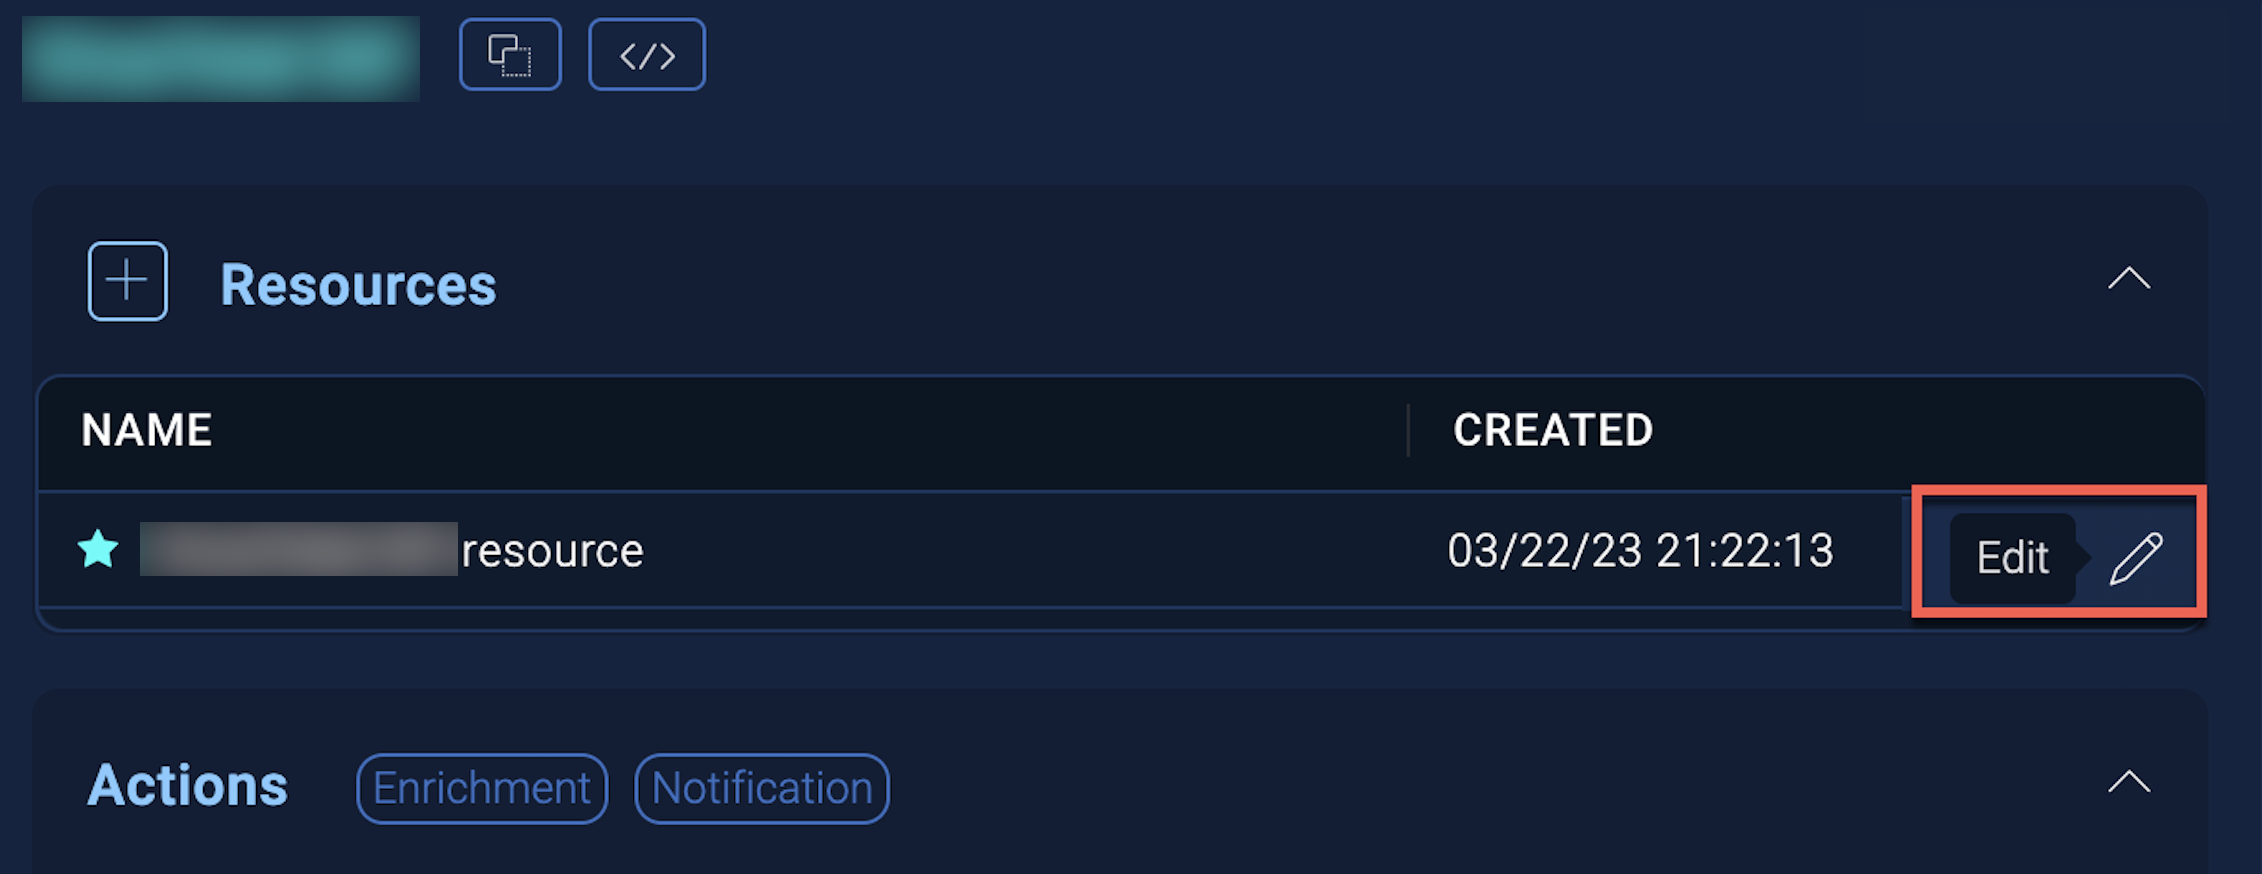
- Hover over the resource name and click the Edit button that appears.
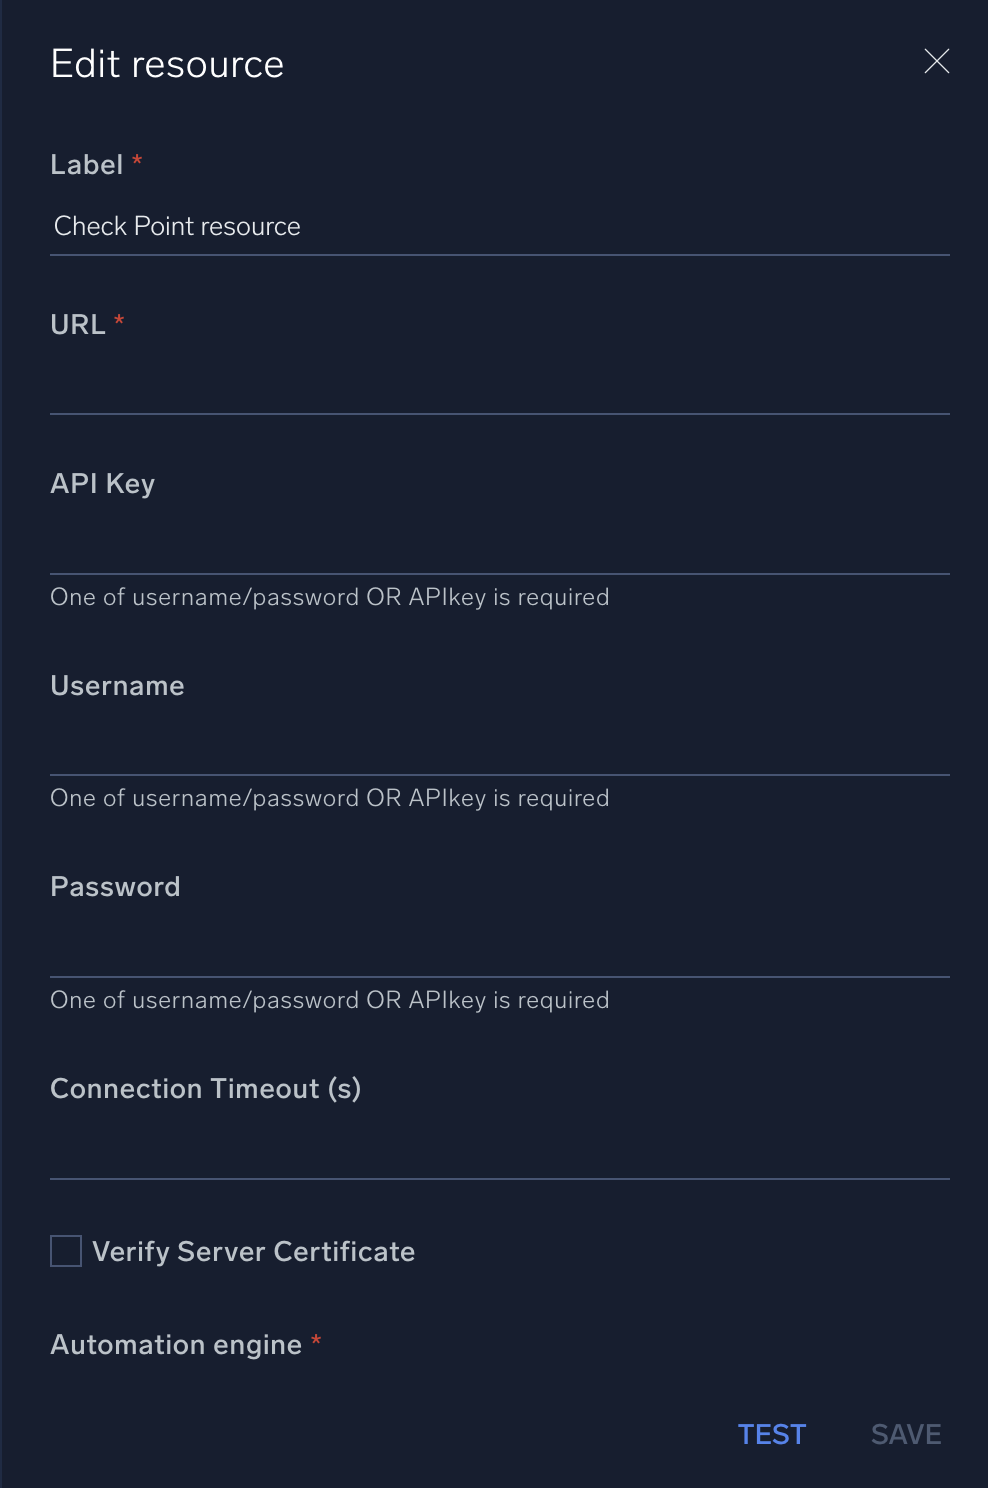
In the configuration dialog, enter information from the product you're integrating with. When done, click TEST to test the configuration, and click SAVE to save the configuration:
-
Label. Enter the name you want to use for the resource.
-
URL. Enter the Check Point URL.
-
API Key. Enter the Check Point API key.
-
Username. Enter the username of a Check Point admin user authorized to authenticate the integration.
-
Password. Enter the password of the admin user.
-
Connection Timeout (s). Set the maximum amount of time the integration will wait for a server's response before terminating the connection. Enter the connection timeout time in seconds (for example,
180). -
Verify Server Certificate. Select to validate the server’s SSL certificate.
-
Automation Engine. Select Cloud execution for this certified integration. Select a bridge option only for a custom integration. See Cloud or Bridge execution.
For information about Check Point, see Check Point documentation.
Change Log
- February 10, 2020 - First upload
- May 15, 2020 - New Actions added:
- Block Port
- Add Rule
- Delete Rule
- Add Threat Rule
- Delete Threat Rule
- September 7, 2021- New actions added
- Add Host To Specific Group
- Assign Global
- Install Policy
- November 22, 2022 - Integration refactored
- Arg.url changed to arg.server in integration file and actions
- Added verify, timeout and proxy_url
- Added REQUIRED as help where needed
- Changed type of list to text, where incident_artifacts: true
- November 30, 2022 - new action Show Access Rule added
- June 23, 2023 (v1.4)
- Updated the integration with Environmental Variables
- Renamed from Check Point OIF to Check Point