Microsoft 365 Defender

Version: 1.5
Updated: Mar 4, 2024
Microsoft 365 Defender is a part of Microsoft’s XDR solution which can automatically analyze threat data across domains, building a complete picture of each attack in a single dashboard. Microsoft 365 Defender integration allows us to query and update incident related data from the solution itself.
Actions
- Microsoft 365 Defender Incidents Daemon (Daemon) - Automatically pull Microsoft 365 security Incidents.
- Search Incidents (Enrichment) - Get a list of incidents.
- Get Incident (Enrichment) - Get specific incident details.
- Update Defender Incident (Notification) - Update a specific incident.
Microsoft 365 Defender Configuration
Refer to the Microsoft 365 Defender guide to create an Application in Azure Portal and add Permissions to access Microsoft 365 Defender.
Category
EDR
Configure Microsoft 365 Defender in Automation Service and Cloud SOAR
Before you can use this automation integration, you must configure its authentication settings so that the product you're integrating with can communicate with Sumo Logic. For general guidance, see Configure Authentication for Automation Integrations.
How to open the integration's configuration dialog
- Access App Central and install the integration. (You can configure at installation, or after installation with the following steps.)
- Go to the Integrations page.
Classic UI. In the main Sumo Logic menu, select Automation and then select Integrations in the left nav bar.
New UI. In the main Sumo Logic menu, select Automation > Integrations. You can also click the Go To... menu at the top of the screen and select Integrations. - Select the installed integration.
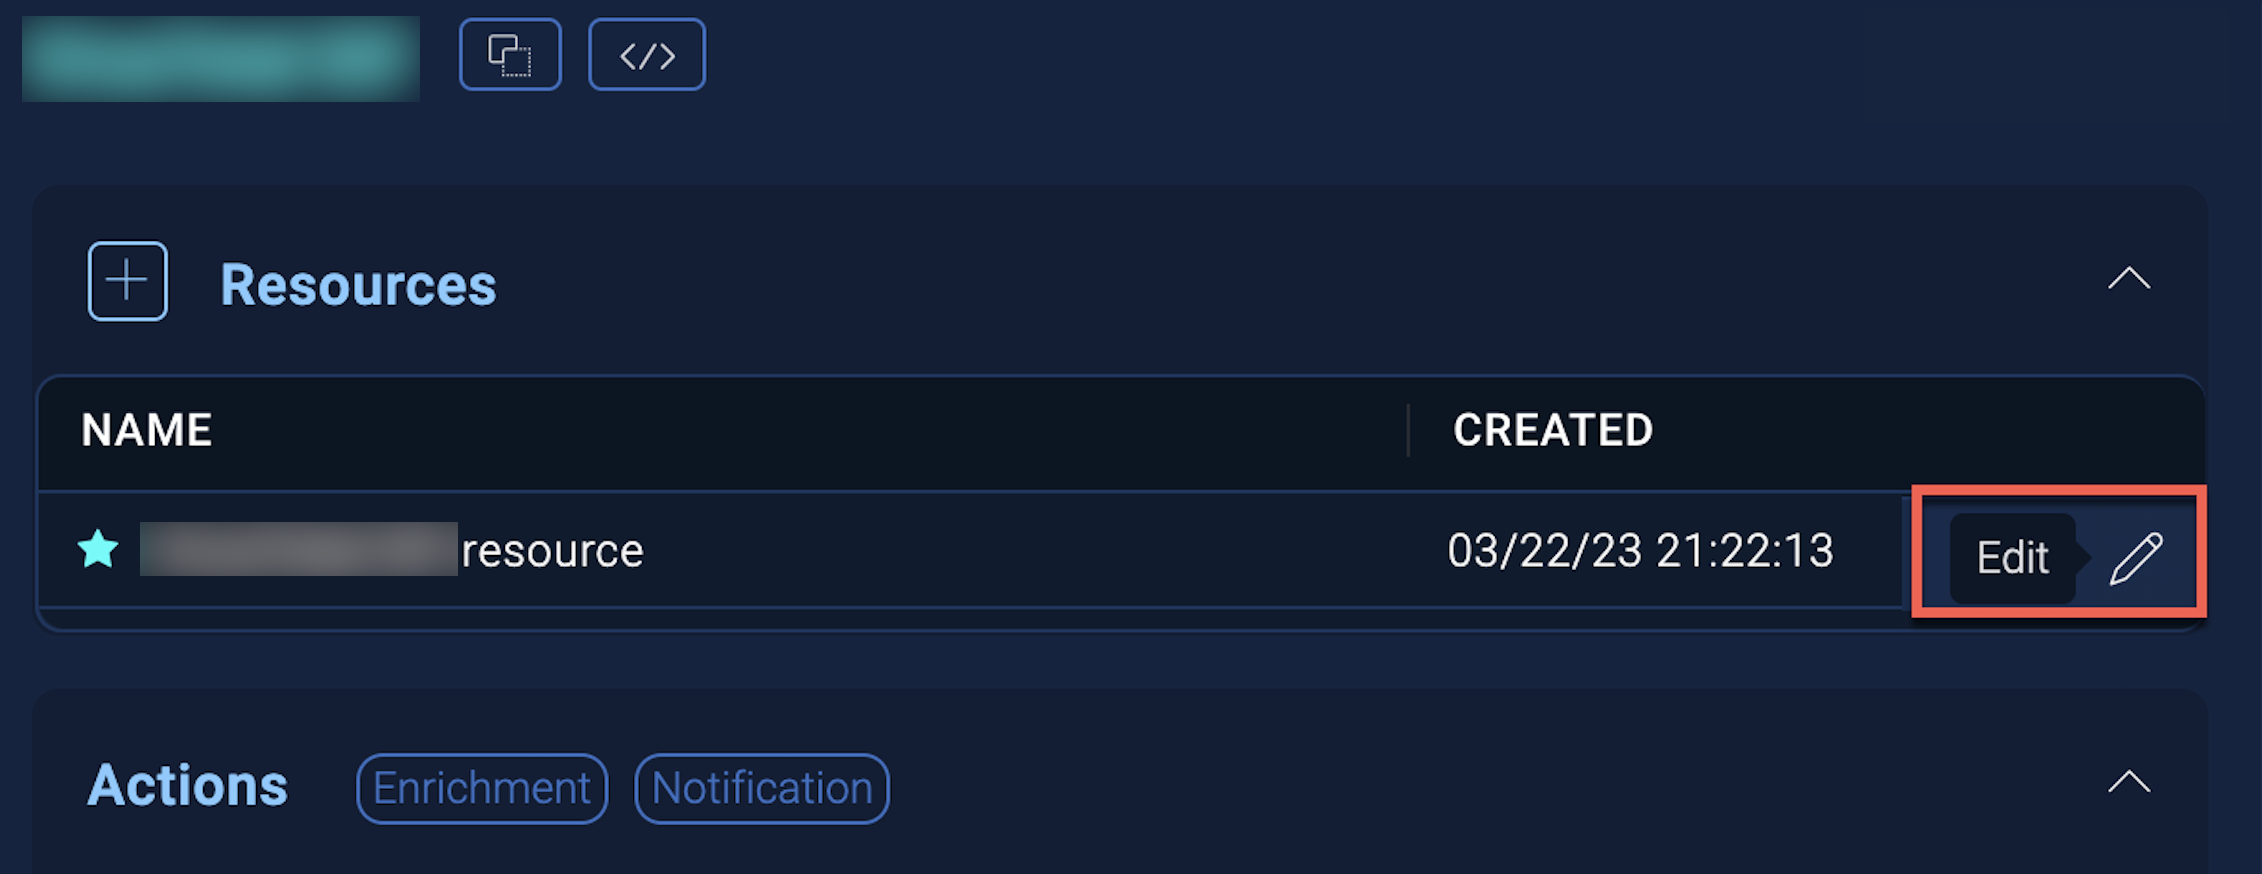
- Hover over the resource name and click the Edit button that appears.
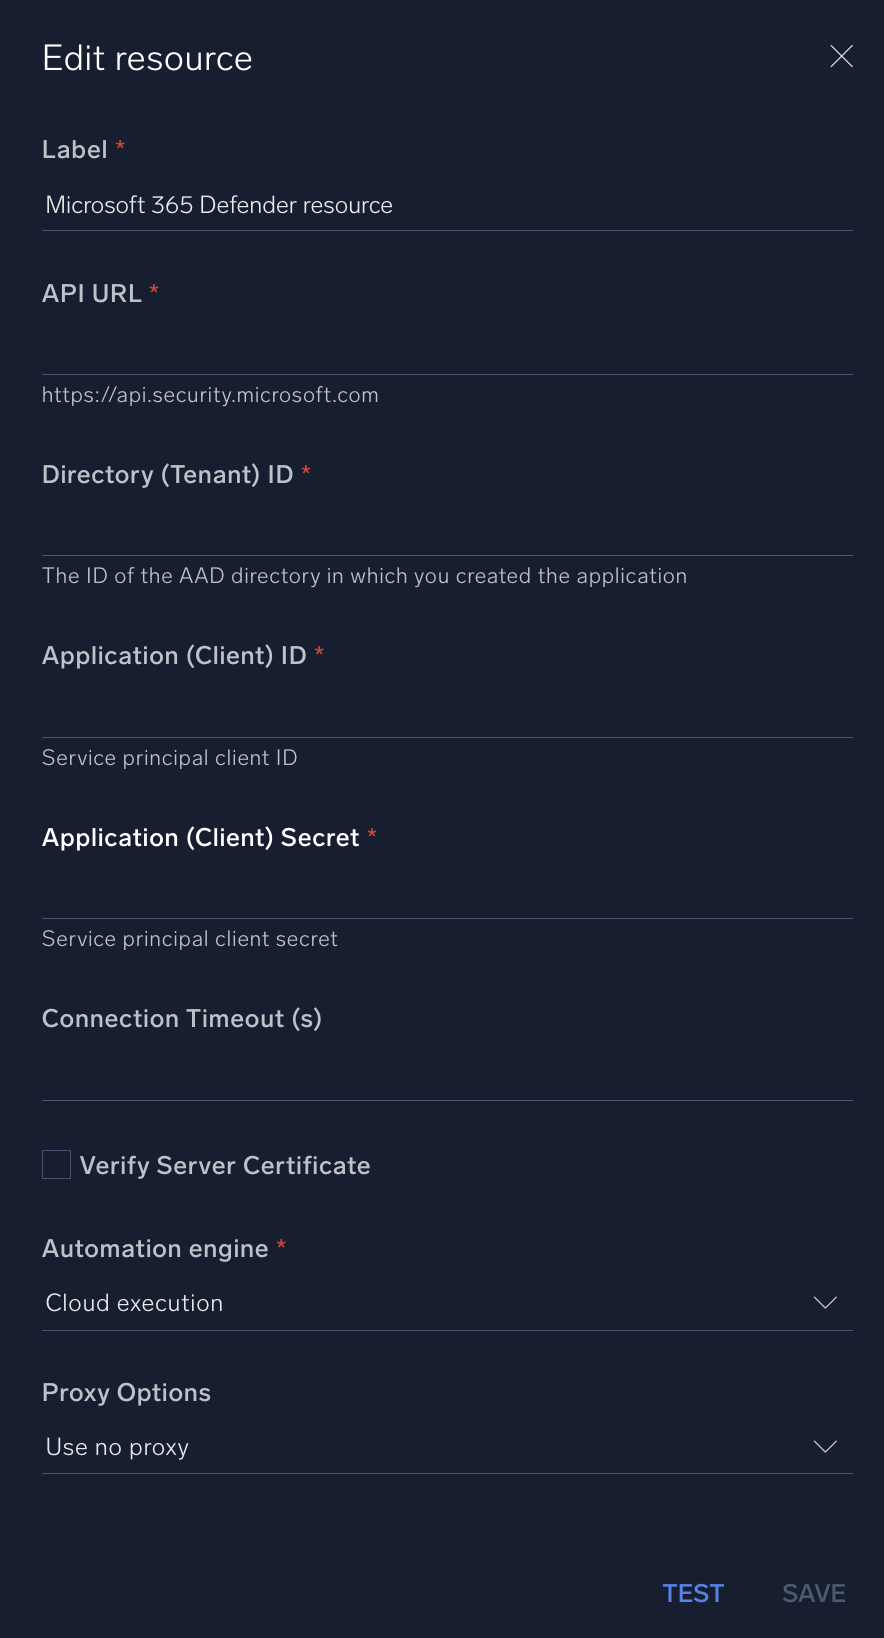
In the configuration dialog, enter information from the product you're integrating with. When done, click TEST to test the configuration, and click SAVE to save the configuration:
-
Label. Enter the name you want to use for the resource.
-
API URL. Enter your Microsoft 365 Defender API URL, for example,
https://api.security.microsoft.com -
Directory (Tenant) ID. Enter the tenant ID of the AAD directory in which you created the application.
-
Application (Client) ID. Enter your Microsoft 365 Defender application ID.
-
Connection Timeout (s). Set the maximum amount of time the integration will wait for a server's response before terminating the connection. Enter the connection timeout time in seconds (for example,
180). -
Verify Server Certificate. Select to validate the server’s SSL certificate.
-
Automation Engine. Select Cloud execution for this certified integration. Select a bridge option only for a custom integration. See Cloud or Bridge execution.
-
Proxy Options. Select whether to use a proxy. (Applies only if the automation engine uses a bridge instead of cloud execution.)
- Use no proxy. Communication runs on the bridge and does not use a proxy.
- Use default proxy. Use the default proxy for the bridge set up as described in Using a proxy.
- Use different proxy. Use your own proxy service. Provide the proxy URL and port number.
For information about Microsoft 365 Defender, see Microsoft 365 Defender documentation.
Change Log
- April 8, 2021 - First upload
- May 4, 2021 - Actions updated: Accept multiple DateTime formats
- January 30, 2023 - Updated Daemon
- Microsoft 365 Defender Incidents Daemon: Duplicate results removed
- May 23, 2023 (v1.3)
- Updated integration: (Updated the integration Fields with Environmental Variables and improved error handling)
- June 28, 2023 (v1.4) - Removed leading/trailing spaces
- March 4, 2024 (v1.5) - Updated code for compatibility with Python 3.12