Microsoft SharePoint (Graph)

Version: 1.0
Updated: October 10, 2025
Utilize Microsoft SharePoint lists, files, and folders during incident investigations.
Actions
- Get List (Enrichment) - Gather a specified list from SharePoint.
- Get Lists (Enrichment) - Gather all lists from SharePoint.
- Get Files (Enrichment) - Gather all files from SharePoint.
- Get Folders (Enrichment) - Gather all folders from SharePoint.
- Get File (Enrichment) - Gather a specific file from SharePoint.
- Get List Fields (Enrichment) - Gather all list fields from SharePoint.
- Create List (Notification) - Create a new list.
- Add File (Notification) - Add a new file to SharePoint.
- Add List Item (Notification) - Add a new list item.
Register an application
Registering your application establishes a trust relationship between your app and the Microsoft identity platform. The trust is unidirectional. Your app trusts the Microsoft identity platform, and not the other way around.
Follow these steps to create the app registration:
- Sign in to the Azure portal.
- If you have access to multiple tenants, use the Directory + subscription filter
Click in the top menu to select the tenant in which you want to register an application.
 - Search for and select the Azure Active Directory.
- Under Manage, select App registrations > New registration.
- Enter a Name for your application. Users of your app might see this name, and you can change it later.
- Select Register to complete the initial app registration.
- Don't enter anything for Redirect URI (optional).

When registration completes, the Azure portal displays the app registration's Overview pane, which includes its Application (client) ID. Also referred to as just client ID, this value uniquely identifies your application in the Microsoft identity platform.
The client ID is one aspect in validating the security tokens it receives from the identity platform.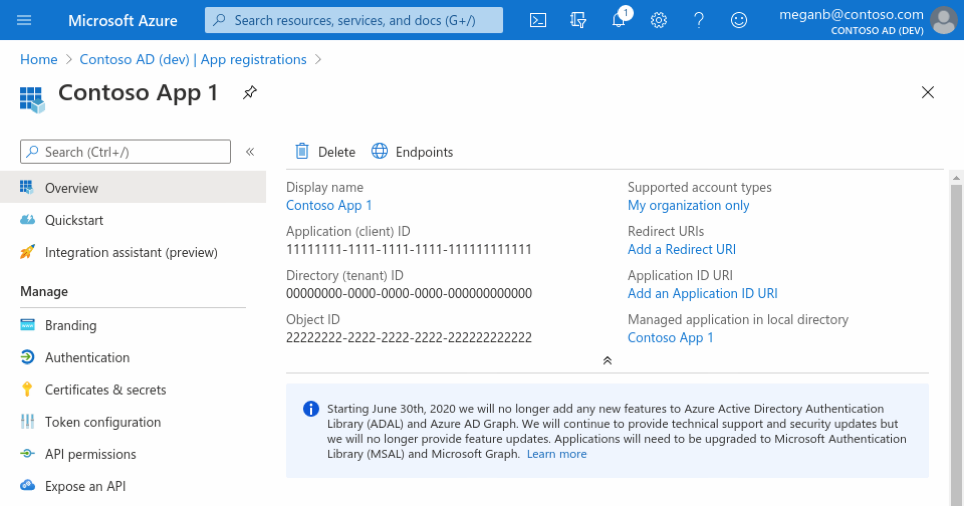
Add credentials
Credentials are used by confidential client applications that access an API. Examples of confidential clients are web apps, or service- and daemon-type applications. Credentials allow your application to authenticate as itself, requiring no interaction from a user at runtime.
You can add client secrets (a string) as credentials to your confidential client app registration.
Add a client secret
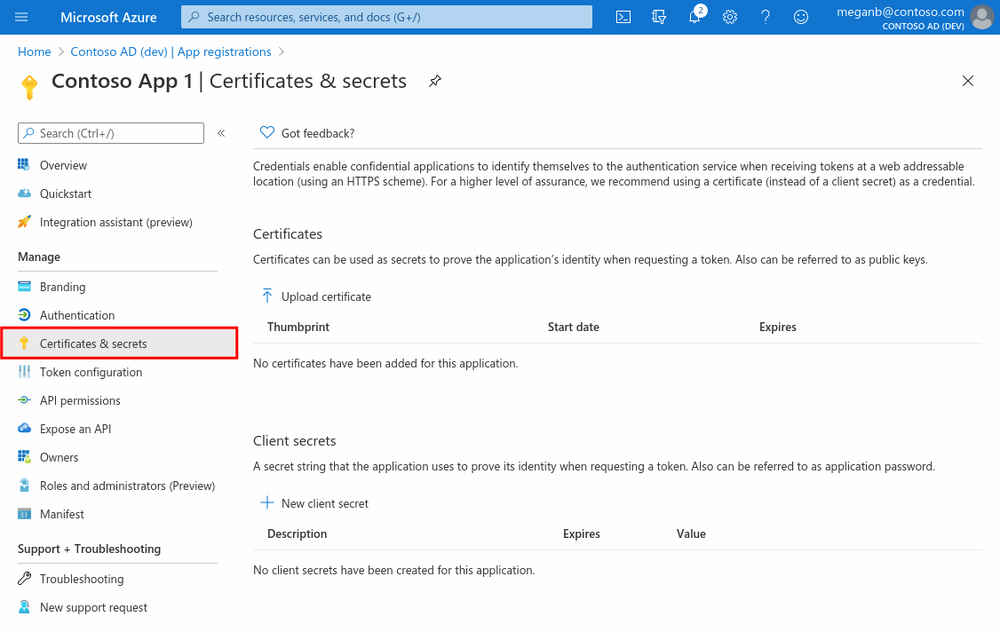
The client secret, known also as an application password, is a string value of your app.
- Select your application in App registrations in the Azure portal.
- Select Certificates & secrets > New client secret.
- Add a description for your client secret.
- Select a duration.
- Select Add.
- Record the secret's value for use in your client application code. It's never displayed again after you leave this page.
Add permissions to API
- Select your application in App registrations in the Azure portal.
- Select API permissions > Add a permission.
- Application permissions are for service- or daemon-type applications that need to access API as themselves, without user interaction for sign-in or consent, unless you've defined application roles for your API.
- Select Add a permission, and add the following permissions:
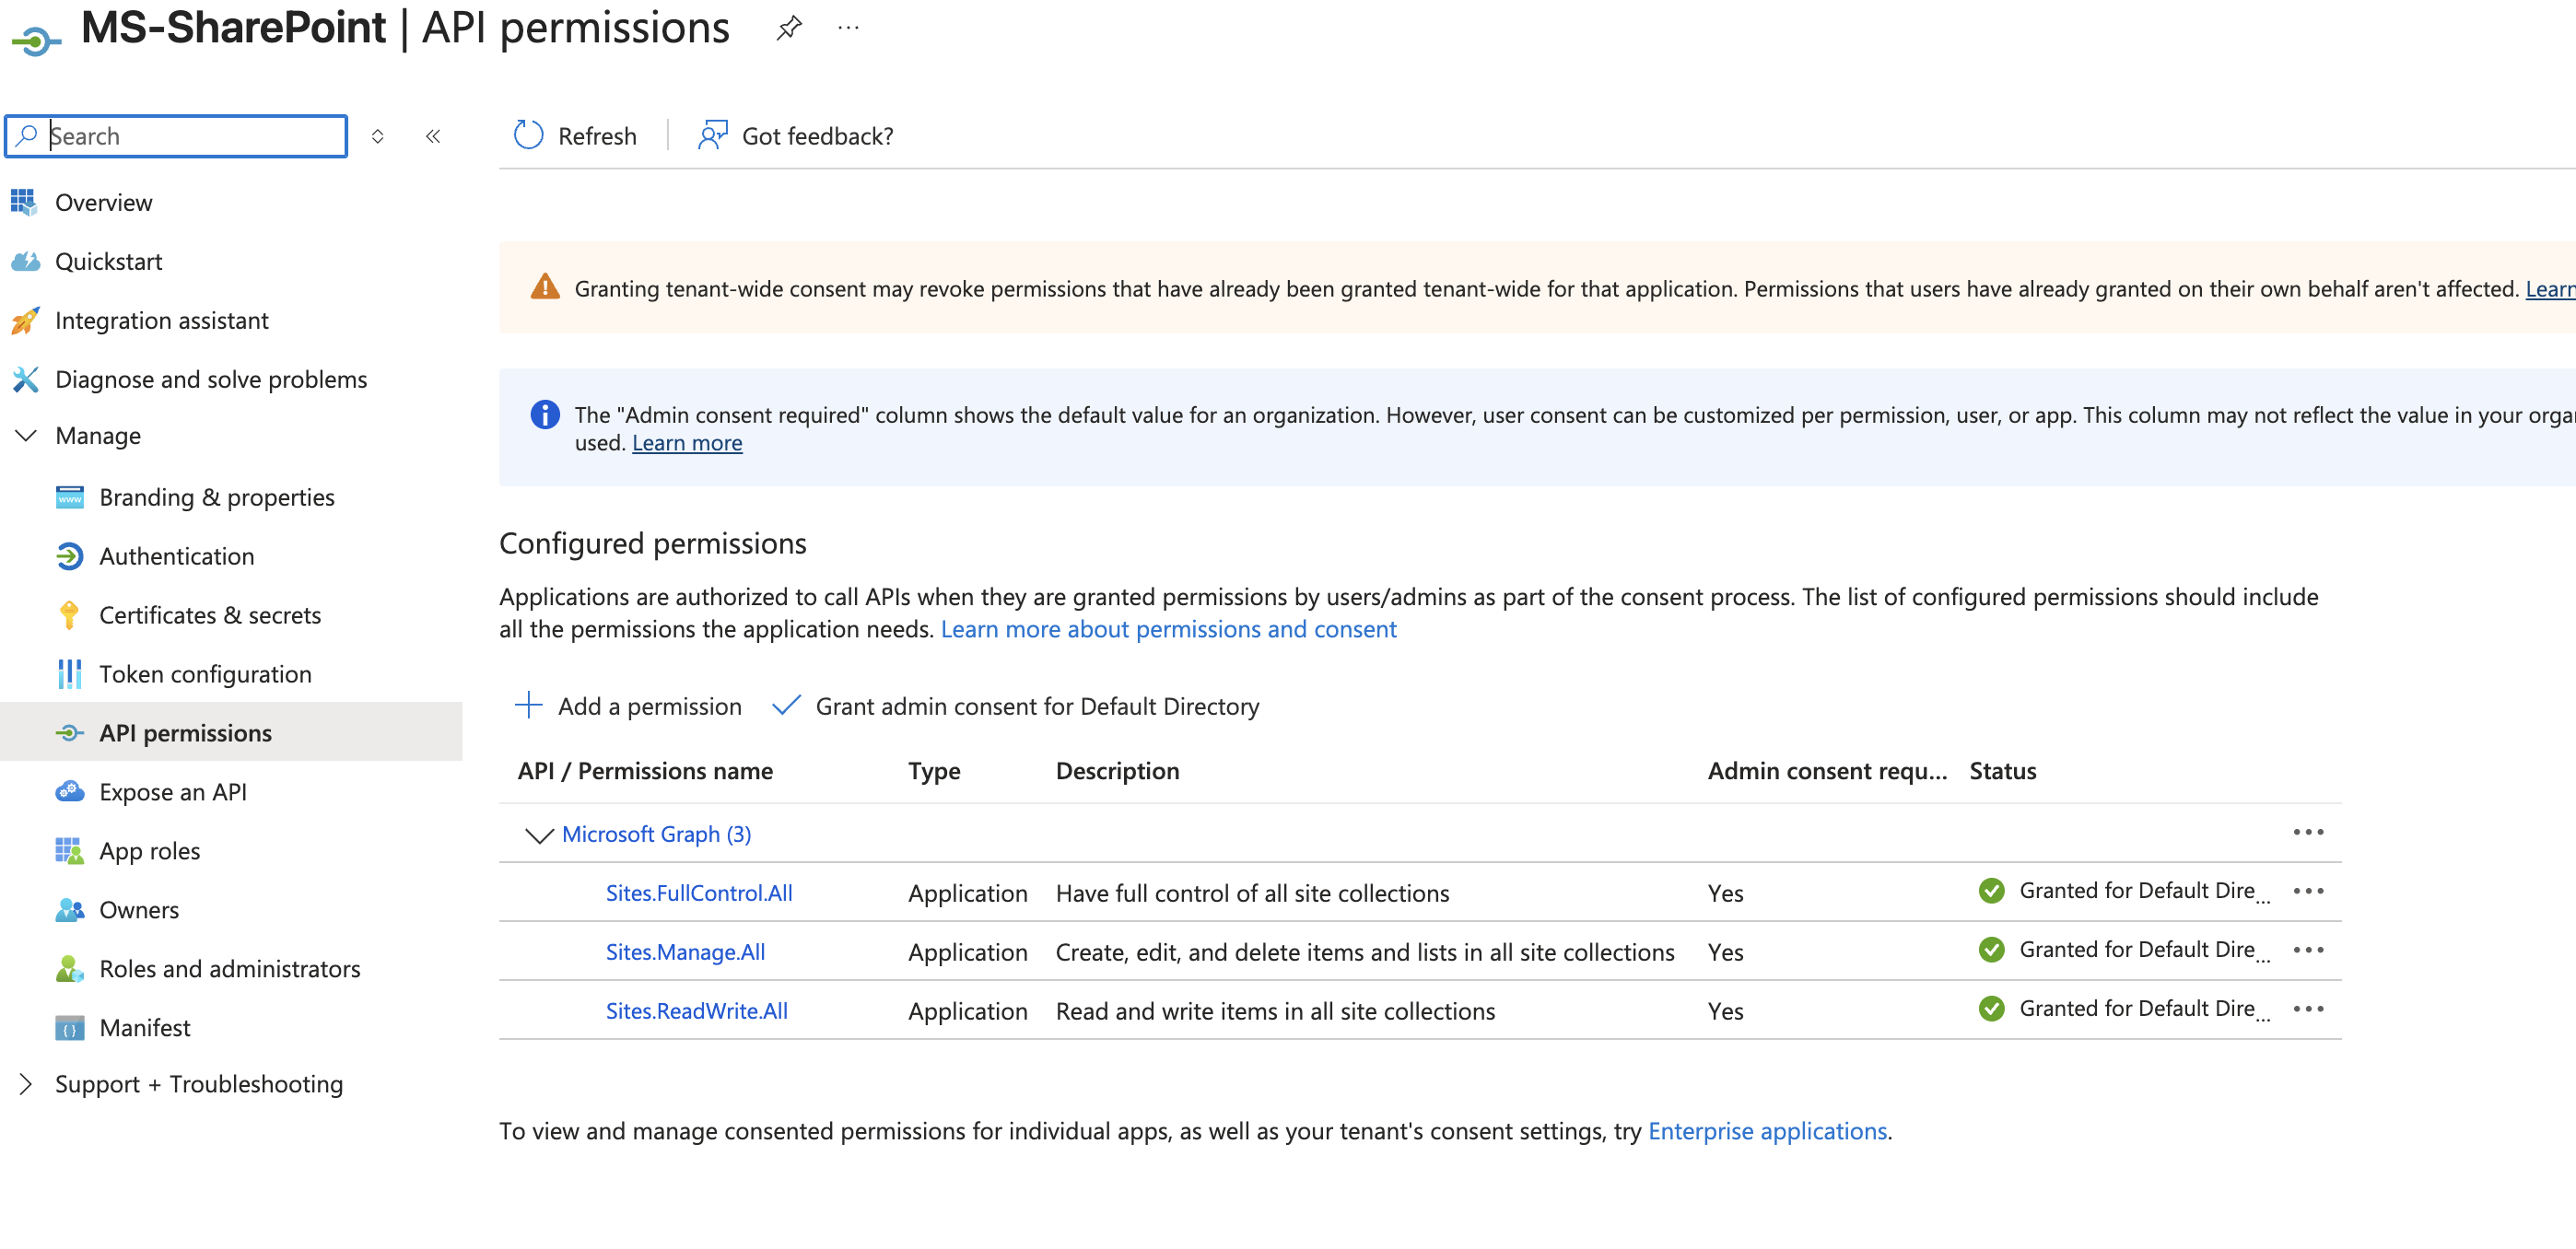
Microsoft Sharepoint (Graph) API to be configured for these permissions
Applications are authorized to call APIs when they are granted permissions by users or administrators as part of the consent process. The list of configured permissions should include all the permissions the application needs.
API / Permissions
Microsoft Graph (7)
- Sites.FullControl.All
- Type: Application
- Description: Have full control of all site collections
- Admin: -
- Sites.Manage.All
- Type: Application
- Description: Create, edit, and delete items and lists in all site collections
- Admin: Yes
- Sites.ReadWrite.All
- Type: Application
- Description: Read and write items in all site collections
- Admin: Yes
Configure Microsoft SharePoint in Automation Service and Cloud SOAR
Before you can use this automation integration, you must configure its authentication settings so that the product you're integrating with can communicate with Sumo Logic. For general guidance, see Configure Authentication for Automation Integrations.
How to open the integration's configuration dialog
- Access App Central and install the integration. (You can configure at installation, or after installation with the following steps.)
- Go to the Integrations page.
Classic UI. In the main Sumo Logic menu, select Automation and then select Integrations in the left nav bar.
New UI. In the main Sumo Logic menu, select Automation > Integrations. You can also click the Go To... menu at the top of the screen and select Integrations. - Select the installed integration.
- Hover over the resource name and click the Edit button that appears.
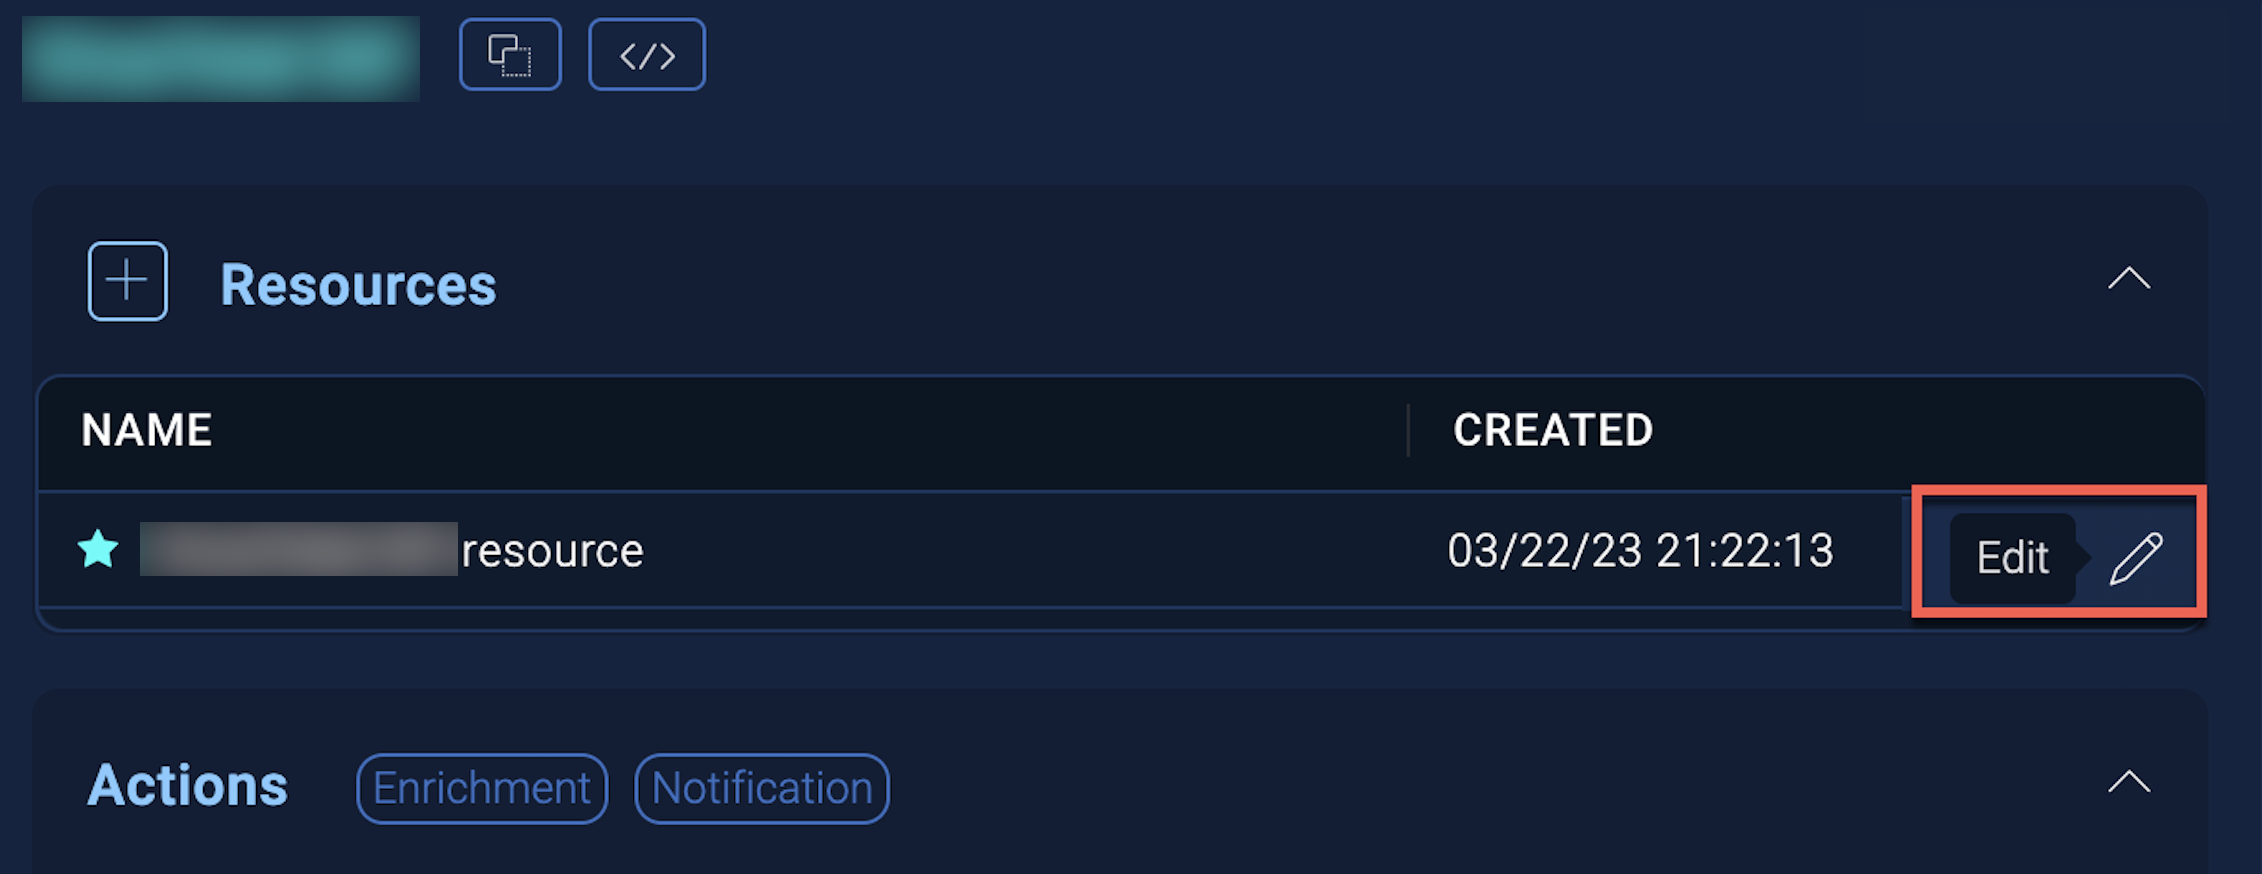
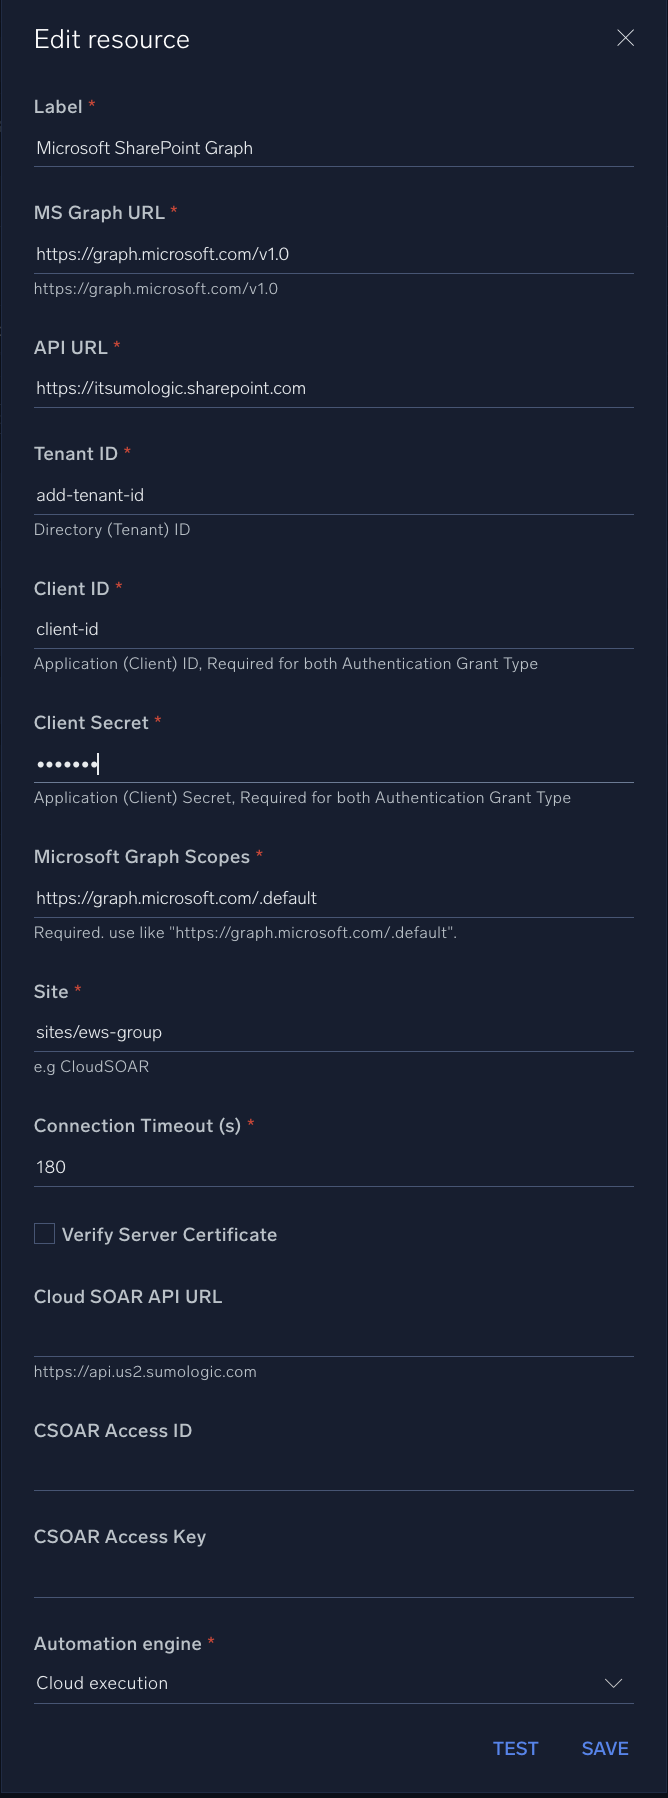
In the configuration dialog, enter information from the product you're integrating with. When done, click TEST to test the configuration, and click SAVE to save the configuration:
-
Label. Enter the name you want to use for the resource.
-
Microsoft Graph URL. Enter Microsoft Graph URL,
https://graph.microsoft.com/v1.0 -
Tenant ID. Enter the tenant ID for authentication.
-
Client ID. Enter the client ID for authentication.
-
Client Secret. Enter the client secret for authentication.
-
Microsoft SharePoint Site Name.. Enter the Microsoft Sharepoint Site Name.
-
Microsoft SharePoint HostName. Enter the Microsoft Sharepoint HostName.
-
Microsoft Graph Scope. Enter the scope.
-
Connection Timeout (s). Set the maximum amount of time the integration will wait for a server's response before terminating the connection. Enter the connection timeout time in seconds (for example,
180). -
Verify Server Certificate. Select to validate the server’s SSL certificate.
-
Automation Engine. Select Cloud execution for this certified integration. Select a bridge option only for a custom integration. See Cloud or Bridge execution.
-
Proxy Options. Select whether to use a proxy. (Applies only if the automation engine uses a bridge instead of cloud execution.)
- Use no proxy. Communication runs on the bridge and does not use a proxy.
- Use default proxy. Use the default proxy for the bridge set up as described in Using a proxy.
- Use different proxy. Use your own proxy service. Provide the proxy URL and port number.
For information about Microsoft SharePoint, see SharePoint documentation.
Change Log
- October 10, 2025 - First upload