Netskope V2

Version: 1.2
Updated: Nov 5, 2024
Netskope provides unrivaled visibility and real-time data and threat protection when accessing cloud services, websites, and private apps from anywhere, on any device.
Actions
- Get Alert (Enrichment) - Get single alert.
- List Alerts (Enrichment) - Get a list of alerts generated by Netskope.
- List Events (Enrichment) - Get a list of events generated by Netskope.
- Get URL Lists (Enrichment) - Get URL lists.
- Update URL List (Containment) - Edit an URL list.
- URL List Deploy (Containment) - Apply pending URL list changes.
- Netskope Get Alert List Daemon (Daemon) - Daemon to extract alerts generated by Netskope.
- Netskope Get Event List Daemon (Daemon) - Daemon to events alerts generated by Netskope.
Neskope V2 configuration
Netskope REST APIs use an auth token to make authorized calls to the API. Netskope REST APIs provide access to resources via URI paths. The token must be used in every REST API call for the tenant. The token can be created for use with specified APIs in the Netskope UI by going to Settings > Tools > Rest API v2.
- On the REST API v2 page, click New Token.
- Enter a token name, the token expiration time, and then click Add Endpoint to select the API endpoints to use with the token.
- Specify the privileges for each of the endpoints added. Read privileges include GET, and Read+Write privileges include GET, PUT, POST, PATCH, and DELETE. Endpoint privileges vary. Some endpoints, like alert and audit (and others) only have the Read privilege; whereas, the URL list/file endpoint only has Read+Write privileges. For this Integration following endpoints are required:
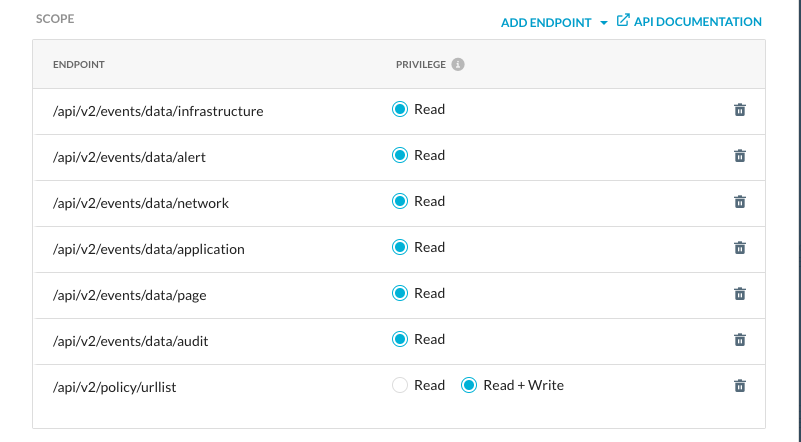
- When finished, click Save.
- A confirmation box opens showing whether the token creation was a success. If so, click Copy Token to save it for later use in your API requests.
Important - The only opportunity to copy the token is immediately after you create it. The token is required in your API requests.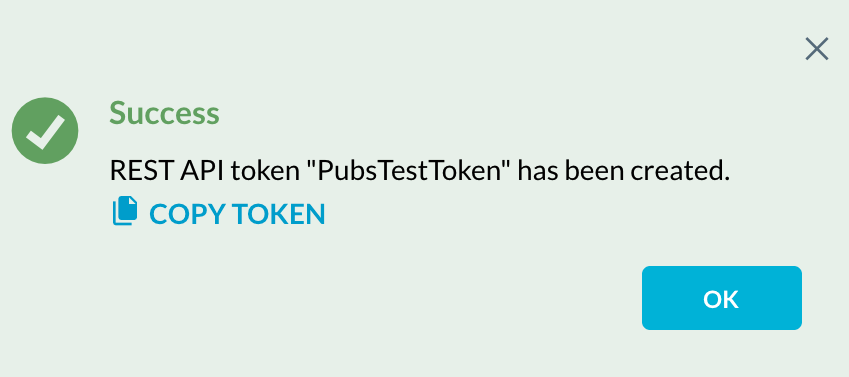
When finished, click OK. After being created, tokens can be managed by clicking the adjacent ... icon for the token and selecting one of these options: 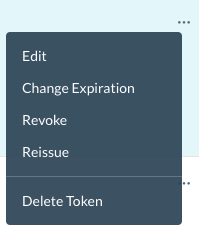
Configure Netskope V2 in Automation Service and Cloud SOAR
Before you can use this automation integration, you must configure its authentication settings so that the product you're integrating with can communicate with Sumo Logic. For general guidance, see Configure Authentication for Automation Integrations.
How to open the integration's configuration dialog
- Access App Central and install the integration. (You can configure at installation, or after installation with the following steps.)
- Go to the Integrations page.
Classic UI. In the main Sumo Logic menu, select Automation and then select Integrations in the left nav bar.
New UI. In the main Sumo Logic menu, select Automation > Integrations. You can also click the Go To... menu at the top of the screen and select Integrations. - Select the installed integration.
- Hover over the resource name and click the Edit button that appears.
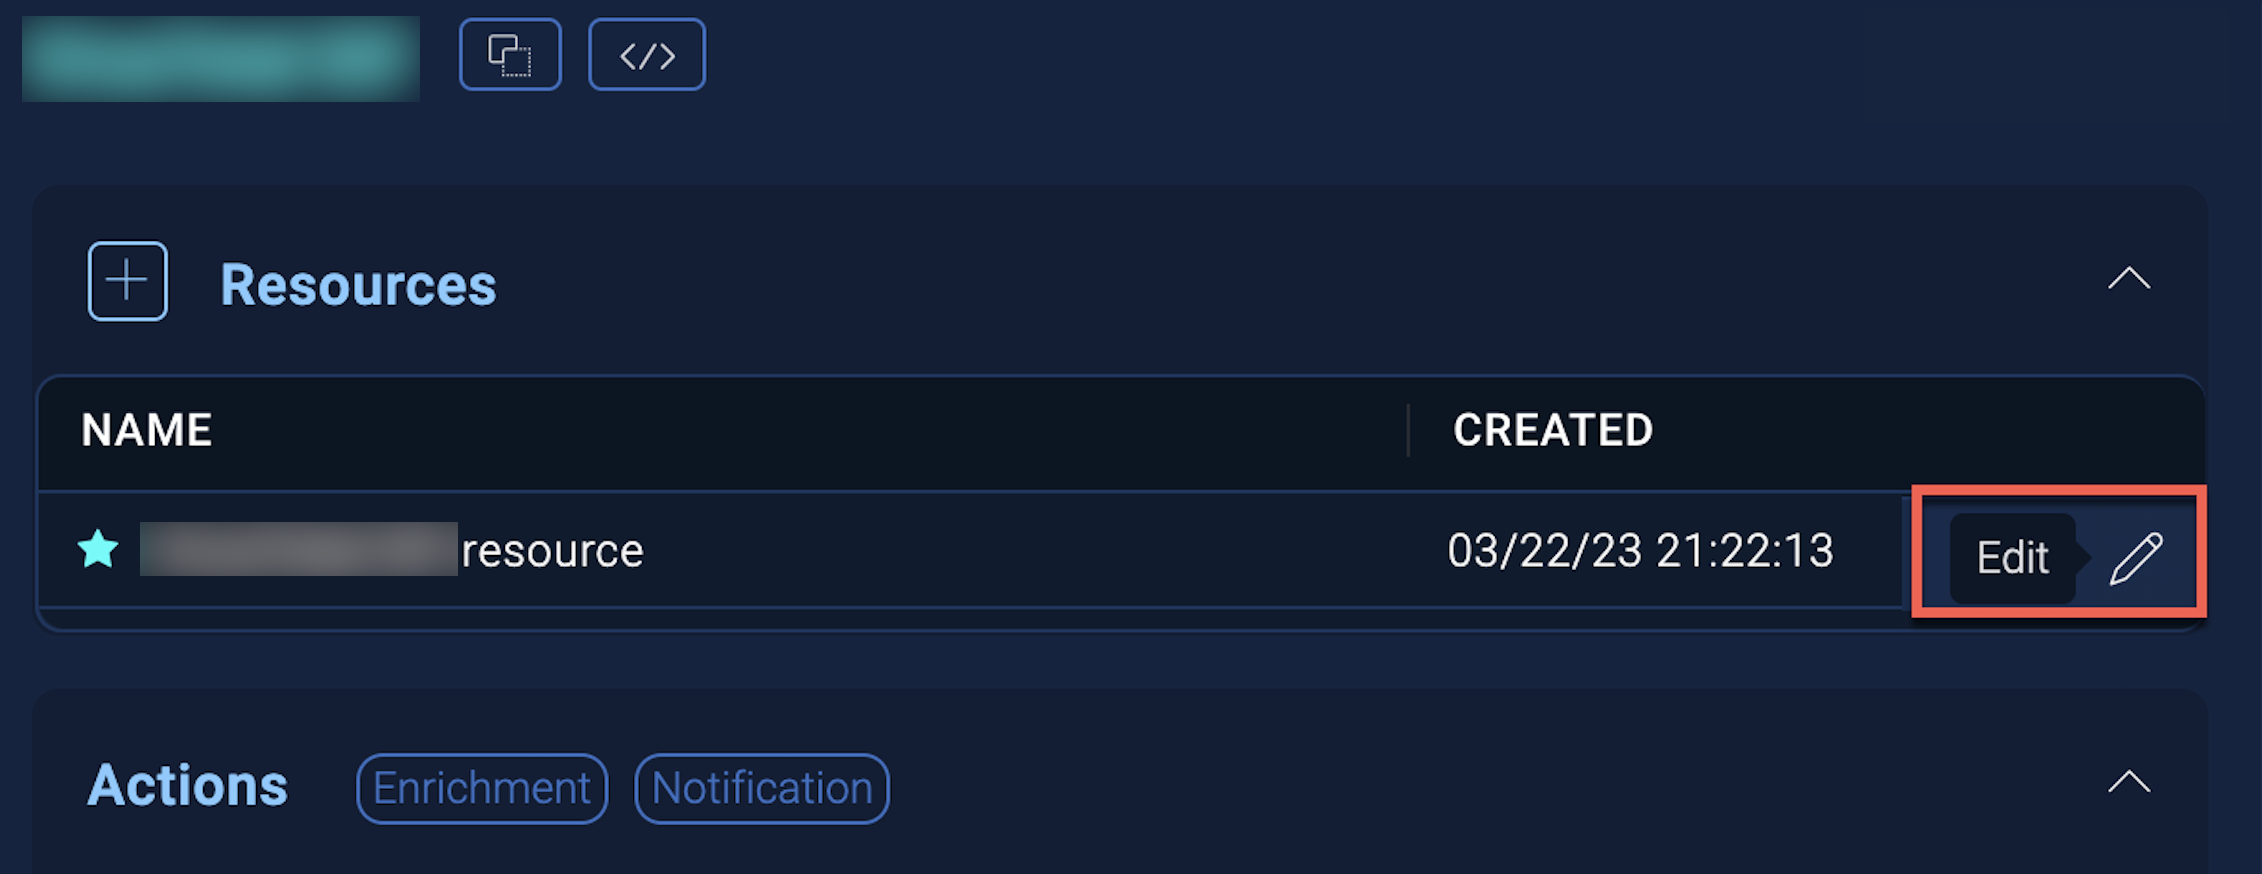
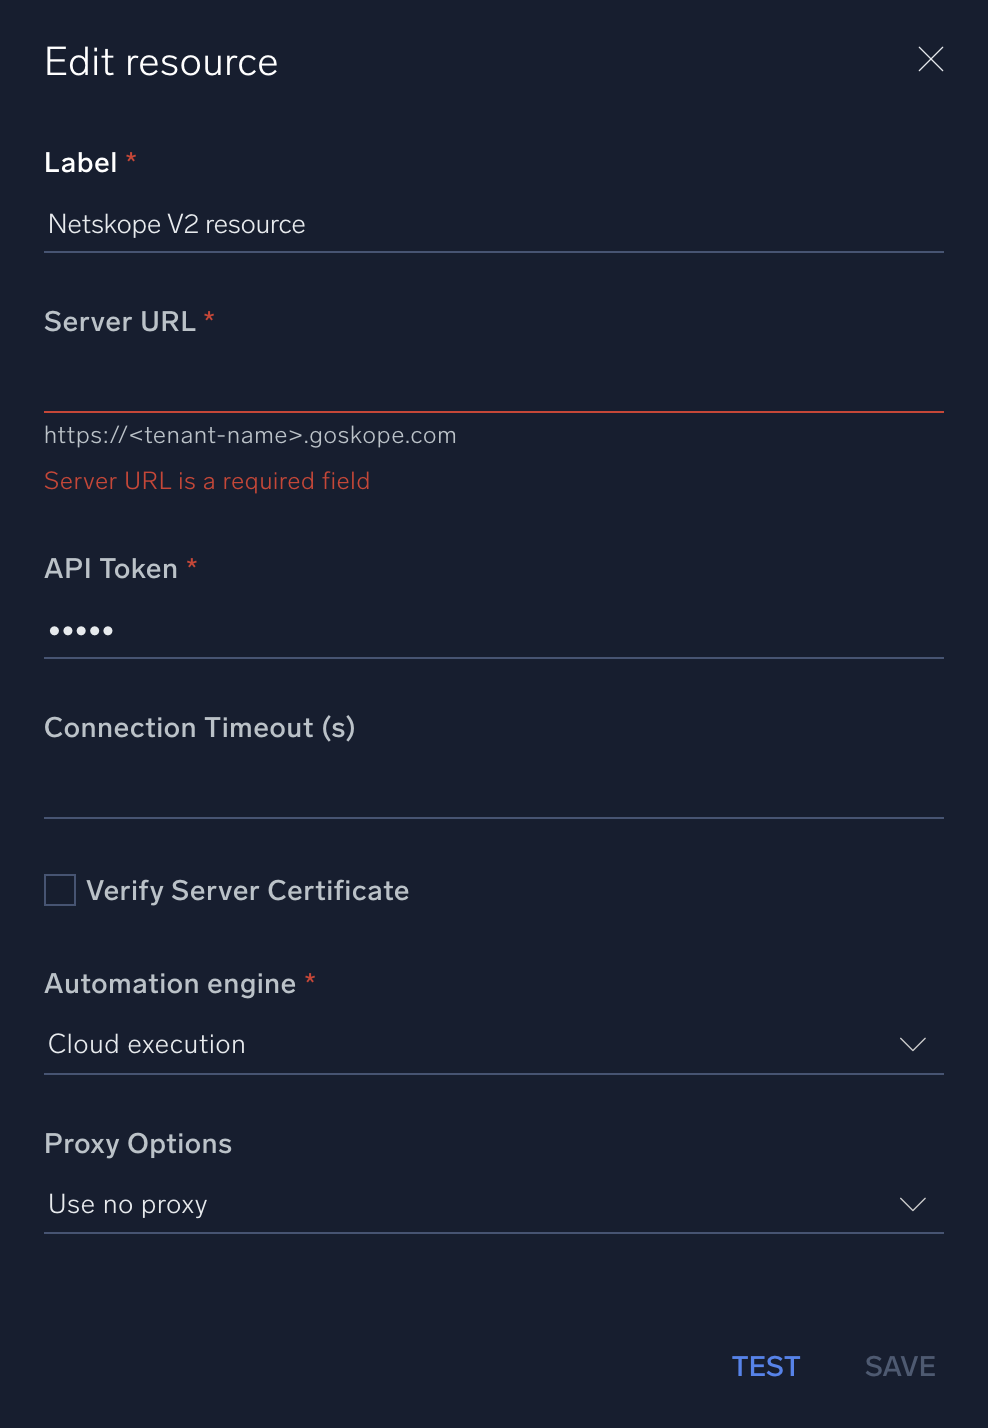
In the configuration dialog, enter information from the product you're integrating with. When done, click TEST to test the configuration, and click SAVE to save the configuration:
-
Label. Enter the name you want to use for the resource.
-
Server URL. Enter the URL for API V2 REST API in the format
https://<tenant-name>.goskope.com -
Tenant API Token. Enter the API token you copied earlier.
-
Event Type. Select the event type (additionally, if you need to, you can populate the query daemons):
- Application
- Page
- Audit
-
Connection Timeout (s). Set the maximum amount of time the integration will wait for a server's response before terminating the connection. Enter the connection timeout time in seconds (for example,
180). -
Verify Server Certificate. Select to validate the server’s SSL certificate.
-
Automation Engine. Select Cloud execution for this certified integration. Select a bridge option only for a custom integration. See Cloud or Bridge execution.
-
Proxy Options. Select whether to use a proxy. (Applies only if the automation engine uses a bridge instead of cloud execution.)
- Use no proxy. Communication runs on the bridge and does not use a proxy.
- Use default proxy. Use the default proxy for the bridge set up as described in Using a proxy.
- Use different proxy. Use your own proxy service. Provide the proxy URL and port number.
For information about Netskope V2, see Netskope V2 documentation.
Change Log
- December 21, 2022 - First upload
- July 13, 2023 (v1.1)
- Changed fields visibility
- Changed Daemon compatibility
- November 5, 2024 (v1.2) - Added New action
- URL List Deploy