SMTP V3

Version: 3.2
Updated: Mar 18, 2024
This integration is only for Cloud SOAR.
Allows you to connect your mailbox with Cloud SOAR and send emails via SMTP protocol.
Actions
- Send Email (Notification) - Send an email.
Guidelines for composing the email body in the "Send Email" action
-
Raw Text Message. When sending a plain text message in the email body, it's important to avoid clicking on the text field after you've written your message. If you do click on the text field, the formatting of your text may become distorted or "munged" together. To ensure your text retains its original formatting when delivered in the email, avoid interacting with the text field after composing your message.
-
HTML Template. For emails using an HTML template, ensure you have a properly structured HTML template. Whether you click on the text field or not after writing the message, the email will generally display correctly with proper formatting as expected.
However, for optimal results with HTML templates, we recommend clicking on the text field after writing your message. This action helps ensure that the HTML content is recognized and formatted correctly, giving you the desired outcome in the final email.
Summary
- Raw Text Message. Avoid clicking on the text field after writing to prevent formatting issues.
- HTML Template. Clicking on the text field after writing is recommended for the best formatting, though your email should still display correctly without this step.
Category
Email Gateway
Configure SMTP V3 in Automation Service and Cloud SOAR
Before you can use this automation integration, you must configure its authentication settings so that the product you're integrating with can communicate with Sumo Logic. For general guidance, see Configure Authentication for Automation Integrations.
How to open the integration's configuration dialog
- Access App Central and install the integration. (You can configure at installation, or after installation with the following steps.)
- Go to the Integrations page.
Classic UI. In the main Sumo Logic menu, select Automation and then select Integrations in the left nav bar.
New UI. In the main Sumo Logic menu, select Automation > Integrations. You can also click the Go To... menu at the top of the screen and select Integrations. - Select the installed integration.
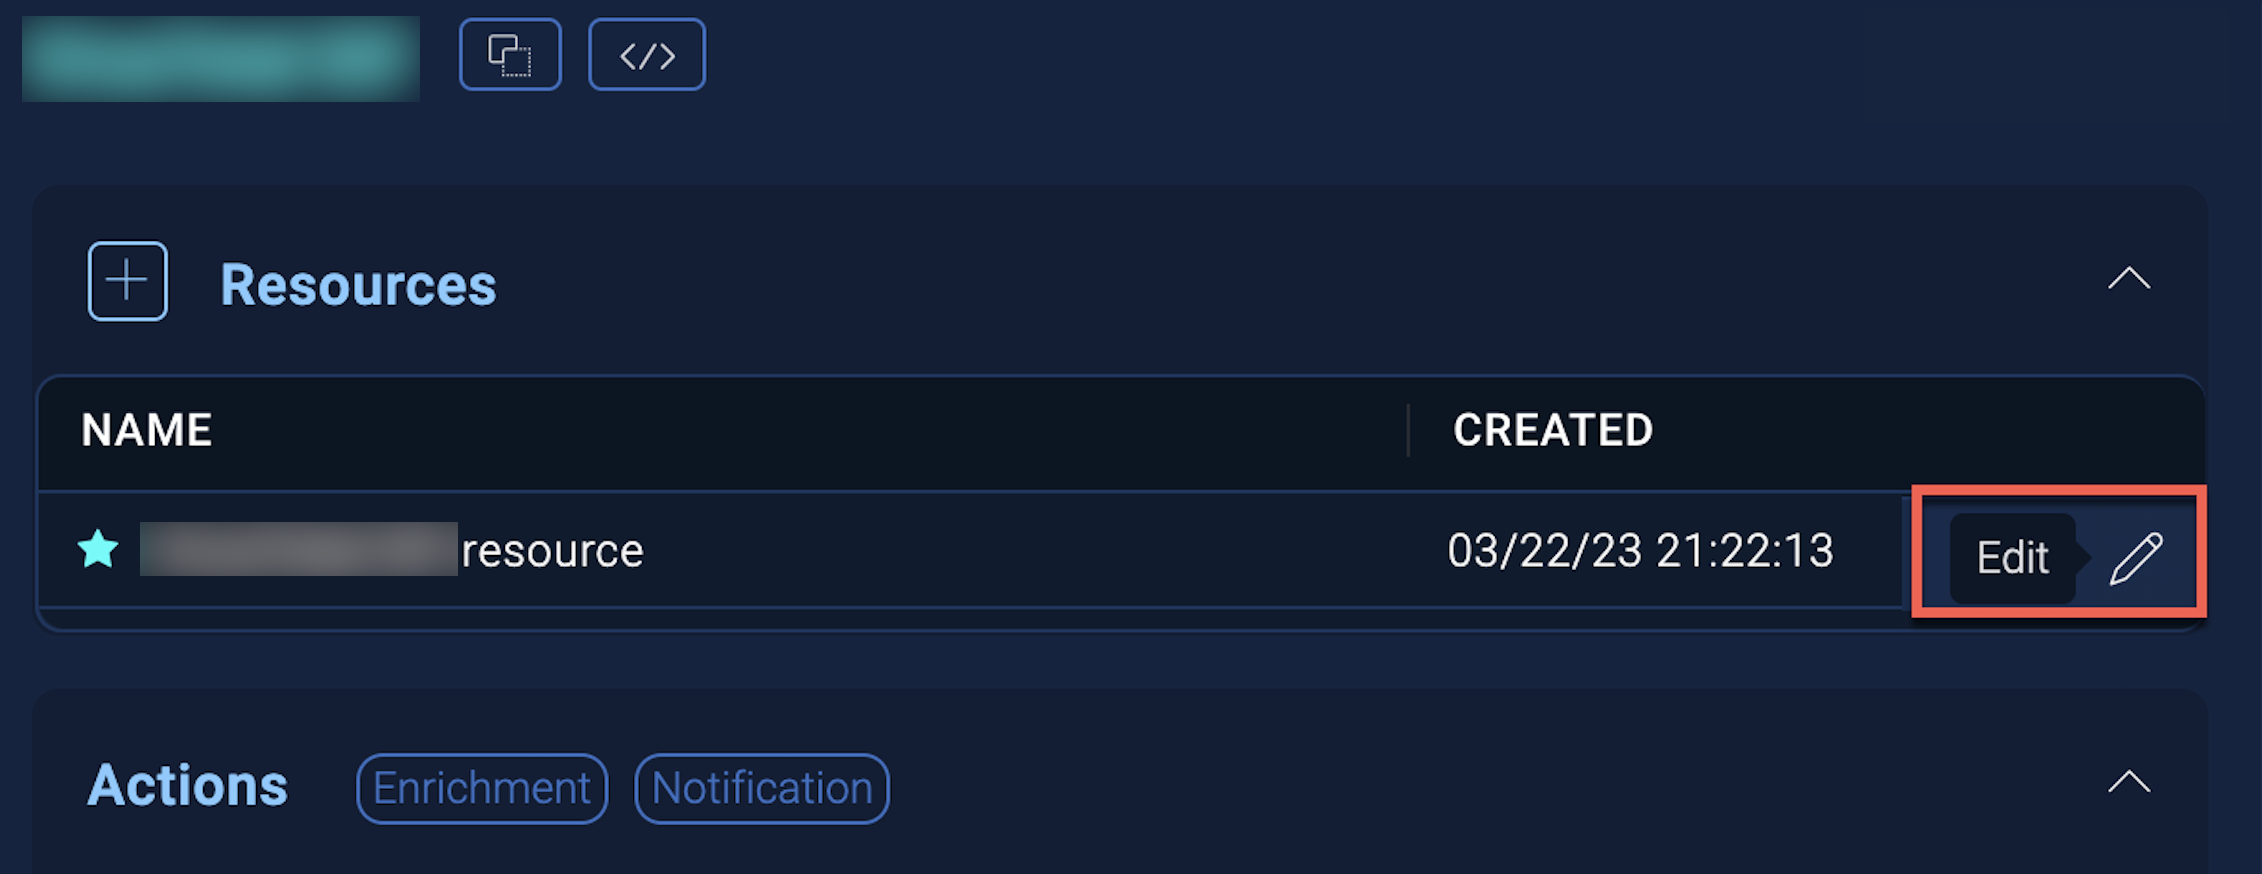
- Hover over the resource name and click the Edit button that appears.
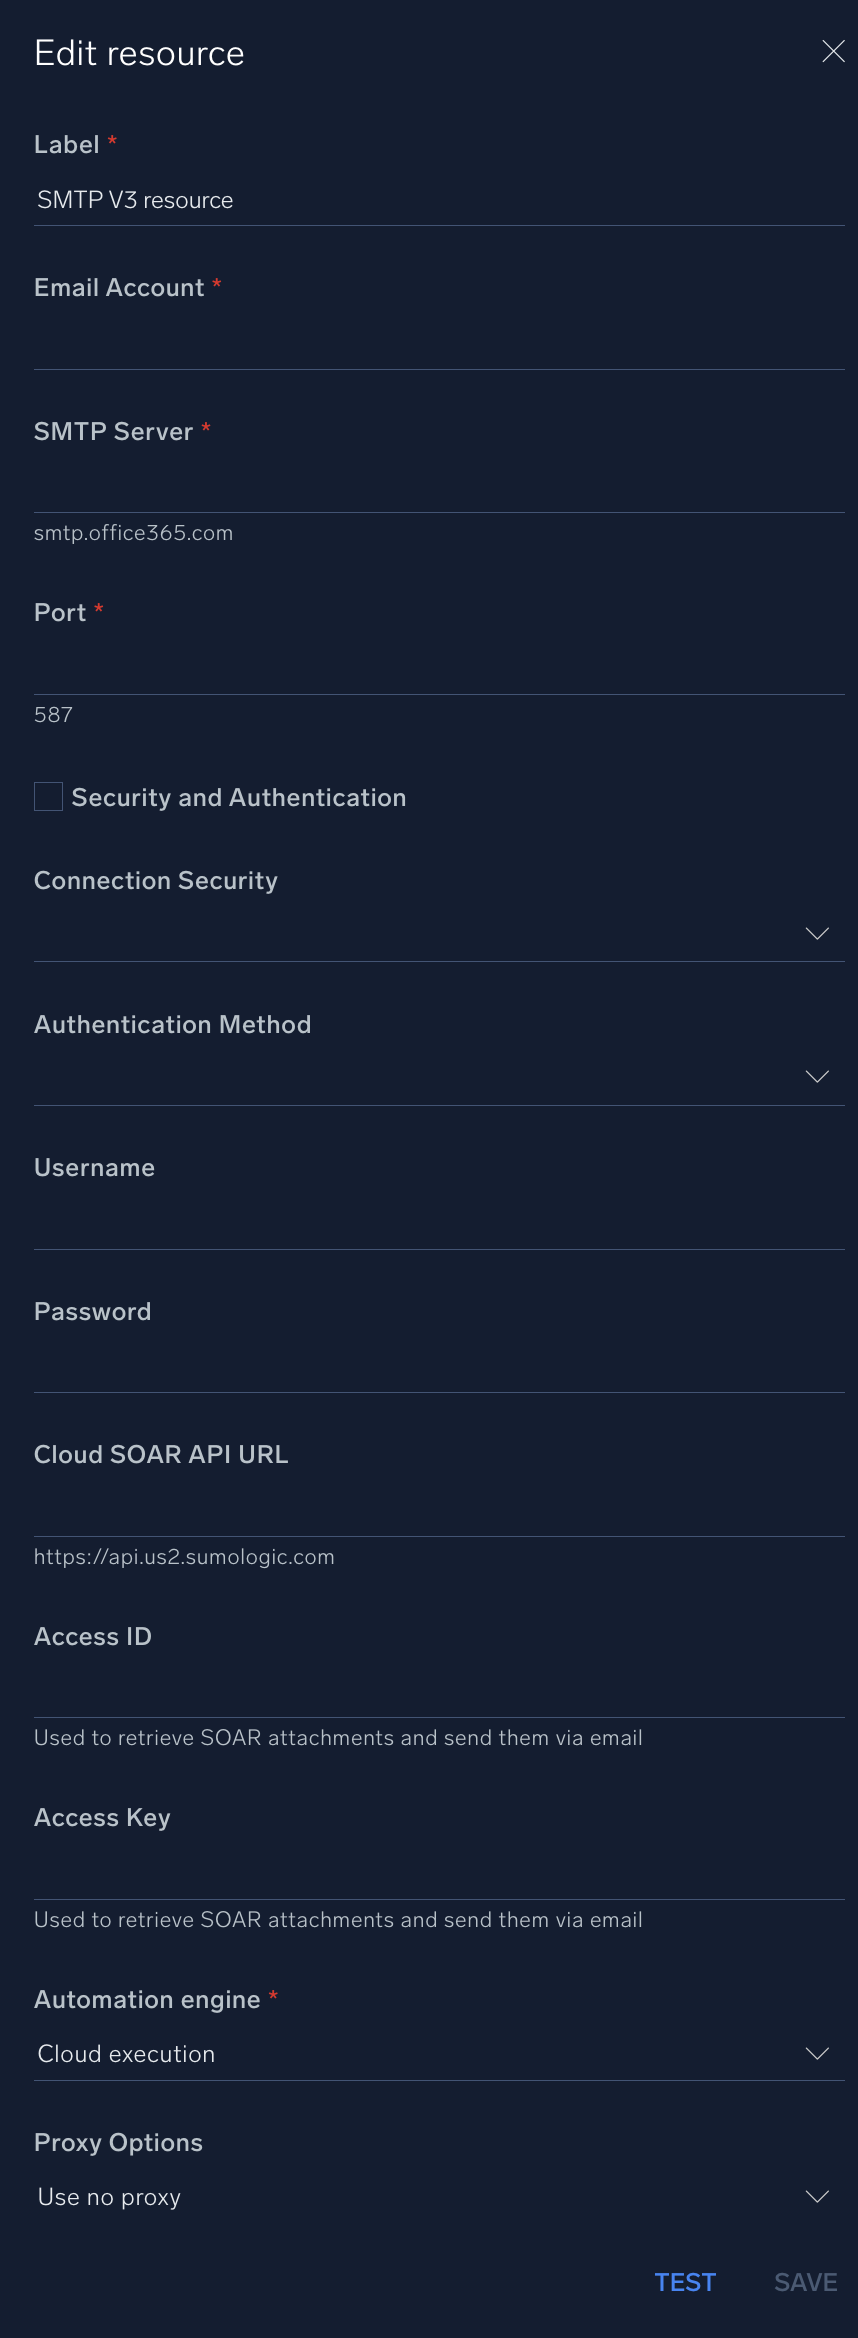
In the configuration dialog, enter information from the product you're integrating with. When done, click TEST to test the configuration, and click SAVE to save the configuration:
-
Label. Enter the name you want to use for the resource.
-
Email Account. Enter an SMTP email account address.
-
SMTP Server. Enter your SMTP server, for example,
smtp.office365.com. -
Port. Enter your SMTP port, for example,
587. -
Verify Server Certificate. Select to validate the server’s SSL certificate.
-
Connection Security. Select the security method for your connection:
- None
- STARTTLS
- SSL/TLS
-
Authentication Method. Select the authentication method:
- None
- Plain password
- Encrypted password
-
Username. Enter the username for an SMTP admin user authorized to authenticate the integration.
-
Password. Enter the password for the admin user.
-
Cloud SOAR API URL. Enter your Sumo Logic API URL (for example,
https://api.us2.sumologic.com). Enter the API endpoint URL for your region. -
Access ID. Enter the access ID for your Sumo Logic access key. Select Default as the scope when generating access keys.
-
Access Key. Enter the access key corresponding to your Sumo Logic access ID.
-
Automation Engine. Select Cloud execution for this certified integration. Select a bridge option only for a custom integration. See Cloud or Bridge execution.
-
Proxy Options. Select whether to use a proxy. (Applies only if the automation engine uses a bridge instead of cloud execution.)
- Use no proxy. Communication runs on the bridge and does not use a proxy.
- Use default proxy. Use the default proxy for the bridge set up as described in Using a proxy.
- Use different proxy. Use your own proxy service. Provide the proxy URL and port number.
Change Log
- June 20, 2022 - First upload
- October 6, 2023 (v3.1) - Integration Updated
- March 18, 2024 (v3.2) - Send Email action updated