Sumo Logic Notifications By Gmail

Version: 1.0
Updated: Aug 13, 2024
Integration with Sumo Logic platform for monitors and Gmail notification.
Actions
- Assess Alert Status (Scheduled) - Periodically monitor status of a Sumo Logic alert and notify a Gmail user about an unresolved alert.
- Authorize DO NOT USE IN PLAYBOOK (Enrichment) - Authorize access to Gmail. This should only be run once and not from a playbook.
- Confirm DO NOT USE IN PLAYBOOK (Enrichment) - Confirm access to Gmail. This should only be run once and not from a playbook.
Sumo Logic Notifications By Gmail configuration
-
Create an access key and copy the resulting Access ID and Access Key. Store the ID and access key (temporally) into a text editor.
noteThe ID and key won't be available again once you close the confirmation screen.
-
Create a new Project in the Developer Console.
-
In the APIs & Services section, navigate to Credentials and select Create Credentials: https://console.cloud.google.com/apis/api.
-
Select OAuth Client ID as the credential type and set the following inputs:
- Application Type. Web Application.
- Authorized redirect URIs > Add URI. Enter
http://localhost/.noteWill only be used to generate a refresh token.
-
Copy the resulting Client ID and Client Secret Key values, as these will be used later.
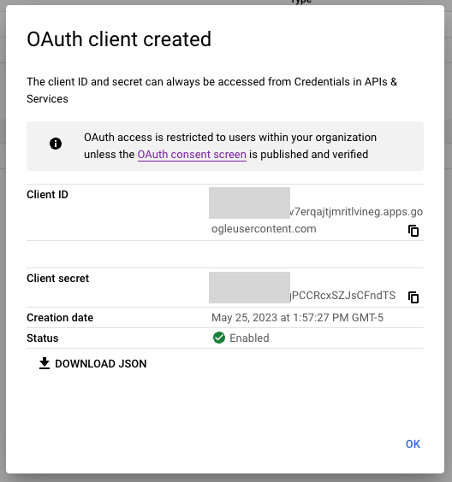
-
Navigate to the OAuth Consent Screen section and set the following inputs:
- App Name
- User Support Email. Set to an email that you have access to.
- Developer Contact Information. Set to an email that you have access to.
-
The following Scopes are needed:
https://mail.google.comhttps://www.googleapis.com/auth/gmail.modifyhttps://www.googleapis.com/auth/gmail.readonlyhttps://www.googleapis.com/auth/admin.directory.userhttps://www.googleapis.com/auth/gmail.composehttps://www.googleapis.com/auth/gmail.sendhttps://www.googleapis.com/auth/gmail.settings.basichttps://www.googleapis.com/auth/gmail.settings.sharing
-
In Cloud SOAR, navigate to Automation > Integrations > Gmail, add a new Resource and provide the following inputs:
- Client ID (generated in step 4)
- Client Secret Key (generated in step 4)
-
Save and close the Resource.
-
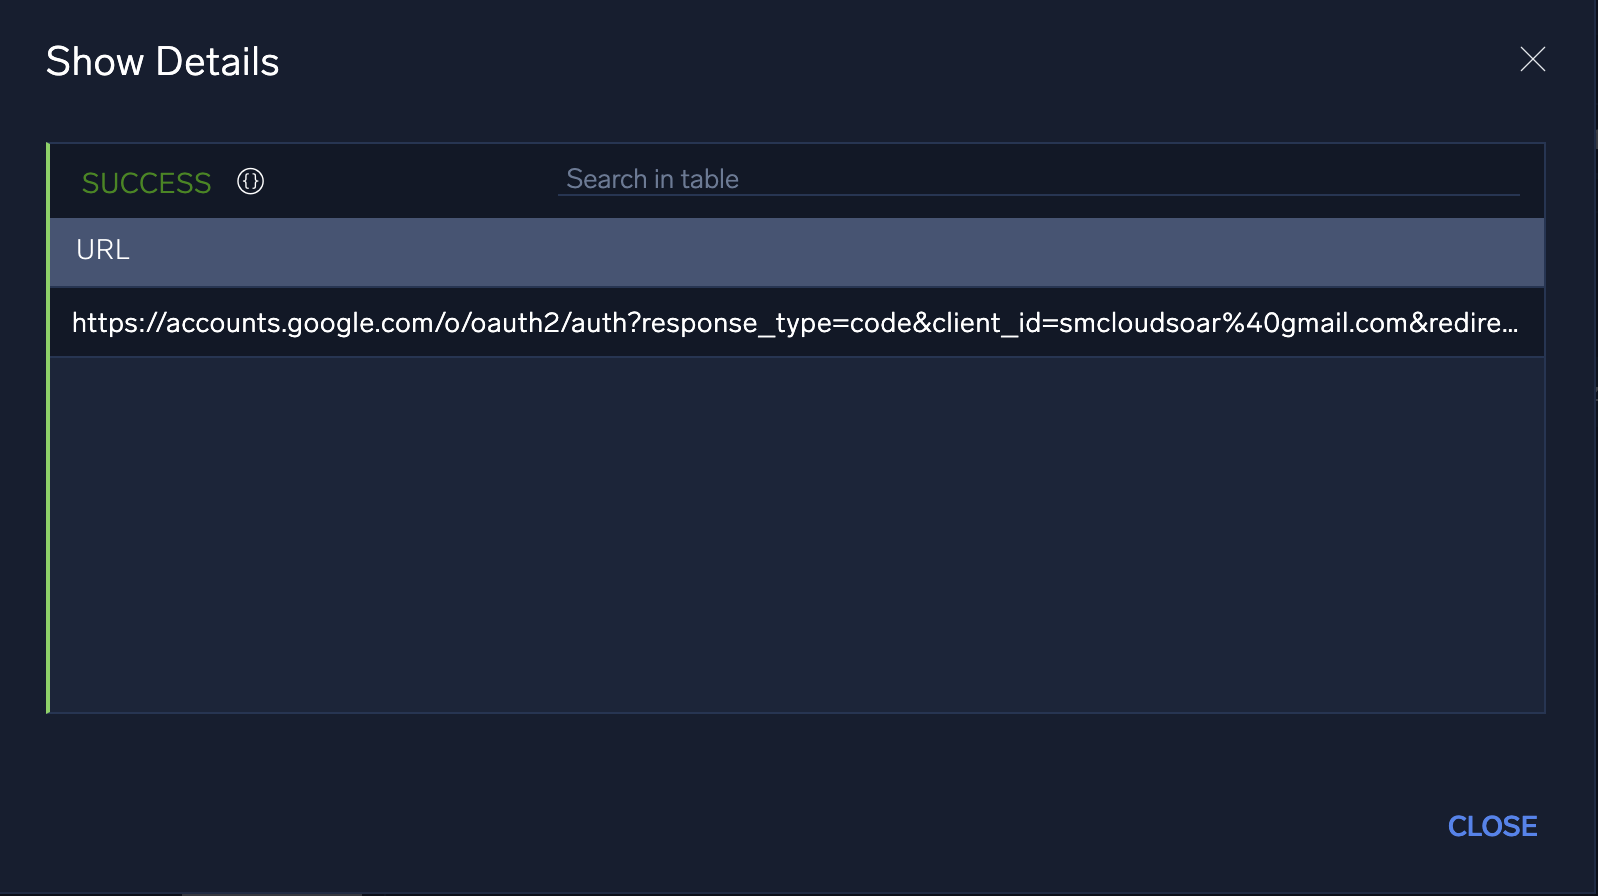
Click and execute the Authorize DO NOT USE IN PLAYBOOK action. If successful, a URL will be returned.
-
Open a new browser tab, and navigate to the URL generated in the previous step.
-
Provide consent for this developer project to access the Gmail API.
-
The response to this consent flow is the localhost redirect specified earlier. Copy this URL.
-
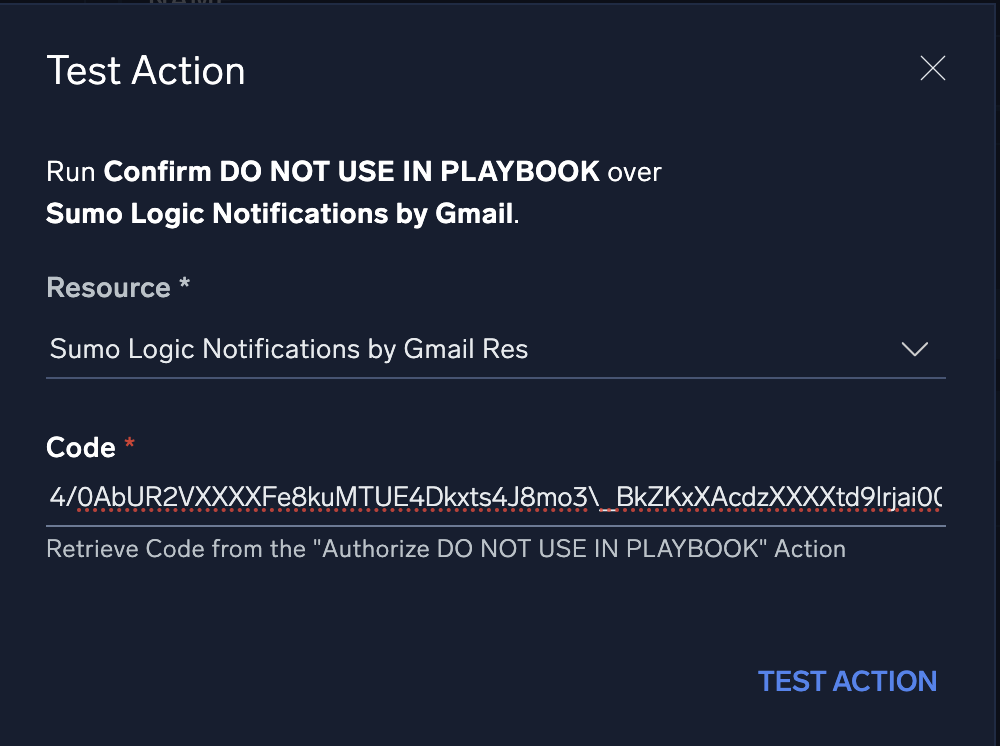
Within this URL, copy the code nested in this URL:
http://localhost/?code=4/0AbUR2VXXXXFe8kuMTUE4Dkxts4J8mo3\_BkZKxXAcdzXXXXtd9lrjai00pEuG0YXWtWjimg&scope=https://mail.google.com/%20https://www.googleapis.com/auth/gmail.settings.basic

-
In Cloud SOAR, click and run the Confirm DO NOT USE IN PLAYBOOK action, providing the code generated above in the Code input.
-
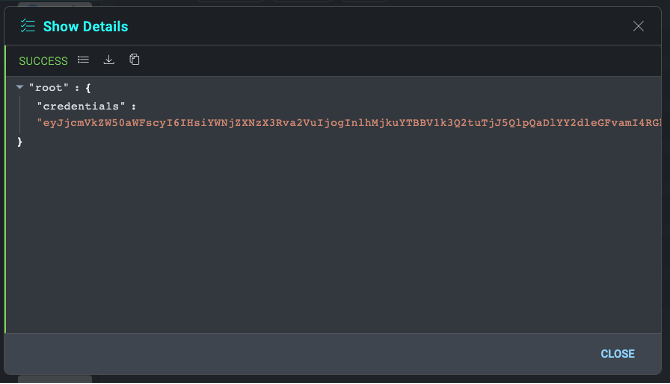
This will return a JSON result with a "credentials" key. Copy the value of this key, which is a base64-encoded string JSON credential we will use in the next and final step.
-
Paste the base64 string in the "credentials" field of the Integration Resource created in step 12. Save and close the resource window.
External Libraries
Configure Sumo Logic Notifications By Gmail in Automation Service and Cloud SOAR
Before you can use this automation integration, you must configure its authentication settings so that the product you're integrating with can communicate with Sumo Logic. For general guidance, see Configure Authentication for Automation Integrations.
How to open the integration's configuration dialog
- Access App Central and install the integration. (You can configure at installation, or after installation with the following steps.)
- Go to the Integrations page.
Classic UI. In the main Sumo Logic menu, select Automation and then select Integrations in the left nav bar.
New UI. In the main Sumo Logic menu, select Automation > Integrations. You can also click the Go To... menu at the top of the screen and select Integrations. - Select the installed integration.
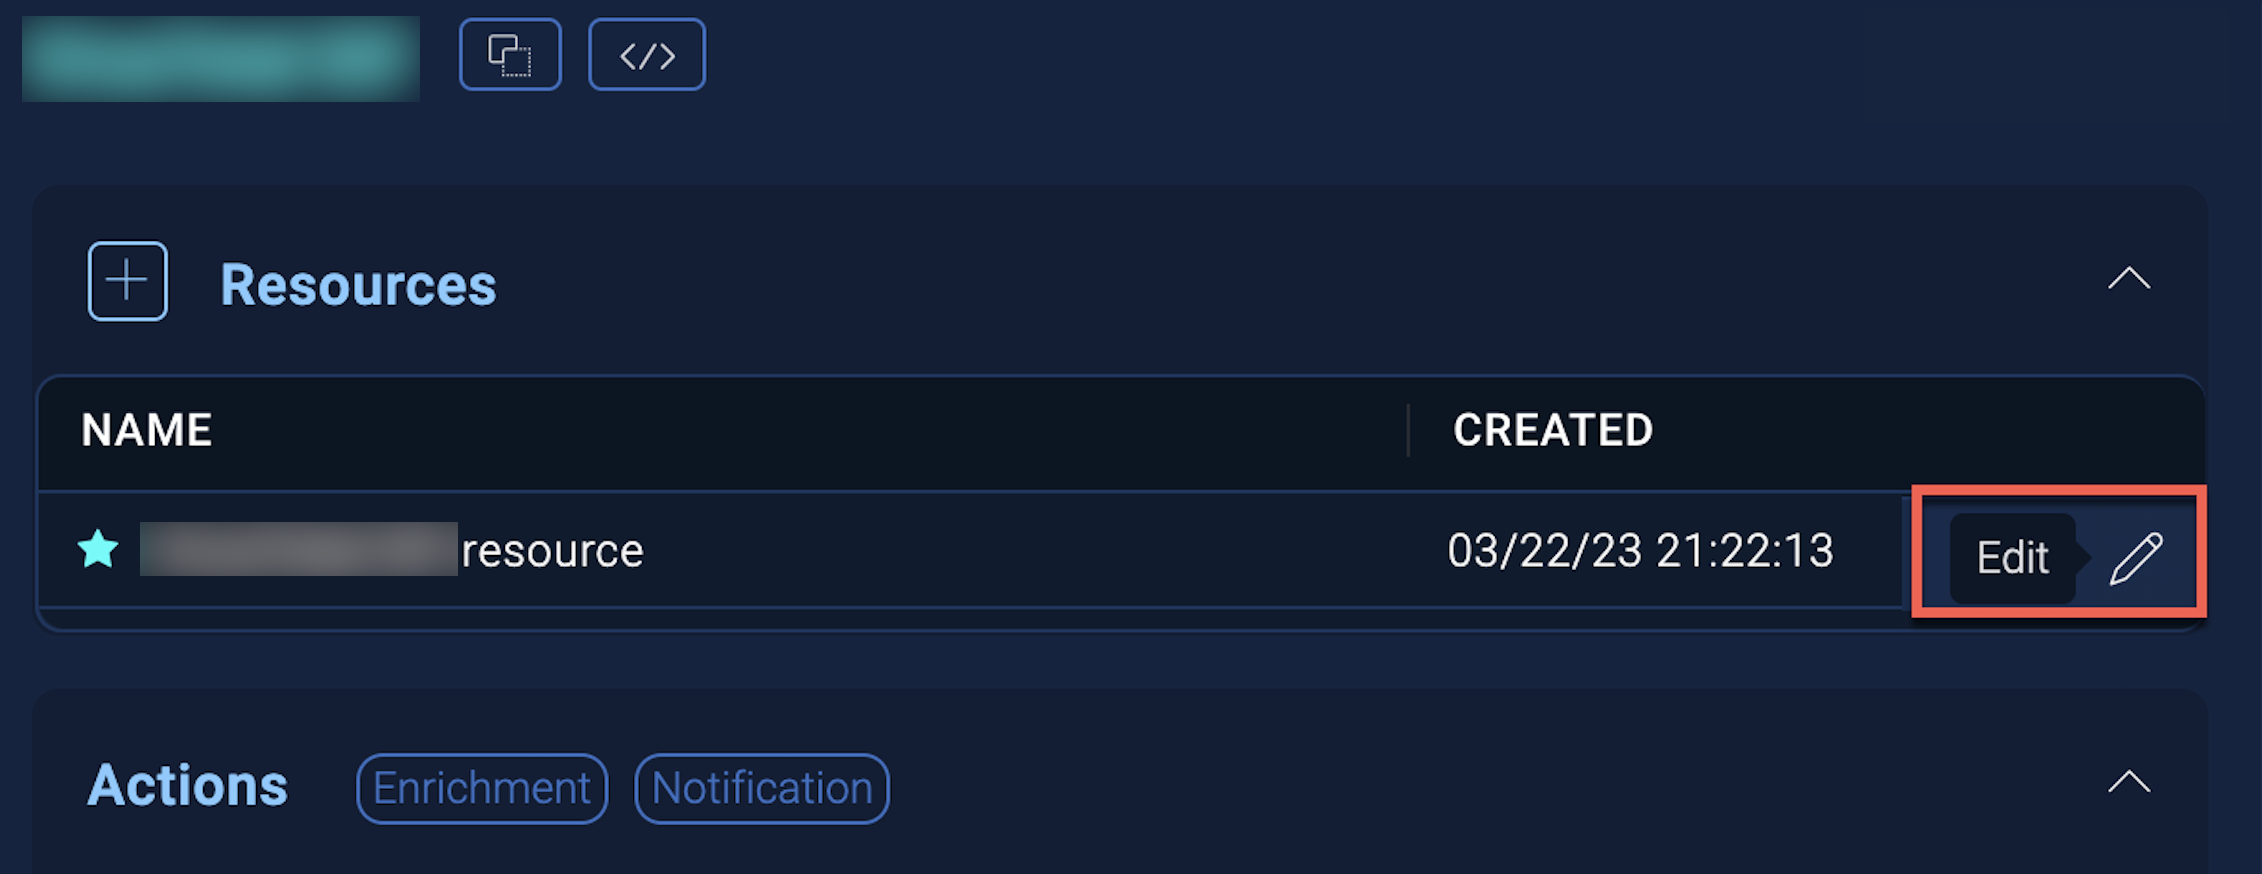
- Hover over the resource name and click the Edit button that appears.
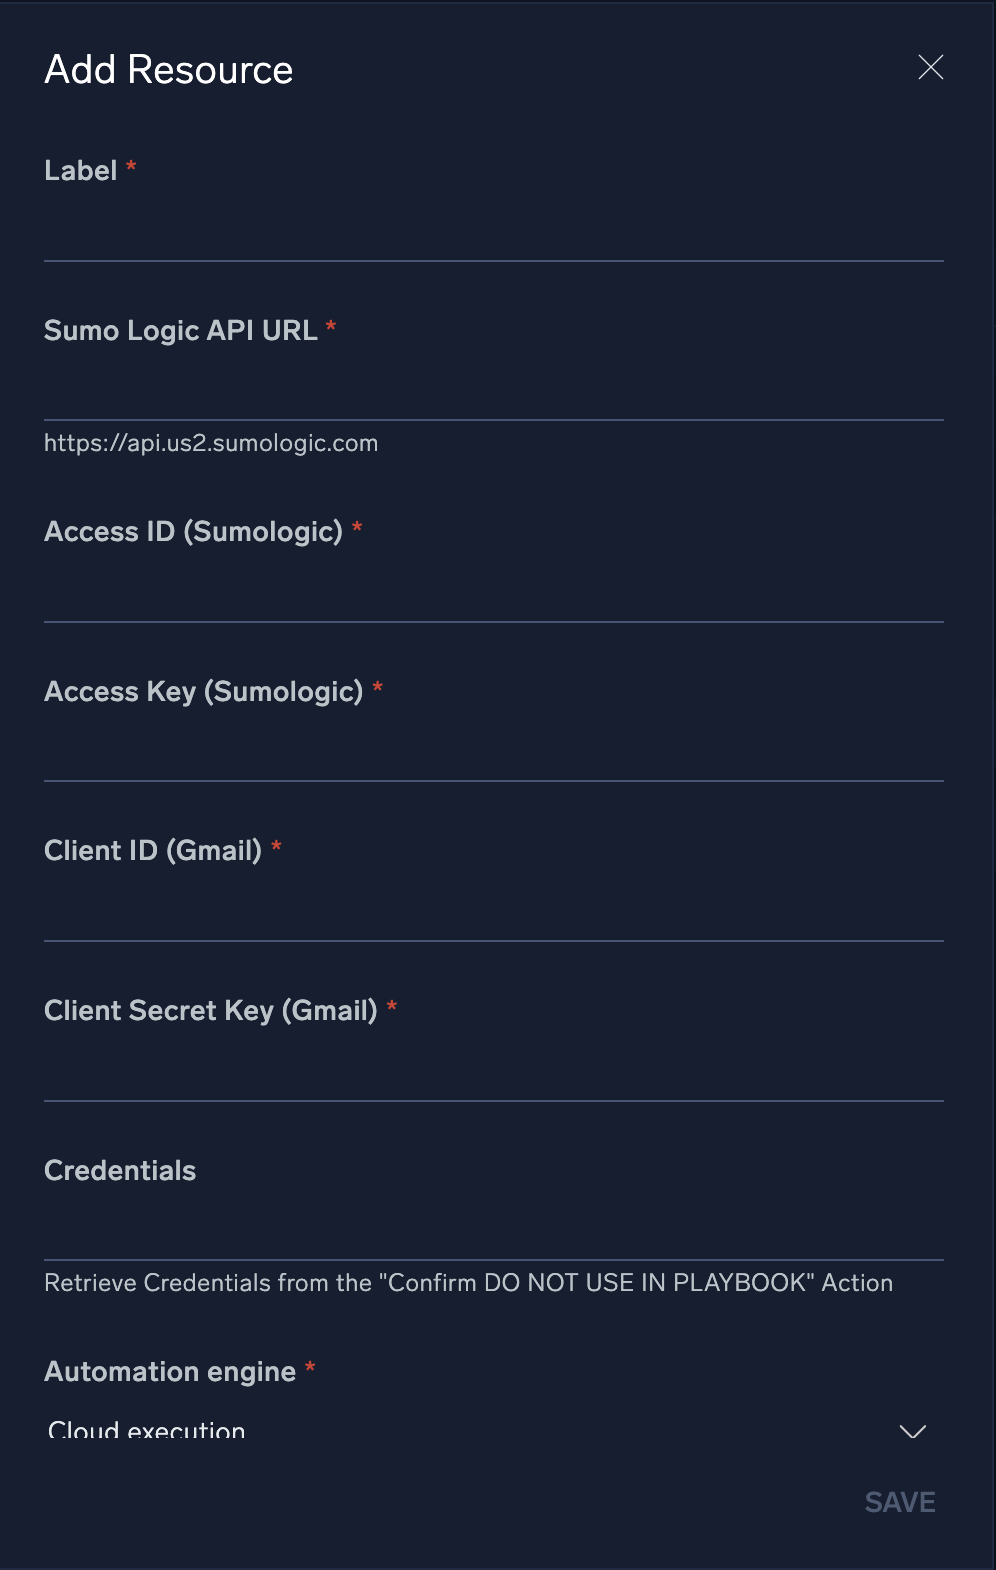
In the configuration dialog, enter information from the product you're integrating with. When done, click TEST to test the configuration, and click SAVE to save the configuration:
-
Label. Enter the name you want to use for the resource.
-
Sumo Logic API URL. Enter the API endpoint URL for your region (for example,
https://api.sumologic.com). -
Access ID. Enter the access ID for your Sumo Logic access key. Select Default as the scope when generating access keys.
-
Access Key. Enter the access key corresponding to your Sumo Logic access ID.
-
Client ID (Gmail). Enter the Gmail client ID you copied earlier.
-
Client Secret Key (Gmail). Enter the secret for the client ID.
-
Credentials. Retrieve credentials from the "Confirm DO NOT USE IN PLAYBOOK" action.
-
Connection Timeout (s). Set the maximum amount of time the integration will wait for a server's response before terminating the connection. Enter the connection timeout time in seconds (for example,
180). -
Verify Server Certificate. Select to validate the server’s SSL certificate.
-
Automation Engine. Select Cloud execution for this certified integration. Select a bridge option only for a custom integration. See Cloud or Bridge execution.
-
Proxy Options. Select whether to use a proxy. (Applies only if the automation engine uses a bridge instead of cloud execution.)
- Use no proxy. Communication runs on the bridge and does not use a proxy.
- Use default proxy. Use the default proxy for the bridge set up as described in Using a proxy.
- Use different proxy. Use your own proxy service. Provide the proxy URL and port number.
Change Log
- Aug 13, 2024 - First upload