About App Central
App Central provides apps to help you be more productive in the Automation Service. From here, you can search and add new integrations with all the needed components.
View App Central
Classic UI. To access App Central, in the main Sumo Logic menu select Automation and then and click App Central in the left navigation bar.
New UI. To access App Central, in the main Sumo Logic menu select Automation > App Central. You can also click the Go To... menu at the top of the screen and select App Central.
Before you can access App Central, you must have the App Central Access role capability. For more information on role capabilities needed to use the Automation Service, see Configure role capabilities.
App Central UI
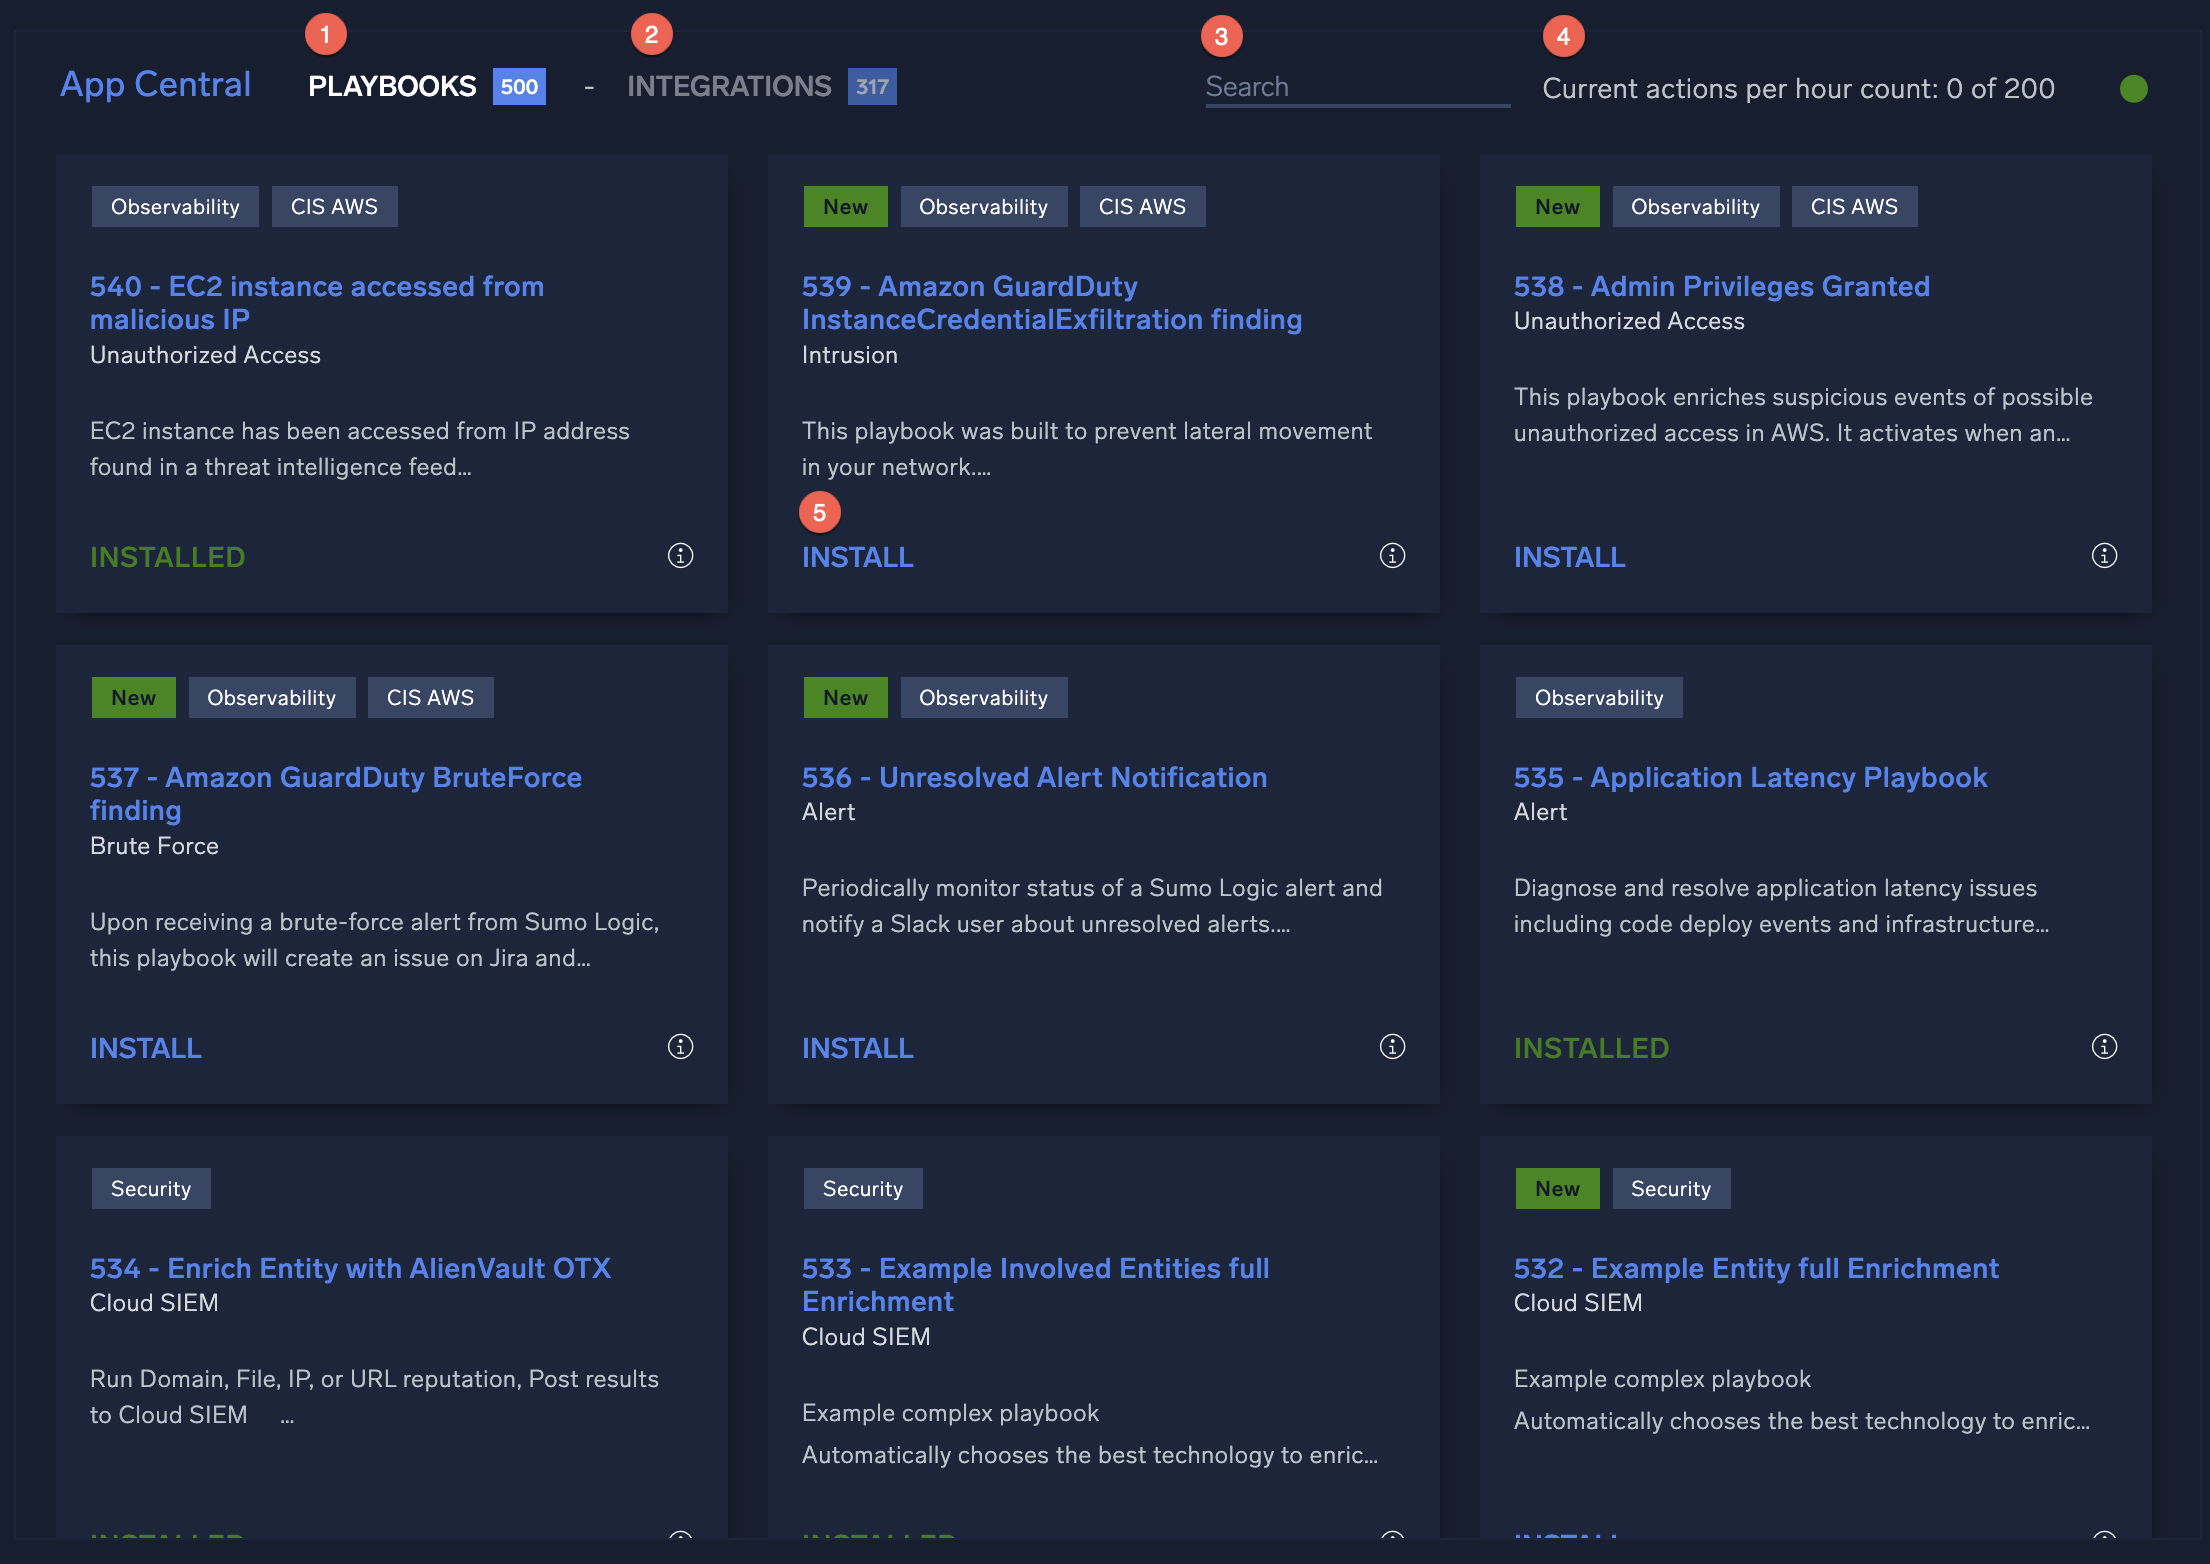
- Playbooks. Click to view playbooks in App Central that are available to install.
- Integrations. Click to view integrations in App Central that are available to install.
- Search. Search for integrations or playbooks to install.
- Current hour actions count. Shows how many playbook actions have been executed in the current hour in your organization.
note
The number of actions that can be run per hour is limited to prevent abuse of system resources or runaway processes. For more information, see Actions limit.
- Install. Click to install an integration or install a playbook.
Work with integrations in App Central
Integrations are connectors to applications from industry-leading network and security vendors. Resources in the integrations provide the actions run by Playbooks. While the Integrations menu item in the Automation Service UI shows the integrations installed to your environment, the Integrations tab in App Central shows you integrations in App Central that you can install.
Install an integration from App Central
- Use the INSTALL in the lower left corner of the integration box. After installation is complete, INSTALLED replaces the INSTALL link in the corner of the integration box.
- IMPORTANT: Find the article for the integration in Integrations in App Central to see if there are additional steps you need to follow to configure the installed integration. Failure to perform these additional steps may result in the integration not working properly.
Update an integration from App Central
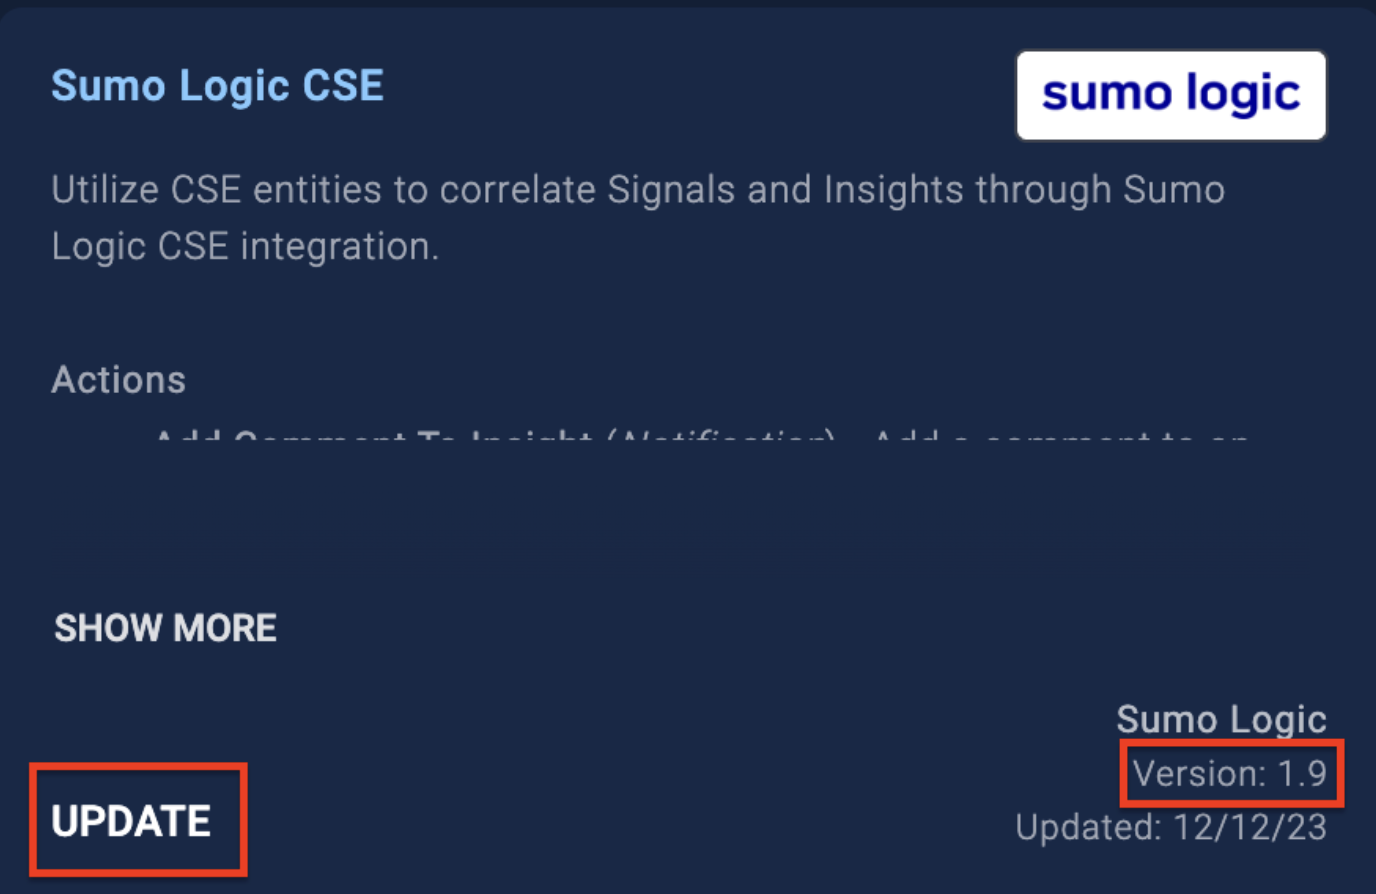
If a newer version of an installed integration is available, you can update the integration from App Central by clicking UPDATE in the lower left corner of the integration box.
Update integrations to include all available actions
The purpose of this section is to provide you the information you need to update your integrations to include all types of actions that should be present in that integration, for example, Containment, Custom, Scheduled, and so on. It's a good idea to update every integration installed from App Central to make sure you do not have any integrations without useful actions.
Update integrations in App Central using keywords in the bottom left corner of the integration:
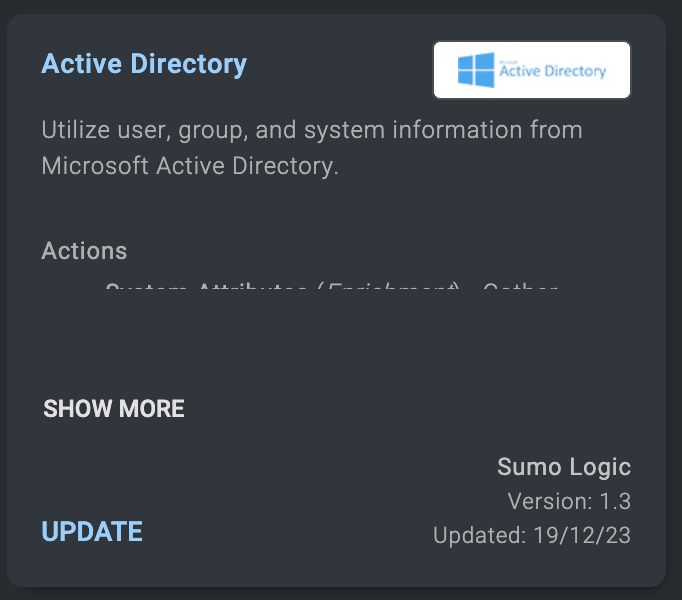
- UPDATE. Appears on the installed integrations if there is a new version of that integration and with a new YAML configuration file.
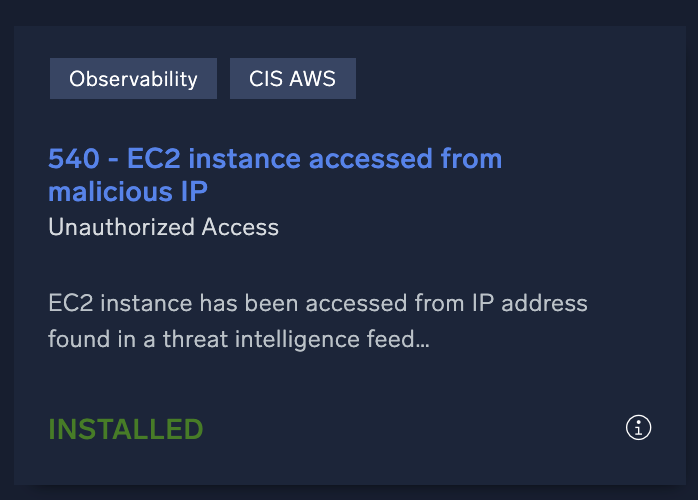
- INSTALLED: Appears when the integration is installed and updated to the latest version, and with the correct actions.
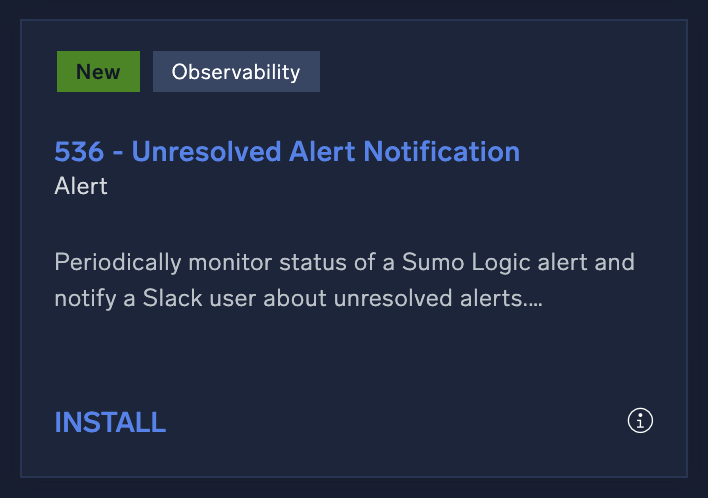
- INSTALL. Appears if this integration is not yet installed.
Update an installed integration to show all actions
Here an example of updating an installed integration.
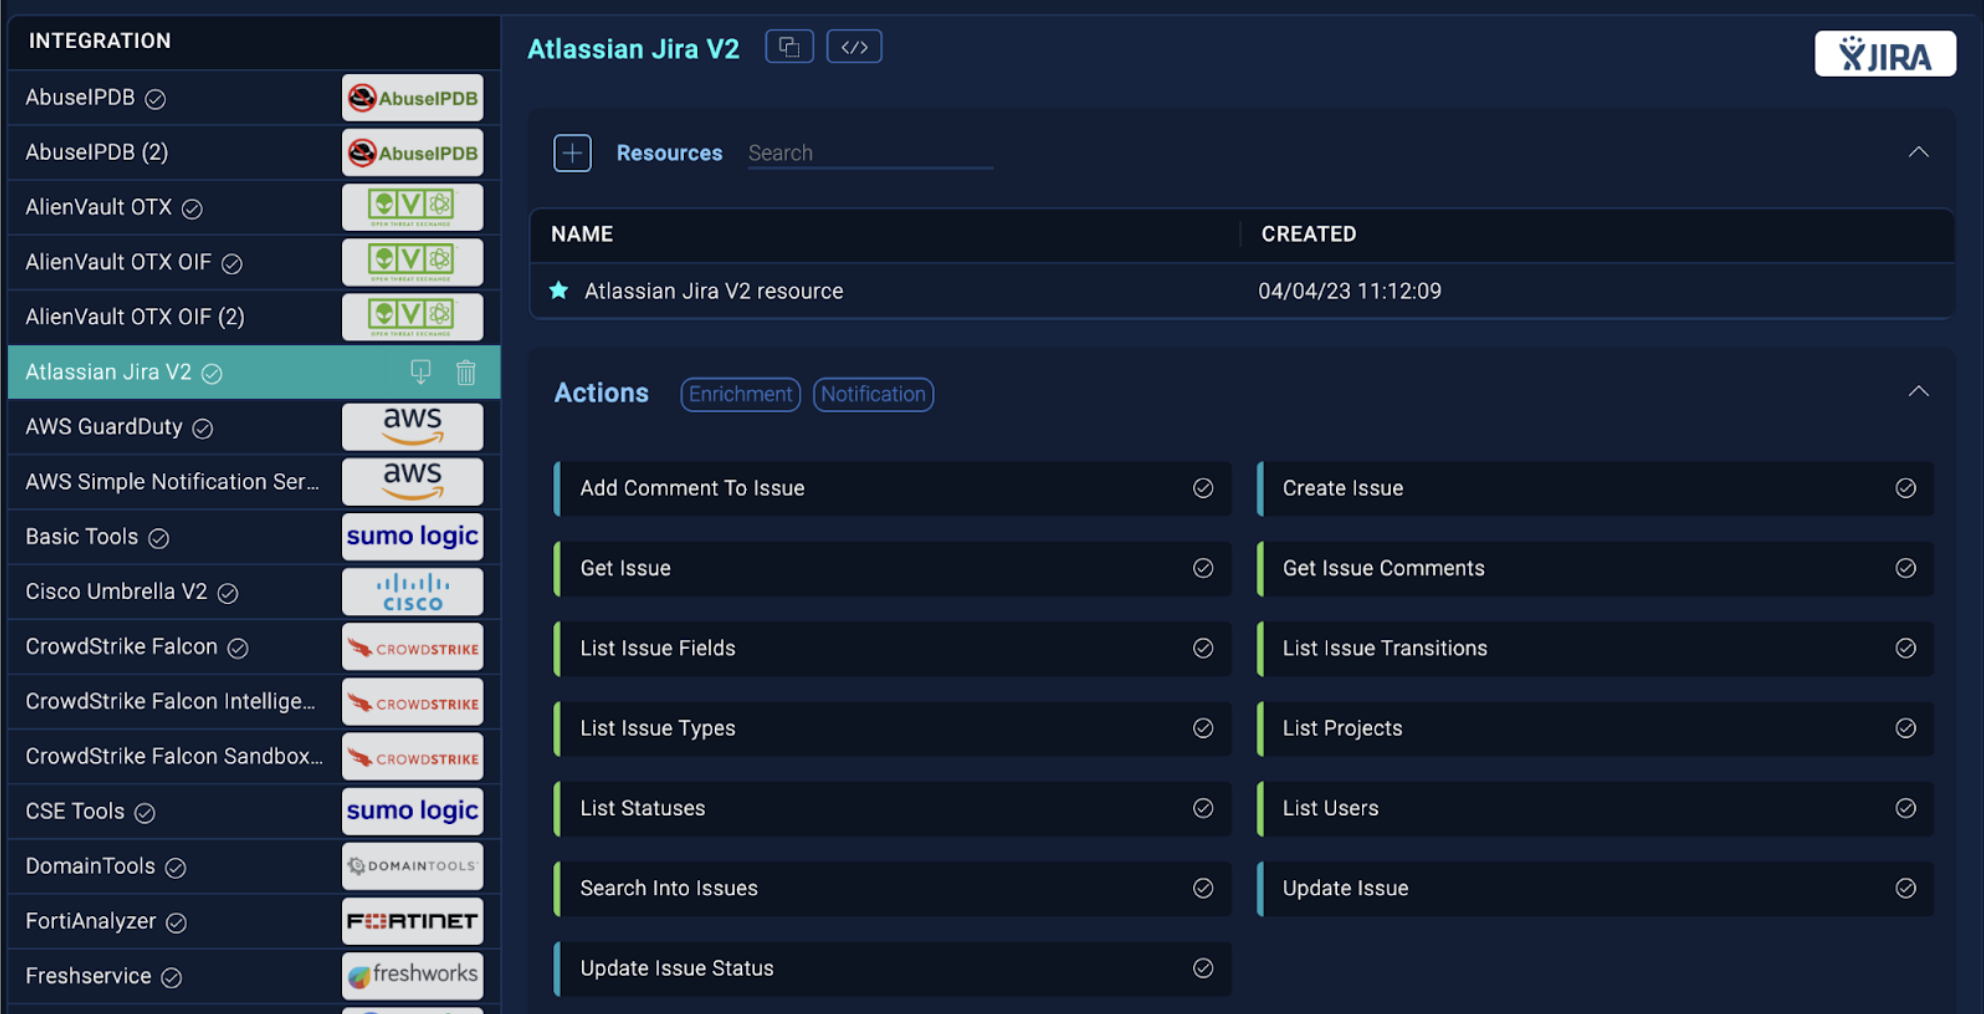
- In the Integrations section, check the actions present on the installed integration. In the example below, the only types of actions in the integration are Enrichment and Notification.
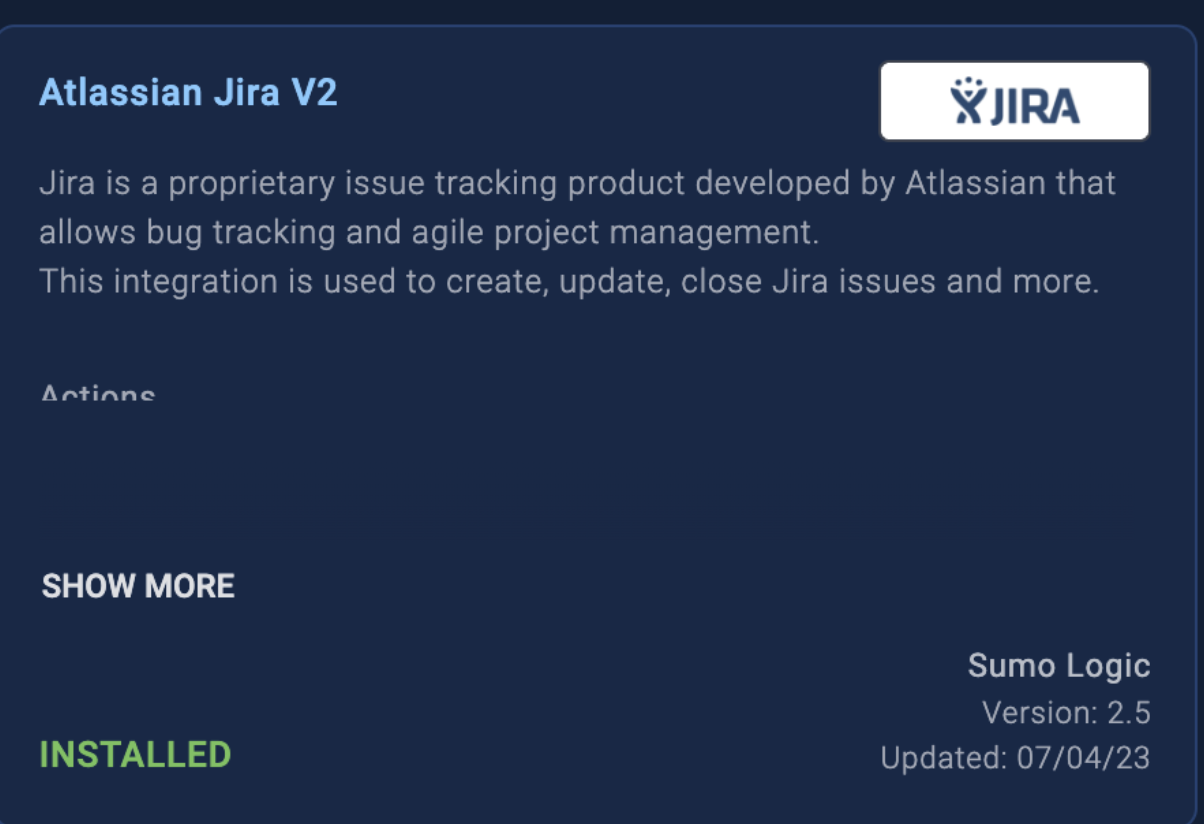
- Go to App Central and search for the same integration. Click the integration.
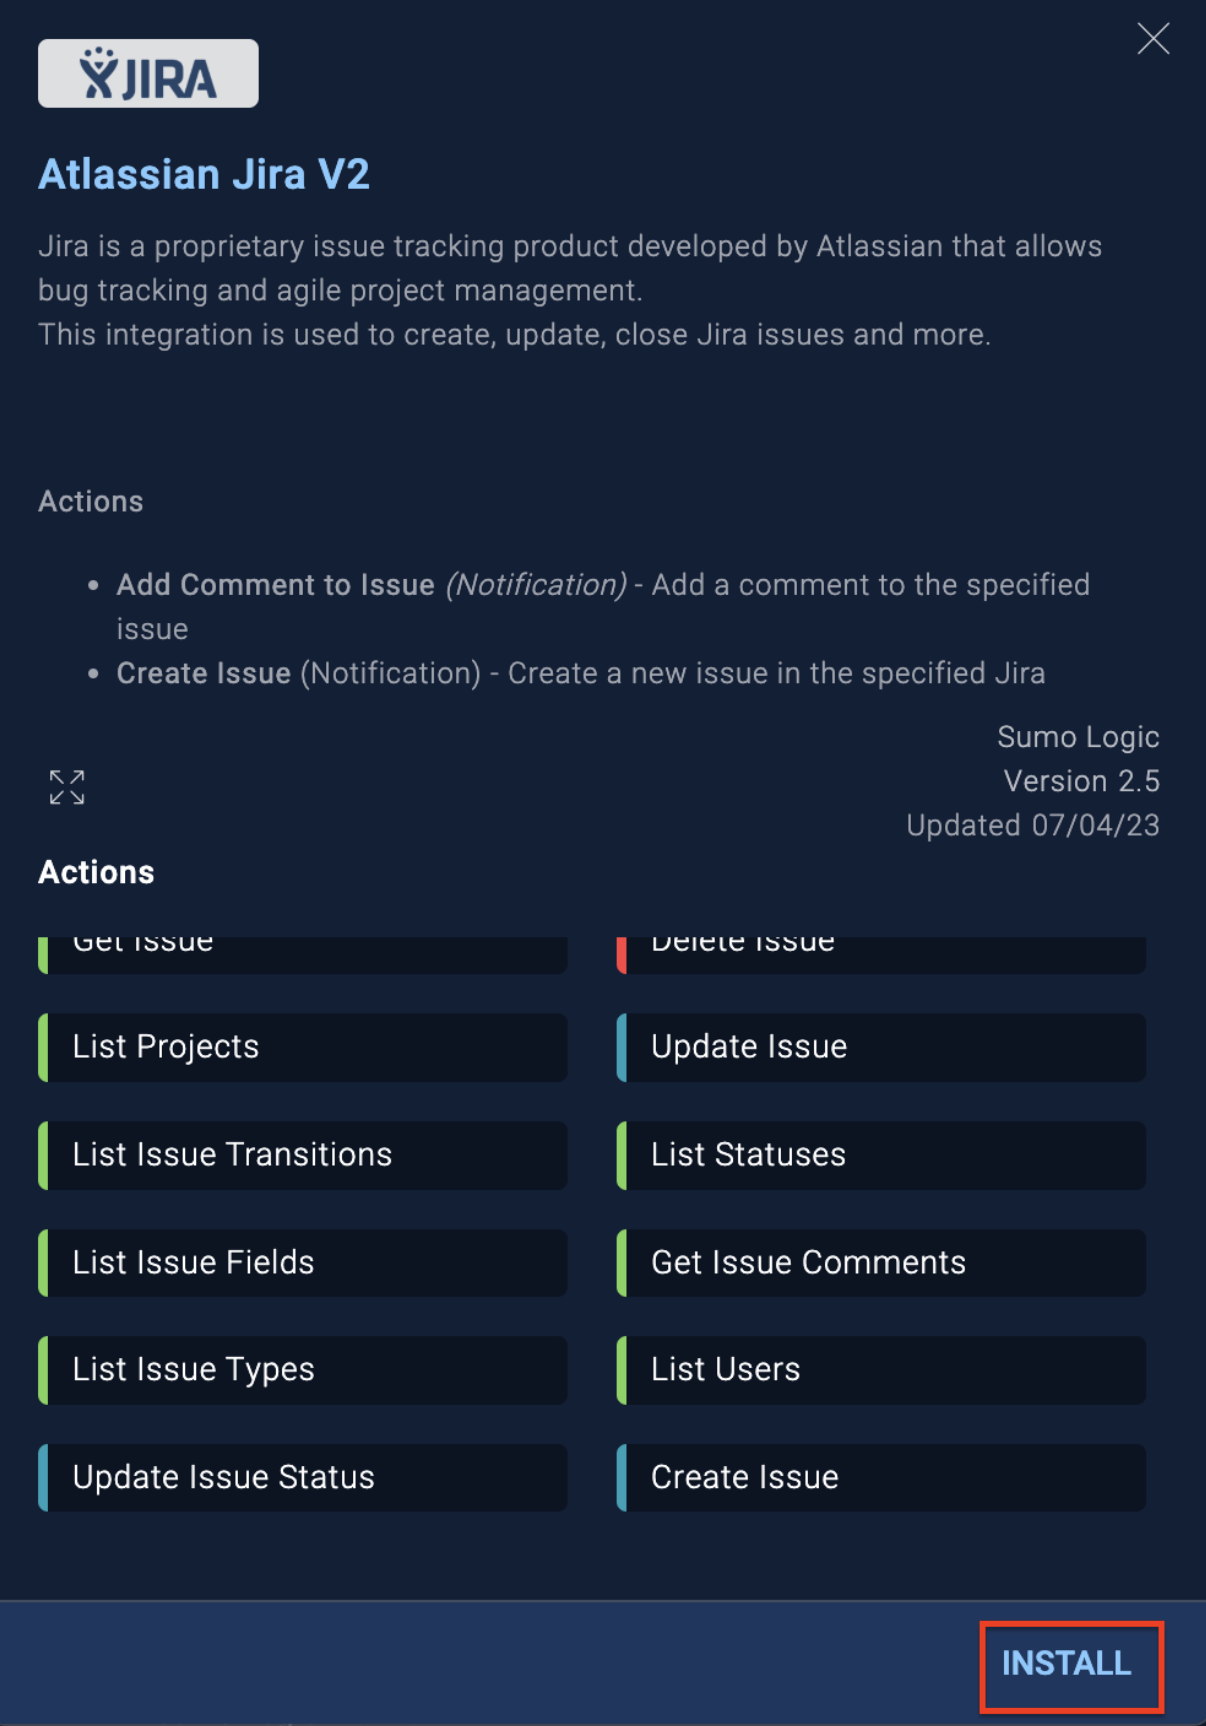
- On the dialog that appears, click INSTALL.
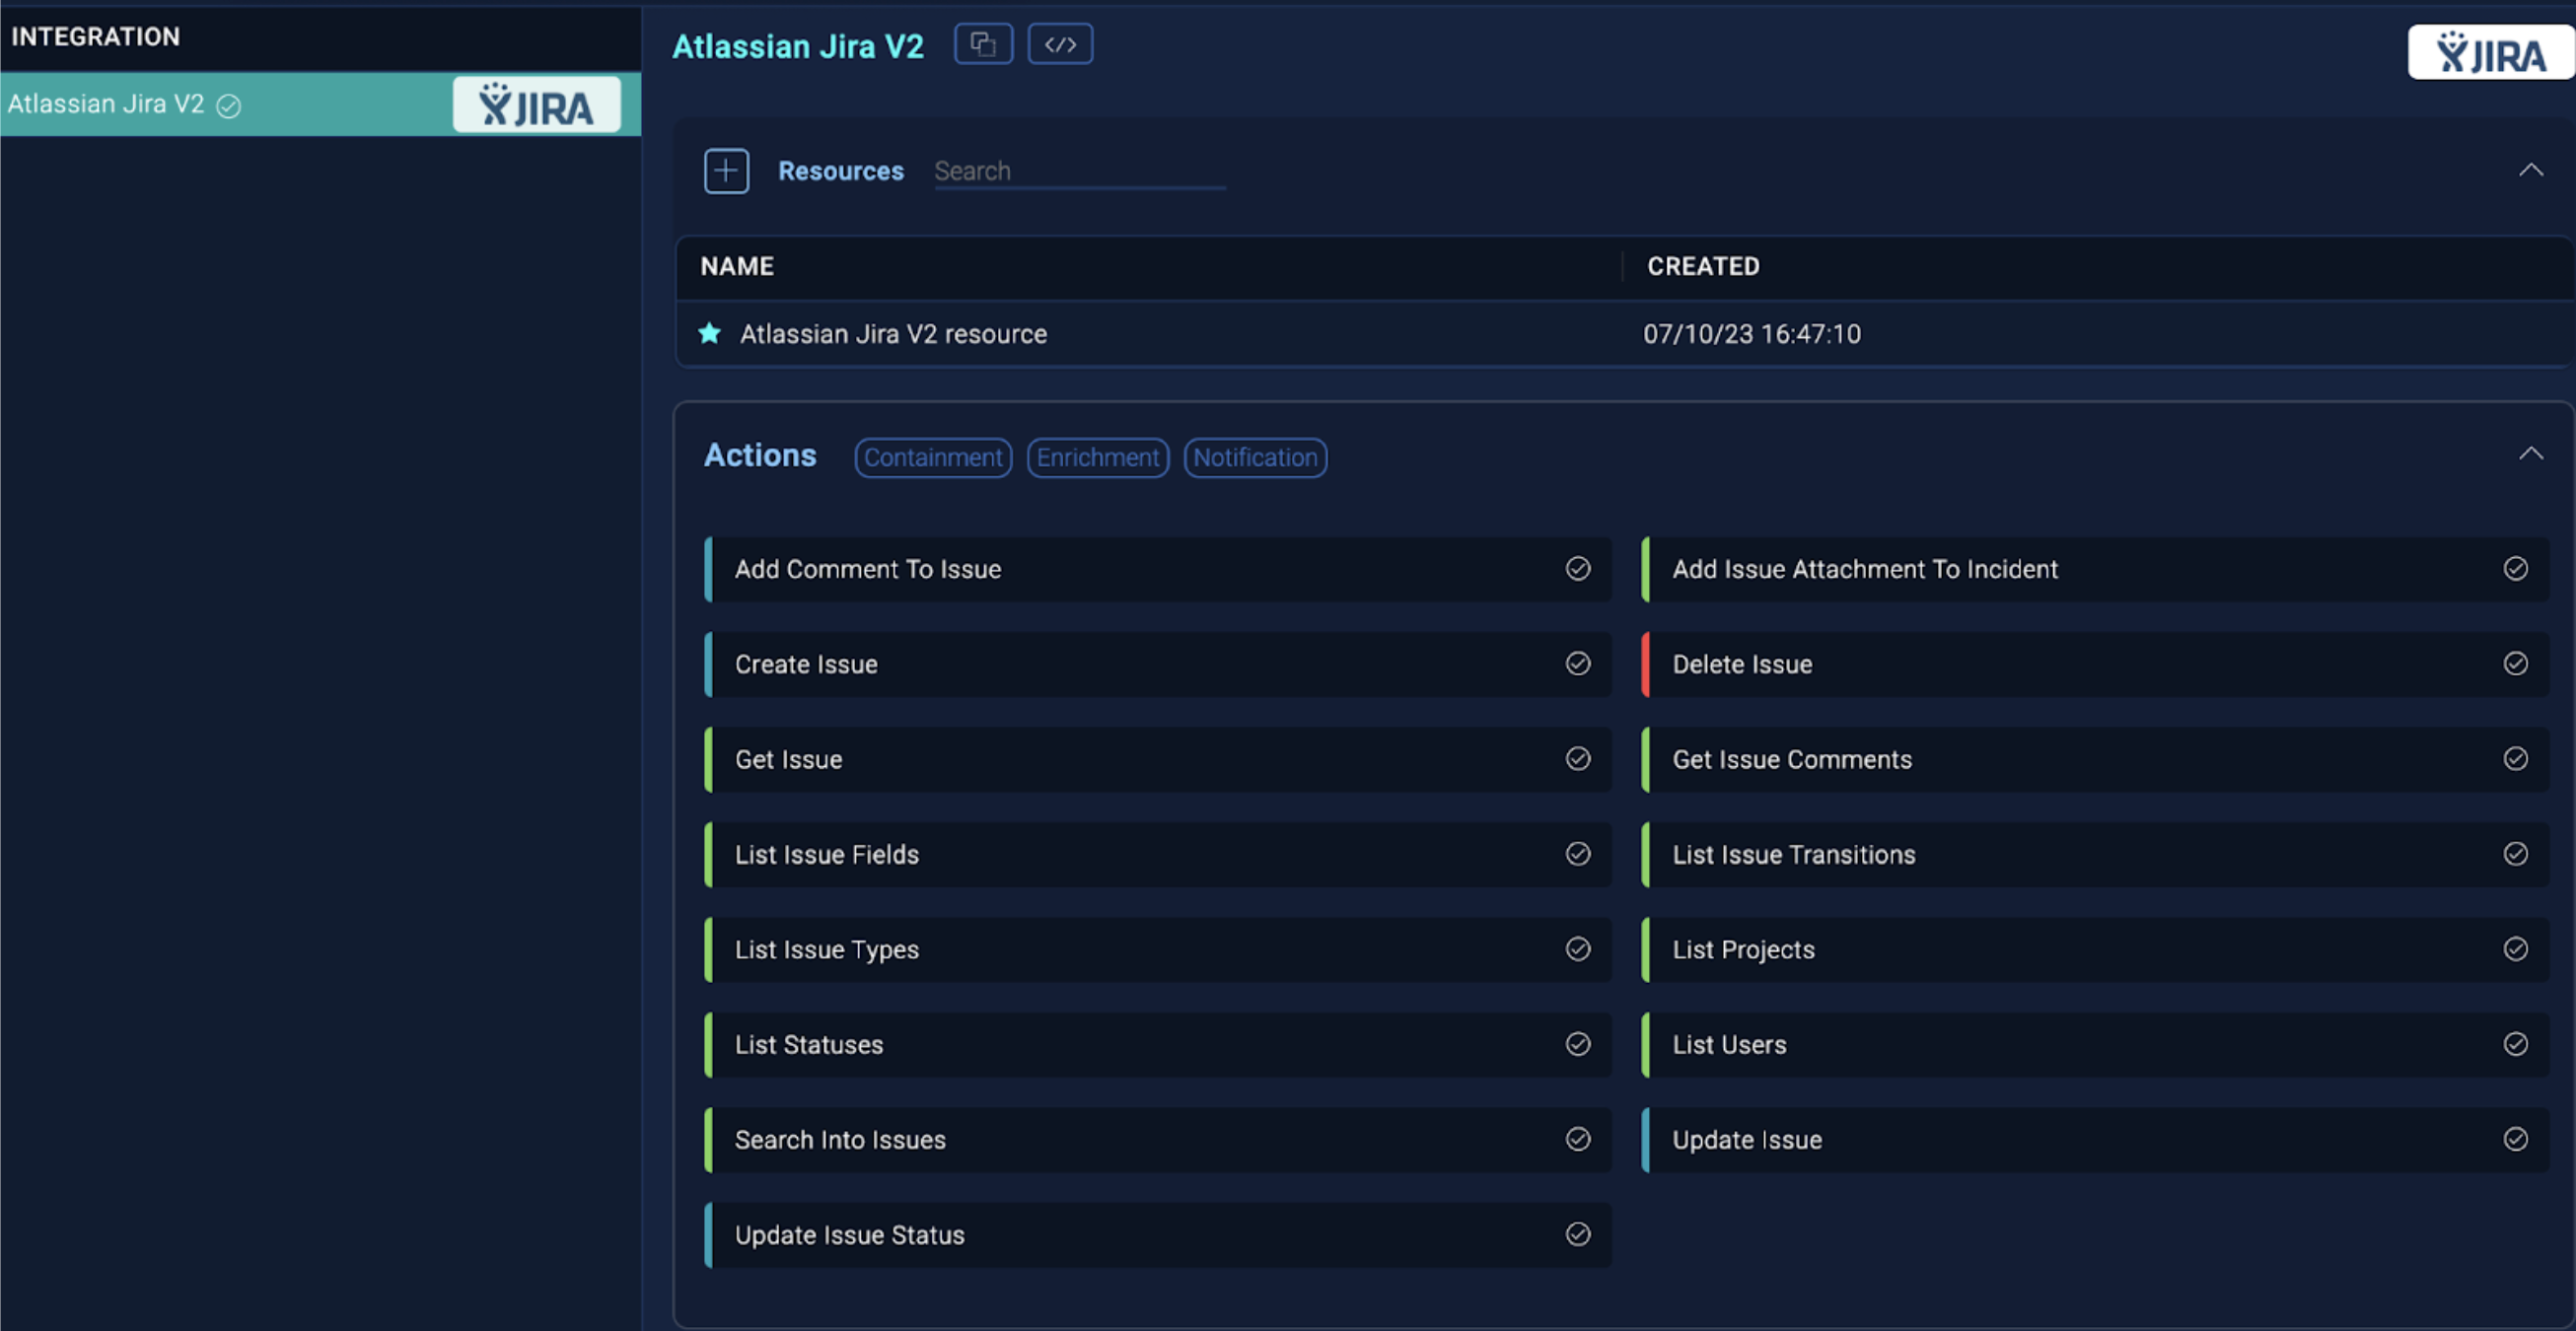
- Go to the Integrations section and select the same integration. As you see in the image below, the Containment action type was added to the two types of actions that were there previously.
Update an integration with a new version to show all actions
If there are two different versions between the integration installed and that in App Central, the type of operation required to update the integration is UPDATE.
- In the Integrations section, open the installed integration in code mode to view the version.
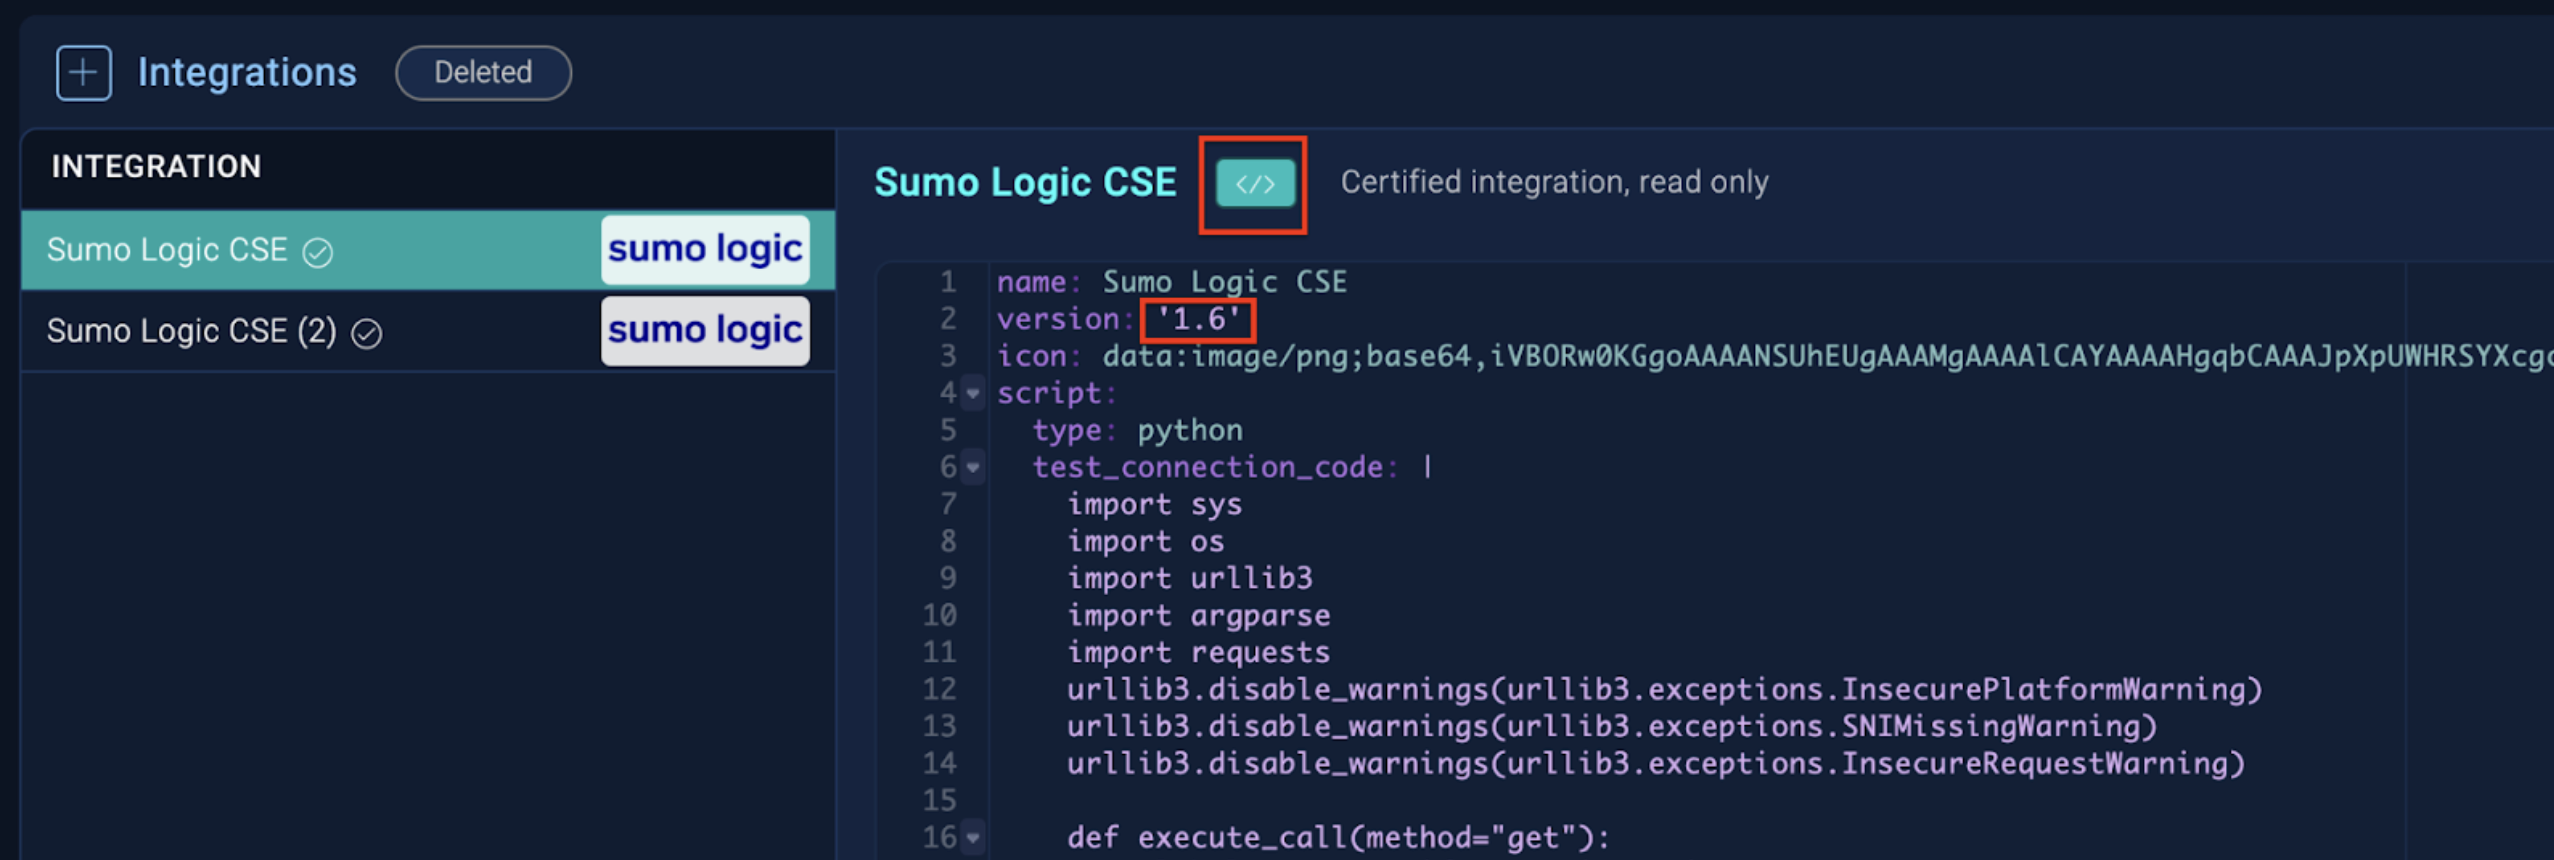
- Go to App Central and search for the same integration. Click UPDATE.
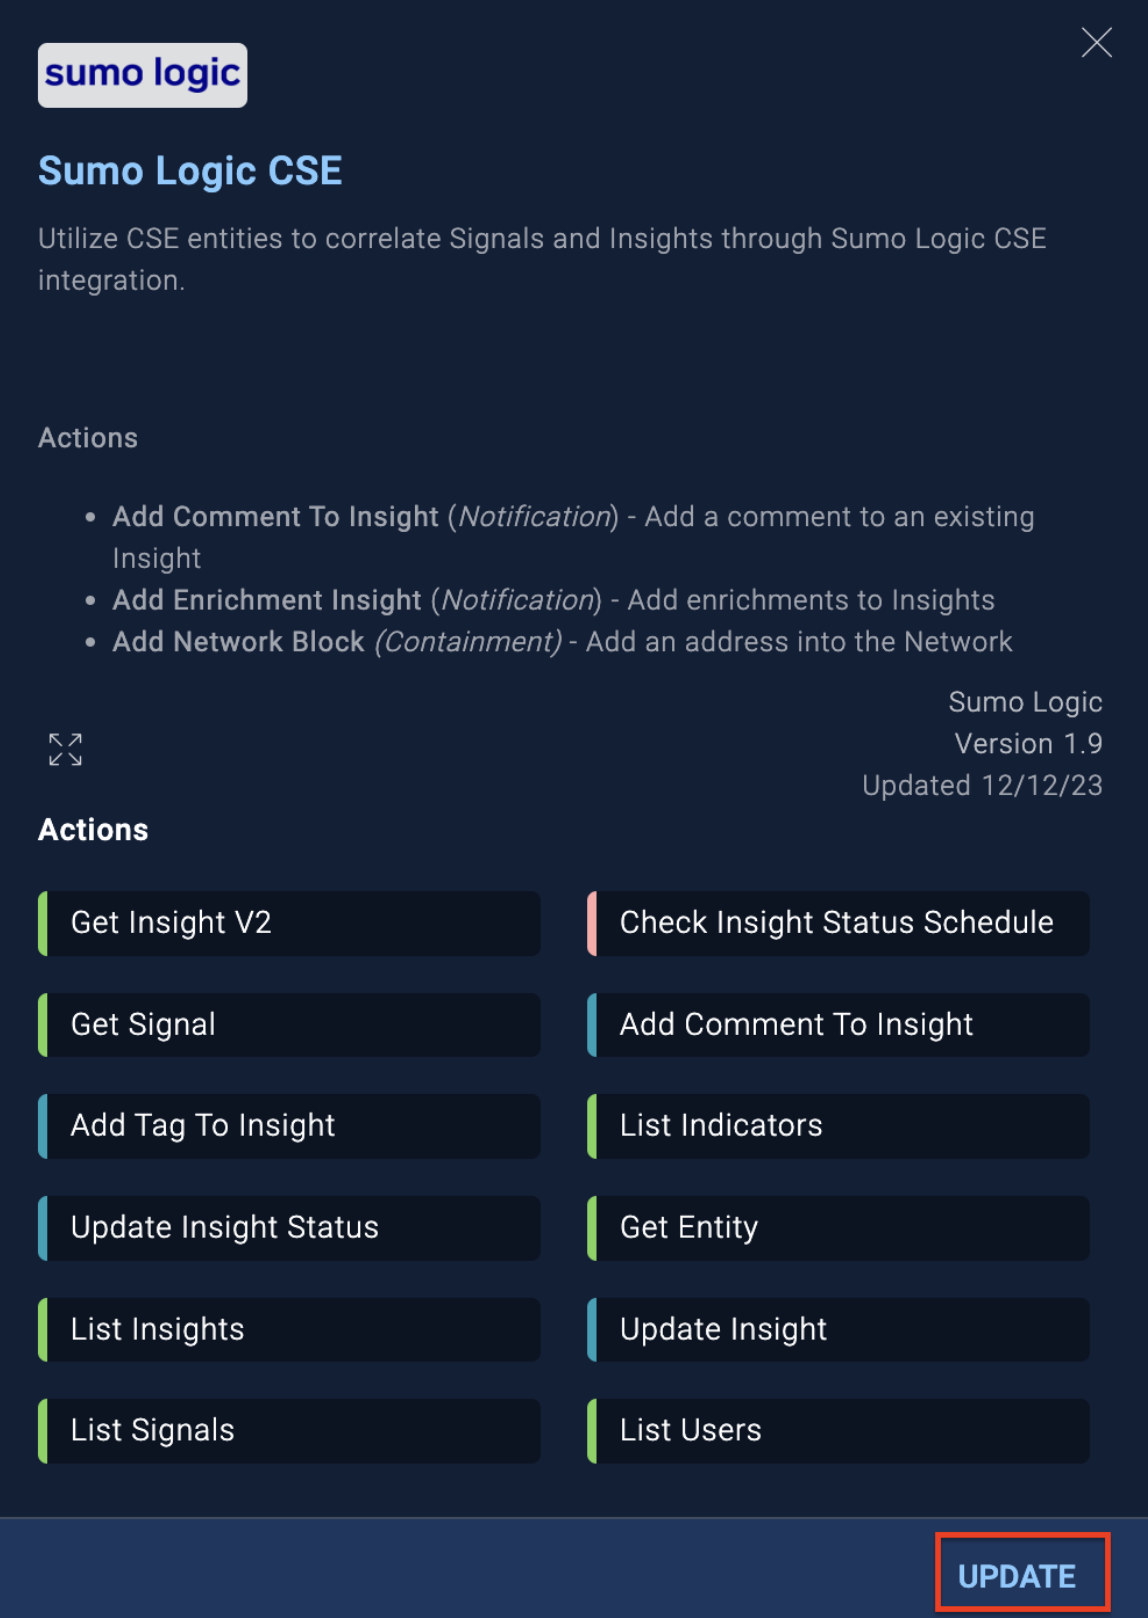
- On the dialog that appears, click Update.
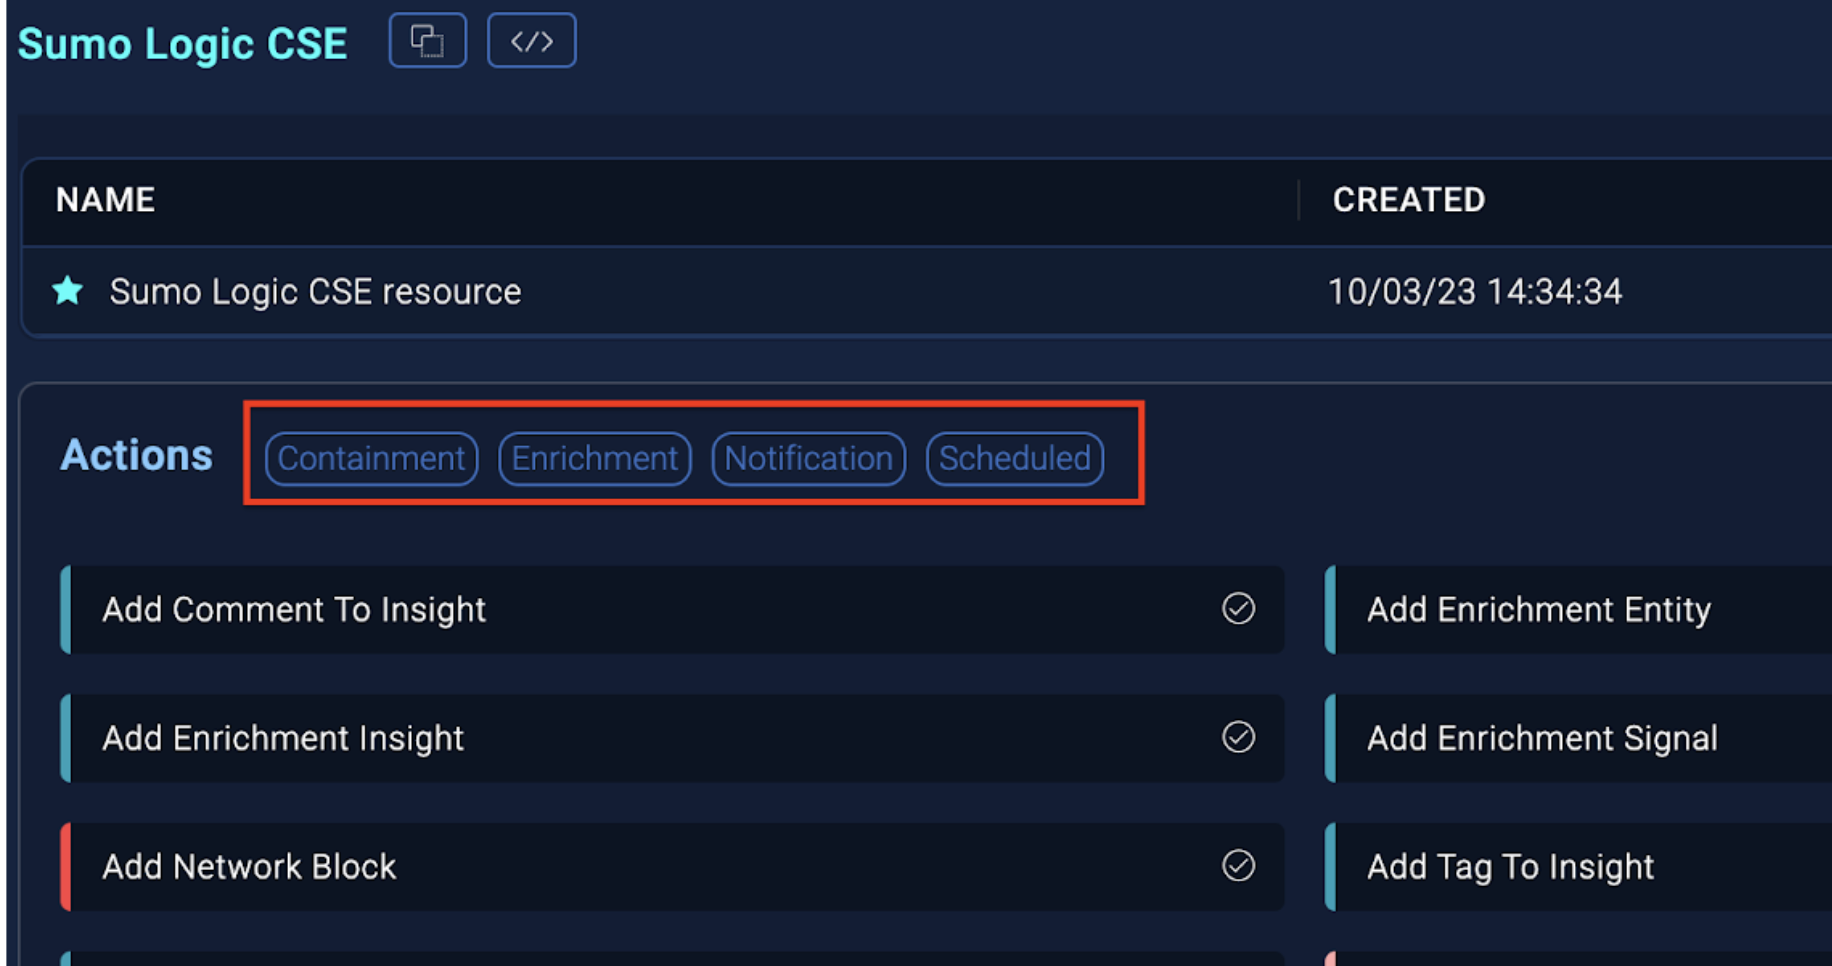
- Go back to the Integrations section at the end of the update operation. Open the integration and check the if the version of that integration updated.

- Check in the integration detail to see if it shows all the types of actions we expect.
Publish an integration to App Central
If you create a custom integration that you would like to make available for others to use, you can submit it to Sumo Logic for review and publication in App Central. This will allow everyone to install and run the integration in the cloud without having to use the Bridge.
The integration should be for a commercial product for which no integration exists in App Central, or be a general purpose integration. Sumo Logic will not add integrations to App Central that can only be used by one customer.
- Ask your Sumo Logic account representative to engage the Professional Services team. The Professional Services team member will guide you through the process of submitting an integration for publication in App Central.
- Select Integrations from the navigation menu at the left of the screen.
- Select your custom integration.
- Hover the mouse over your custom integration and click the Export button that appears to the right. This exports the integration's YAML files to a tar.gz archive file.

- Provide the tar.gz archive file containing your custom integration's YAML files to the Professional Services team member.
Sumo Logic will validate the integration, and work with you to make any updates if needed. If the integration is approved, Sumo Logic will add it to App Central.
Playbooks in App Central
To work with playbooks in App Central, see Playbooks in App Central.