Amazon Security Lake Source
Amazon Security Lake source provides a web services interface that can be used to manage data from multiple AWS sources through a single interface for multiple AWS organizations.
This makes AWS log setup relatively easy. In addition, the data available from various AWS services is in the OCSF format, making it simple to parse and correlate across different sources.
Configure Amazon Security Lake Setup
Step 1. Grant Sumo logic access to Amazon Security Lake console
To grant Sumo Logic access to the Amazon Security Lake source, you need to provide the Sumo Account ID and External ID.
- Account ID. Remember to copy and secure your
Sumo Logic ID:************. You will require this ID in further steps. - External ID. The External ID is formed from your Sumo Logic region identifier. It is a unique identifier that is used to authenticate the connection between your Sumo Logic account and your Amazon Security Lake source. The format of your Sumo Logic account identifier is:
SumoDeployment:SumoAccountIdwhere:SumoDeploymentis your Sumo Logic deployment that has to be entered in lowercase such asau,ca,de,eu,fed,jp,kr,us1, orus2. To find your deployment, see Sumo Logic API Authentication, Endpoints, and Security.SumoAccountIdis the Organization ID shown on your Account Overview page in the Sumo Logic UI. You can access it by navigating to the Account Overview.
After the authentication is successful, you can create the subscriber.
Step 2. Set up subscriber in Amazon Security Lake console
To create a subscriber in Amazon Security Lake Console, follow the steps below:
- Navigate to the Amazon Security Lake console.
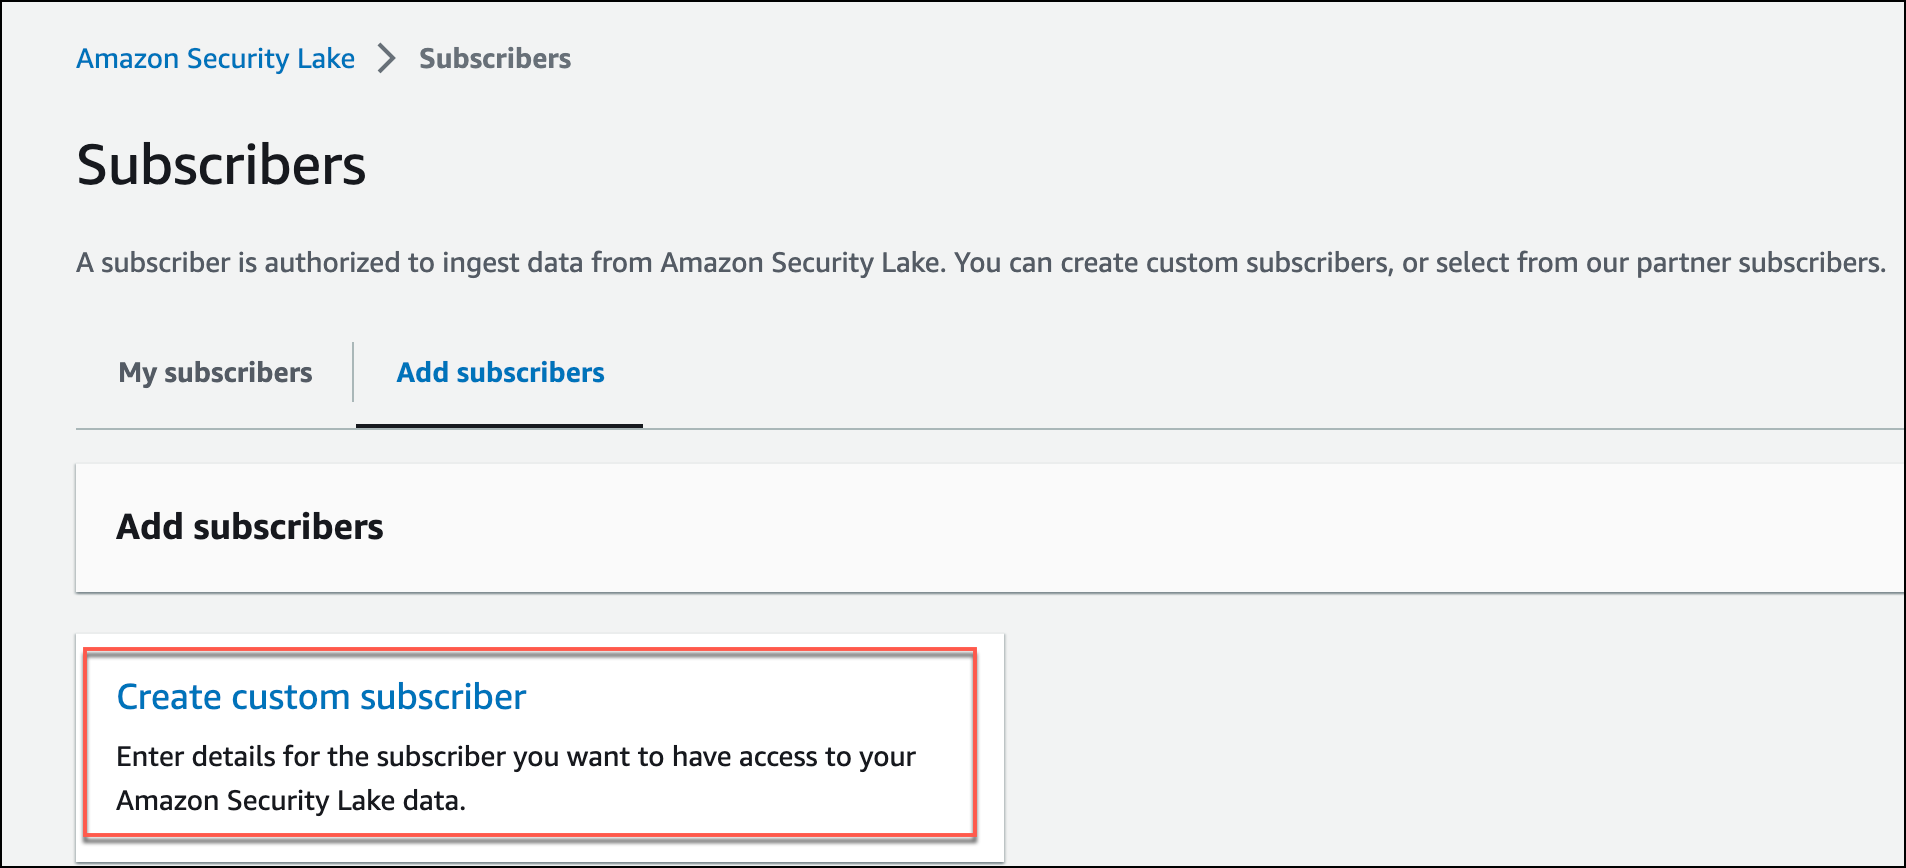
- From the left navigation, click Subscriber.
- On the Subscribers page, under the Add subscribers tab, click Create custom subscriber.
- Subscription Name. Provide the Subscriber name. You may skip the Description, it's optional.
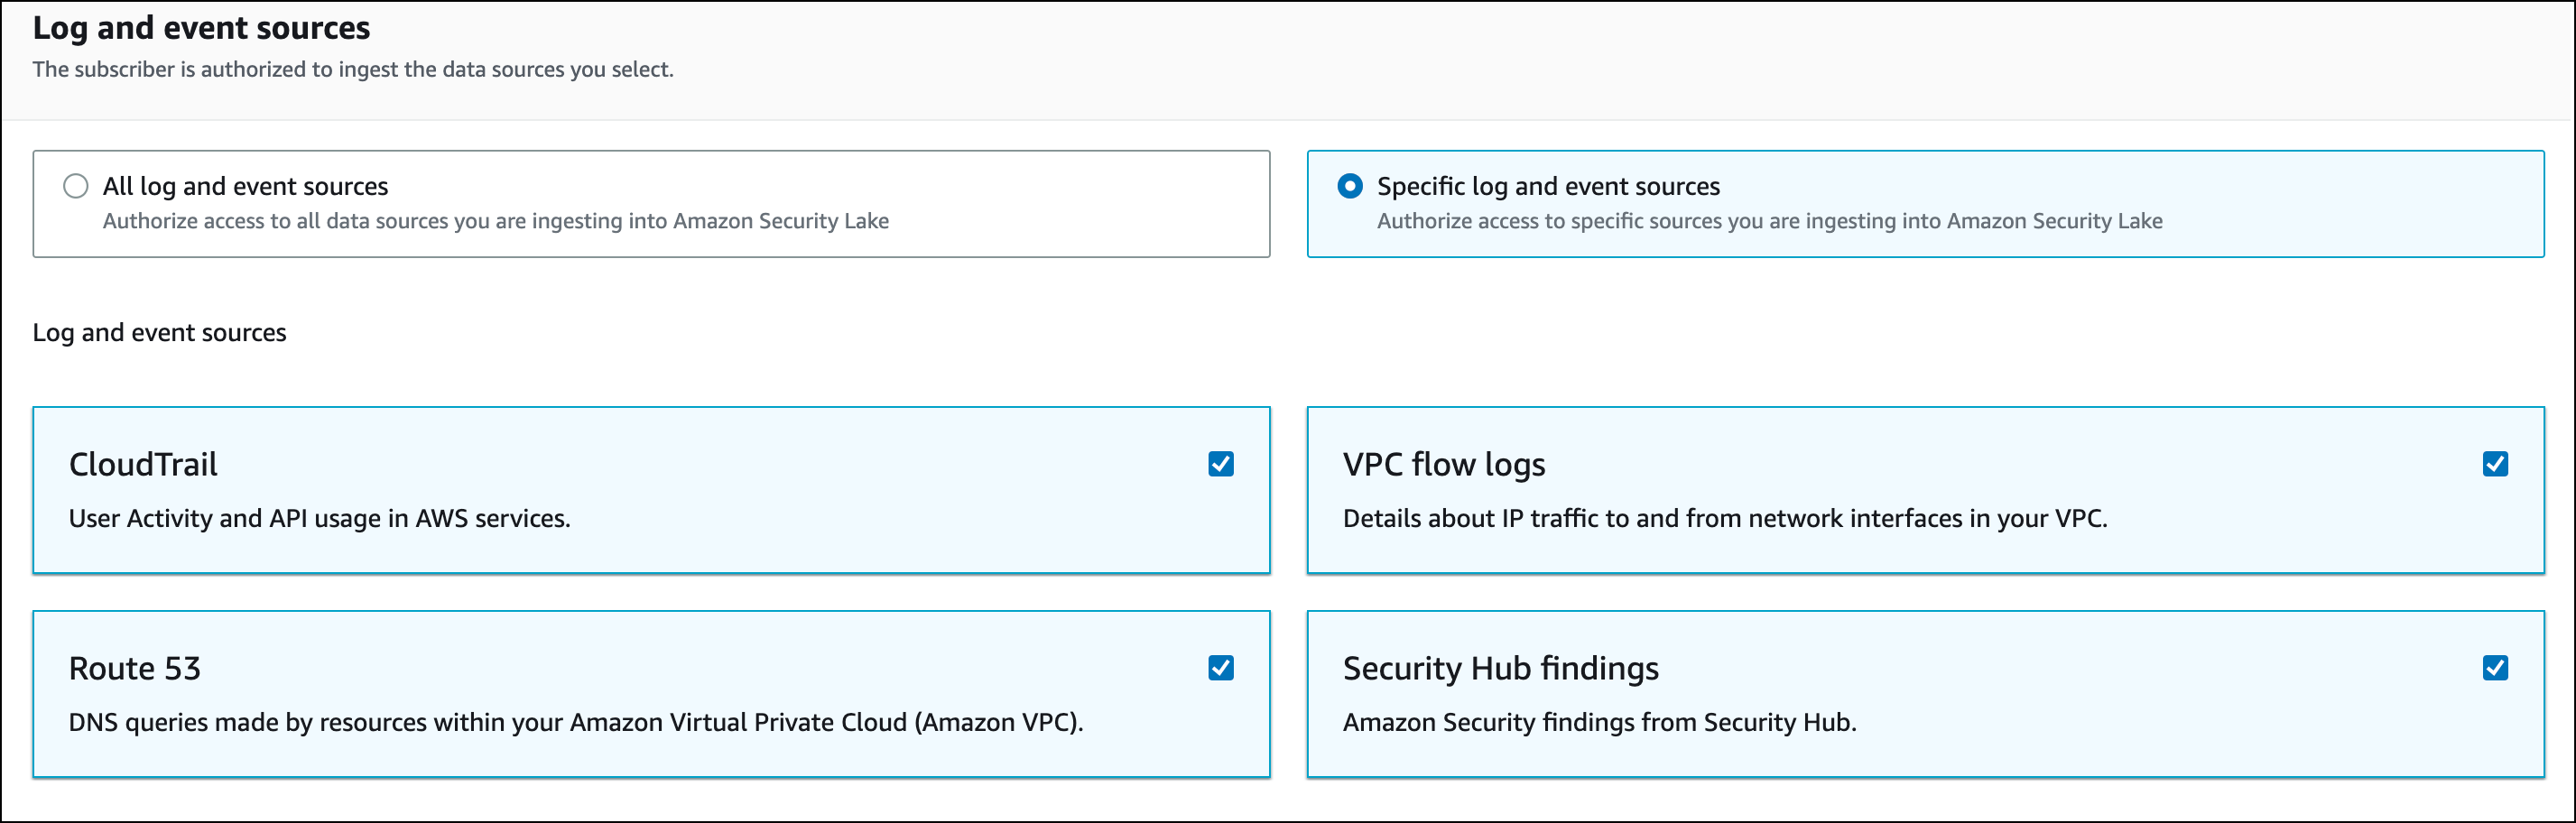
- In the Logs and events sources, you can select which data sources you want to enable for the subscriber. Below are the two options:
- All Logs and event sources. It gives you access to all of the event and log sources you choose.
- Specific log and event sources. It gives you access to only the specific sources you select from the available sources. Below are the sources you may choose:
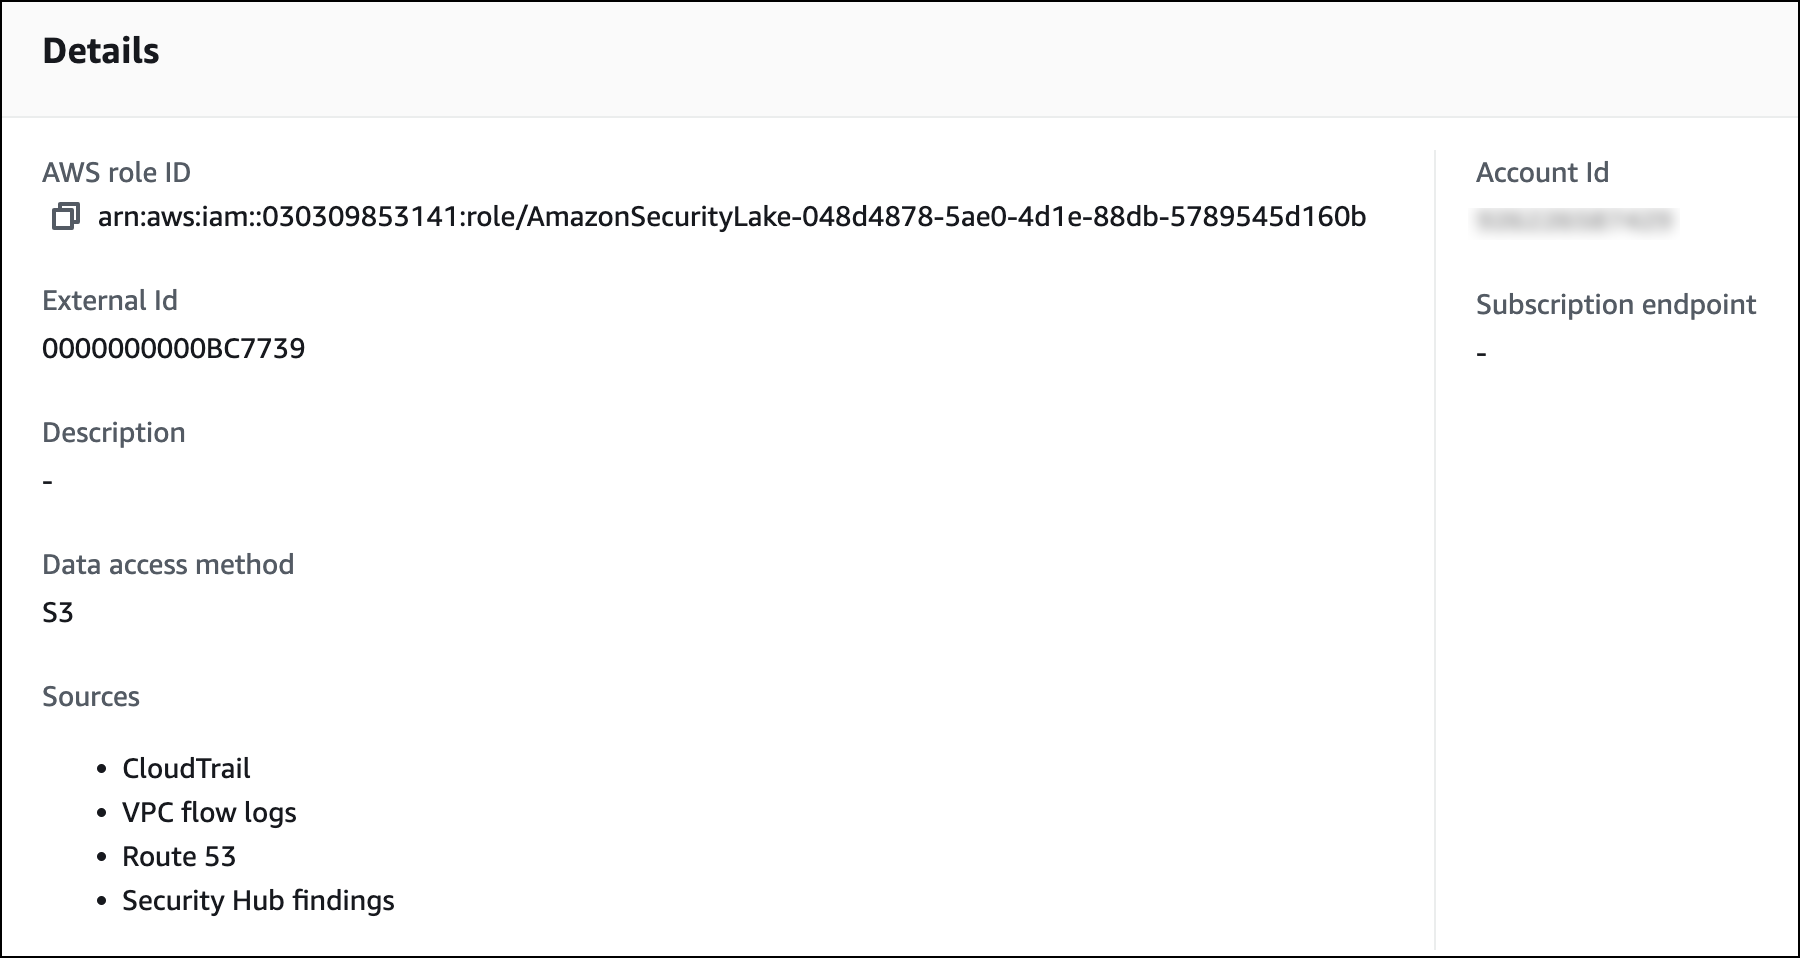
- CloudTrail. View user activity and API usage in AWS services.
- VPC flow logs. View details about IP traffic to and from network interfaces in your VPC.
- Route 53. View DNS queries made by resources within your Amazon Virtual Private Cloud (Amazon VPC).
- Security Hub findings. View Amazon Security findings from the Security Hub.
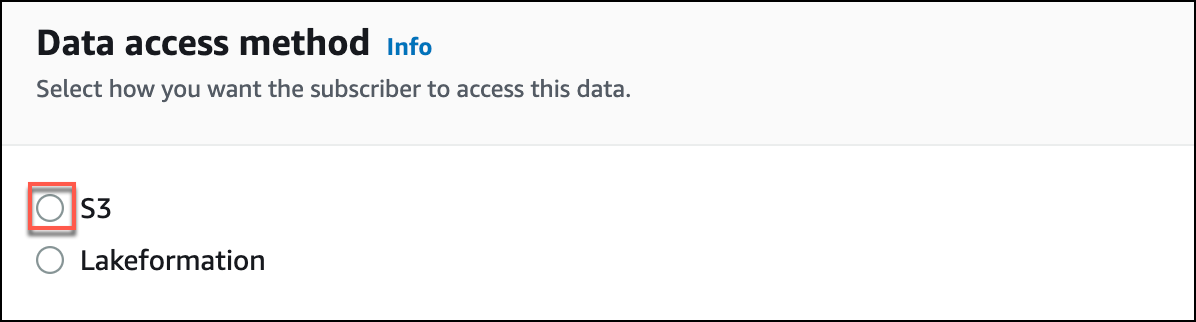
- Data Access method. For your subscriber to access the data, choose S3 as the data access mode.
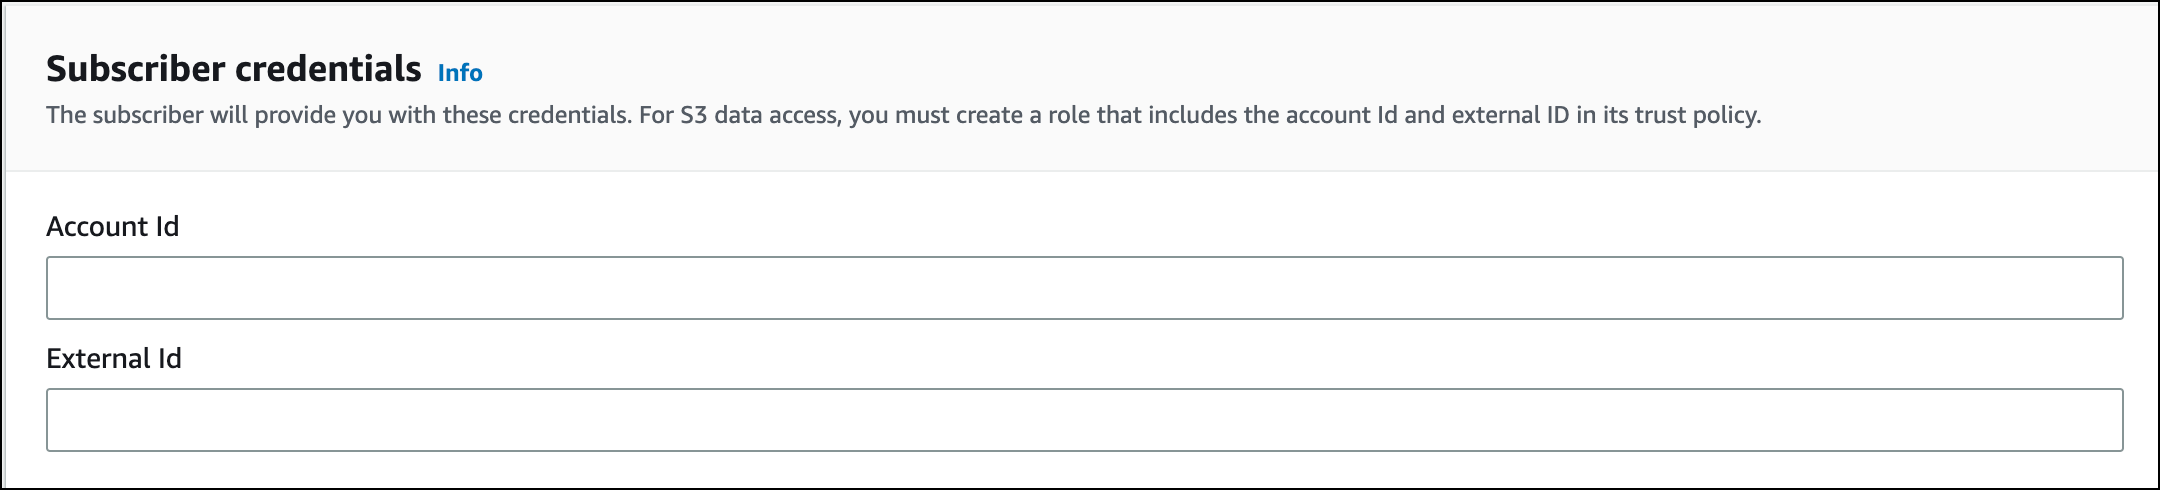
- Subscriber Credentials. Enter the Account ID and External ID from the Step 1.
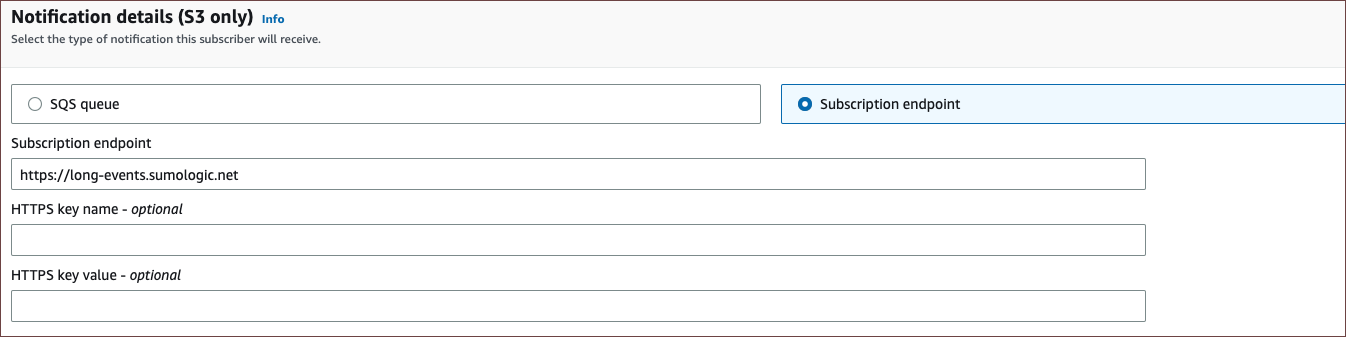
- Notifications (S3 only). You can specify how your subscribers should be notified. For the time being, let's use the Subscription endpoint as the notification mode. Enter the following fields as required:
- Subscription endpoint. Add the sample endpoint value for now as follows: https://collectors.sumologic.com. Note that this value will be edited in later steps.
- HTTPS key name (Optional). Name of the server certificate that is used to authenticate the subscriber's connection to the AWS Security Lake.
- HTTPS key value(Optional). Actual value or password associated with the key.
- You can either choose to create a new service role and use it, if you haven't created one before, or you can opt to use an existing service role and select the appropriate role name.

- Click Create. A new subscriber will be created.
- Navigate to the Subscribers tab on the left and select the recently created Subscriber.
- Copy and secure the AWS Role ID of the subscriber, you'll need it in later steps.
You're all set to add a new Amazon Security Lake Source to your Sumo Logic account.
Step 3. Create Amazon Security Lake Source in Sumo Logic
When you create an Amazon Security Lake source, you add it to a Hosted Collector. Before creating the source, identify the Hosted Collector you want to use from the existing ones or create a new Hosted Collector, see Configure a Hosted Collector.
To create an Amazon Security Lake Source, follow the steps below:
- Classic UI. In the main Sumo Logic menu, select Manage Data > Collection > Collection.
New UI. In the Sumo Logic top menu select Configuration, and then under Data Collection select Collection. You can also click the Go To... menu at the top of the screen and select Collection. - On the Collectors page click Add Source next to a Hosted Collector.
- Select an existing Hosted Collector or the one you have just created.
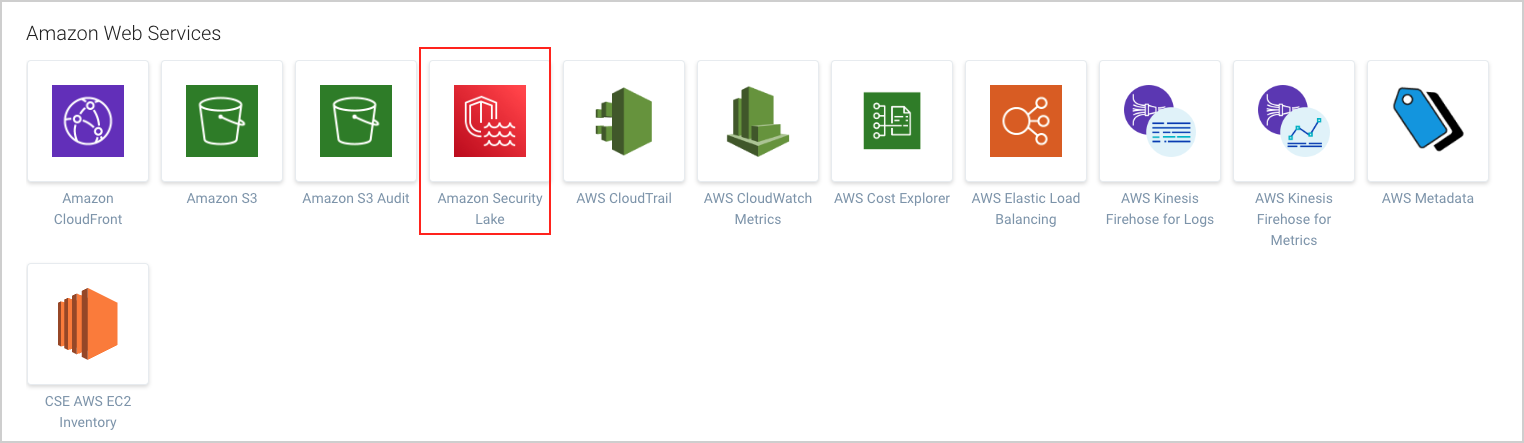
- Select Amazon Security Lake.
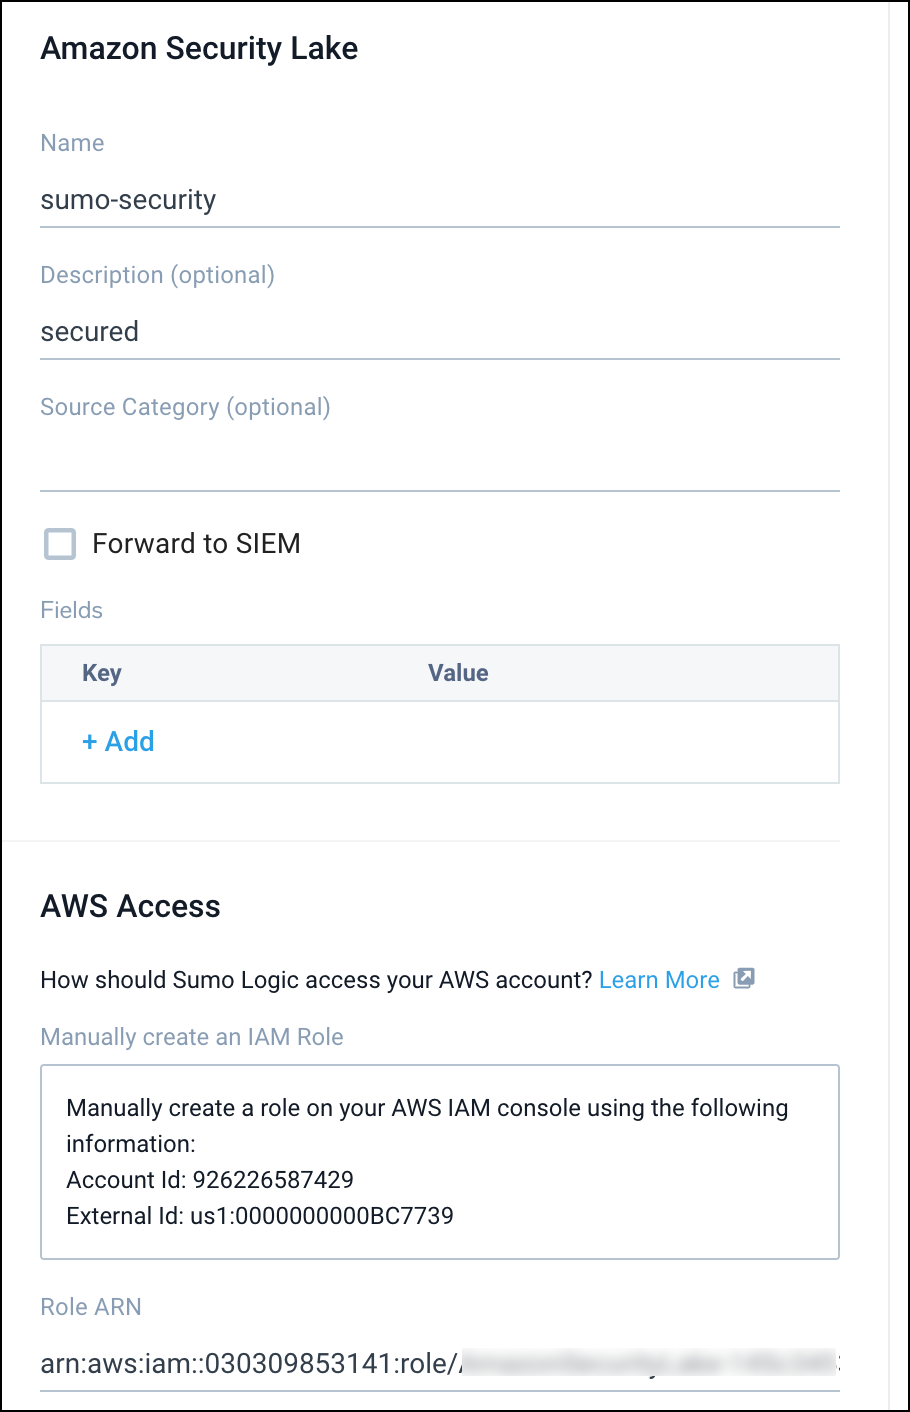
- Enter a name for the new Source. The Description is optional.
- In the Source Category, enter any string to tag the output collected from this distinct source. (Category metadata is stored in a searchable field called _sourceCategory).
- In Fields. Click the +Add Field link to add custom log metadata fields.
- Enter the required fields you want to associate, each field needs a name (key) and value.
 A green circle with a checkmark shows up when a field exists and is enabled in the Fields table schema.
 An orange triangle with an exclamation point shows up when the field doesn't exist or is disabled in the Fields table schema.
infoIn this case, an option to automatically add or enable the nonexistent fields to the Fields table schema is provided. If a field is sent to Sumo logic that does not exist in the Fields table schema or is disabled, it will be ignored and known as dropped field.
- In Role ARN: Paste the AWS Role ID from your Amazon Security Lake console, see above Step 2.11.
- Click Save. A pop-up will appear with the subscription endpoint.
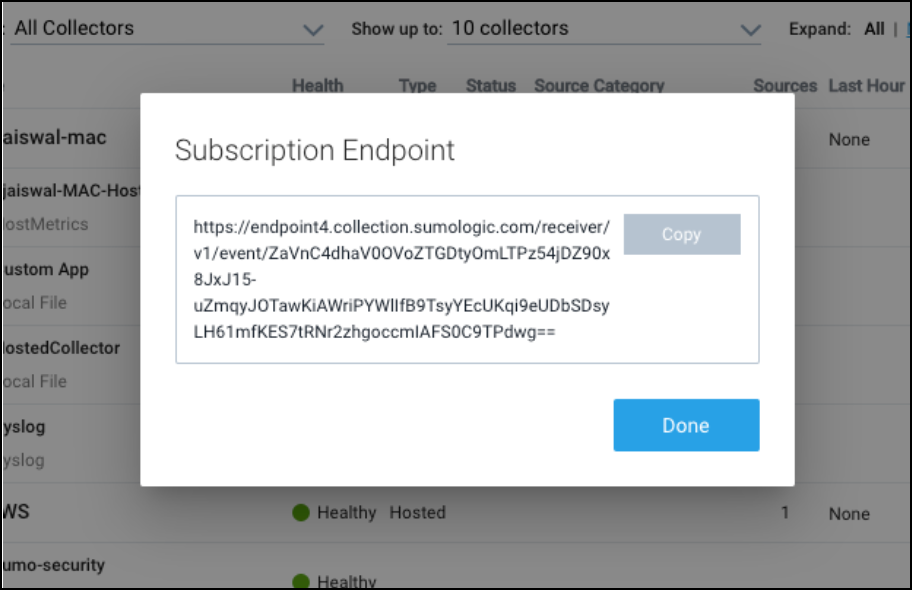 note
noteRemember to copy and secure the subscription endpoint. If you closed the window and could not copy the URL, do not worry. Click on the Edit button under the list of sources and copy the URL.
- Optional: You can create any Processing Rules that you want for the Source. For more information, see Create a Processing Rule.
The next step is to update your Amazon Security Lake subscriber to fill in the subscriber endpoint on the Subscribers page.
Step 4: Update Amazon Security Lake subscriber
To update the Amazon Security Lake subscriber, follow the steps below:
- Navigate to the Subscribers page and click My Subscribers.
- Edit the subscriber created in the Setup Subscriber section in step 2.
- Navigate to the Subscription endpoint field at the bottom with the sample URL. Then, edit the subscription URL with the value from the Amazon Security Lake source setup. See Step 3.10 section.
- Click Save.