Set Up ADFS to Authenticate Sumo Logic Users
Sumo Logic provides this information about configuring ADFS as a courtesy to customers. These instructions apply to ADFS, which is a Microsoft product, and is NOT supported by Sumo Logic. If you have any issues regarding these instructions, refer to the Microsoft ADFS documentation or Microsoft support services https://msdn.microsoft.com/en-us/library/bb897402.asp.
Have the values available that you configured in Sumo Logic. See Set Up SAML for Single Sign-On for instructions on configuring Sumo Logic for SAML.
To configure ADFS to authenticate Sumo Logic users, perform the following tasks.
Add Relying Party Trust
The relying party trust configuration is required for the connection between Sumo Logic and ADFS.
- Complete the provisioning steps in Set Up SAML for Single Sign-On.
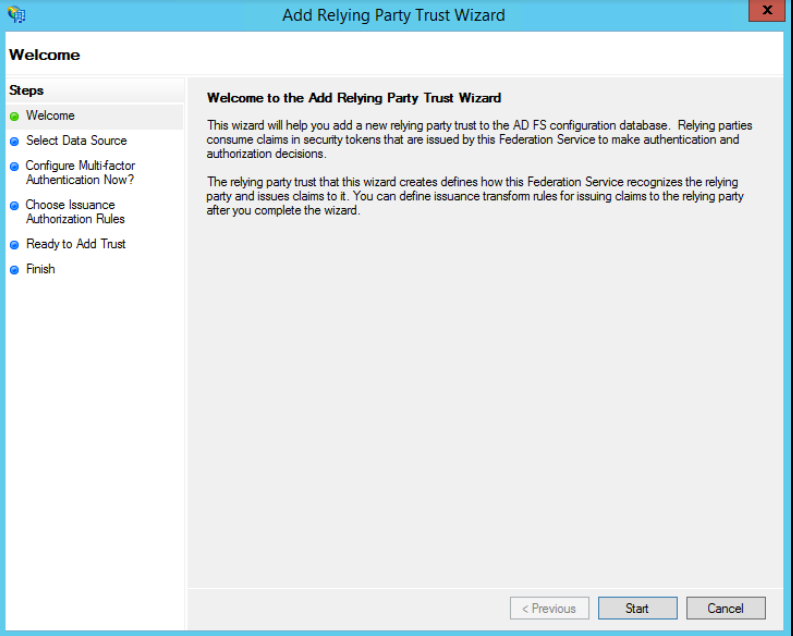
- Open the ADFS Management application, select the Relying Party Trusts folder, and select Actions > Add a new Standard Relying Party Trust to open the wizard. Click Start.
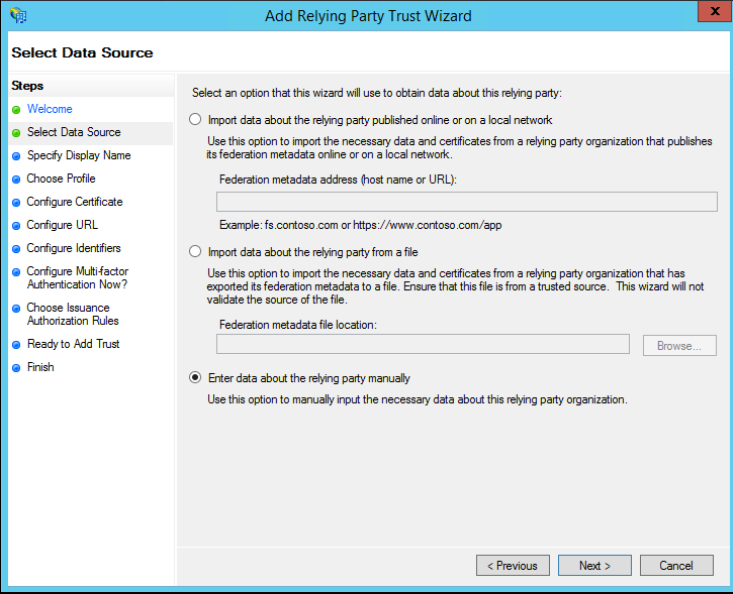
- In the Select Data Source window, select Enter Data About the Party Manually and click Next.
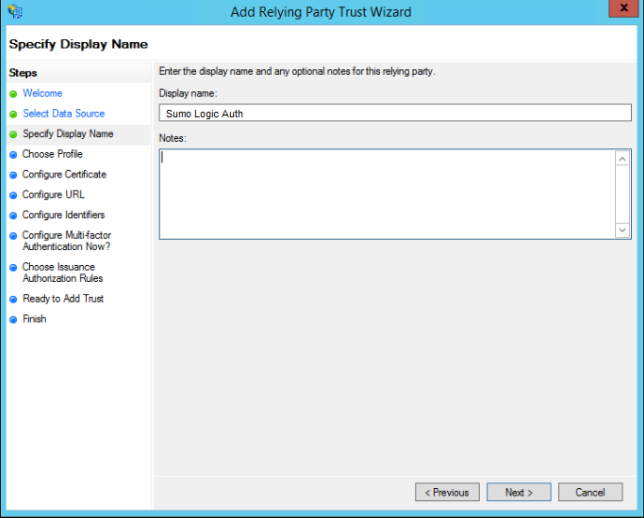
- In the Specify Display Name window, enter a display name and notes (optional), and click Next.
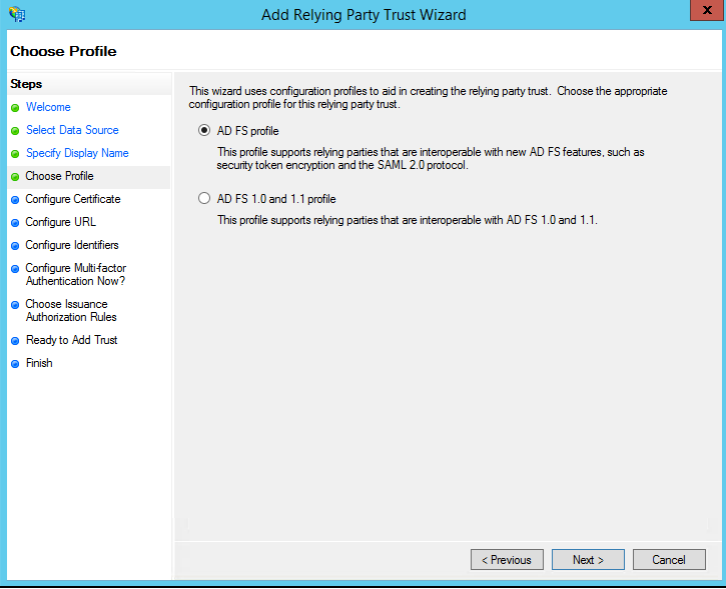
- In the Choose Profile window, select AD FS profile and click Next.
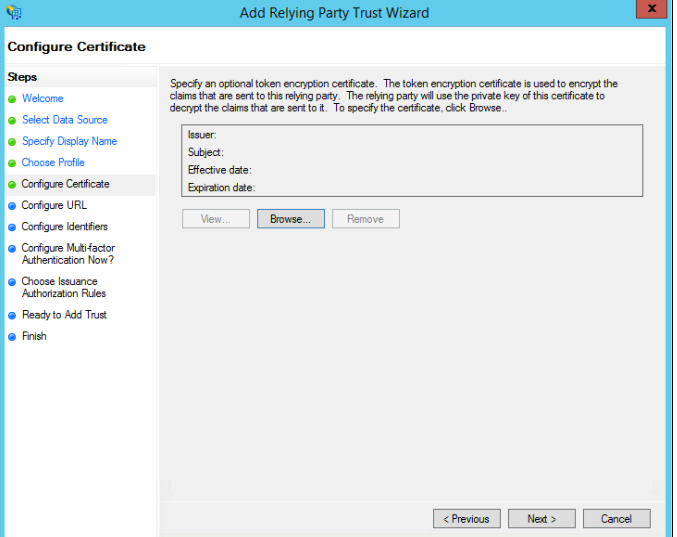
- In the Configure Certificate window, keep the default certificate settings and click Next.
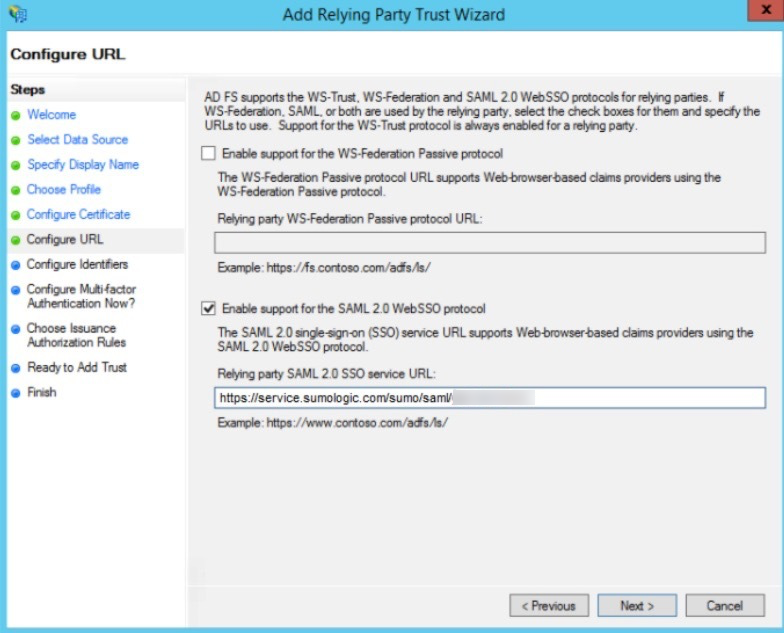
- In the Configure URL window, select Enable Support for the SAML 2.0 WebSSO protocol. In the Relying Party SAML 2.0 SSO service URL field, enter the value of the Assertion Consumer URL from the Sumo SAML configuration, and click Next.
- In the Configure Identifiers window, add the Entity ID URL from the Sumo SAML configuration as a relying party trust identifier.

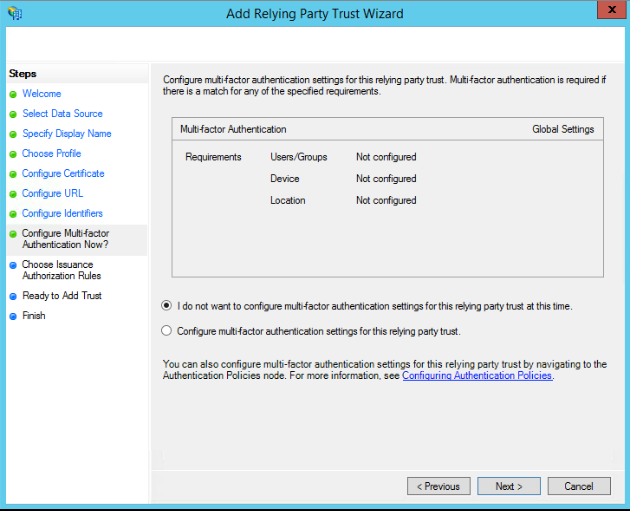
- (Optional) If you want to configure multi-factor authentication, refer to ADFS documentation for instructions. If not, keep the default selection I do not want to configure. Click Next.
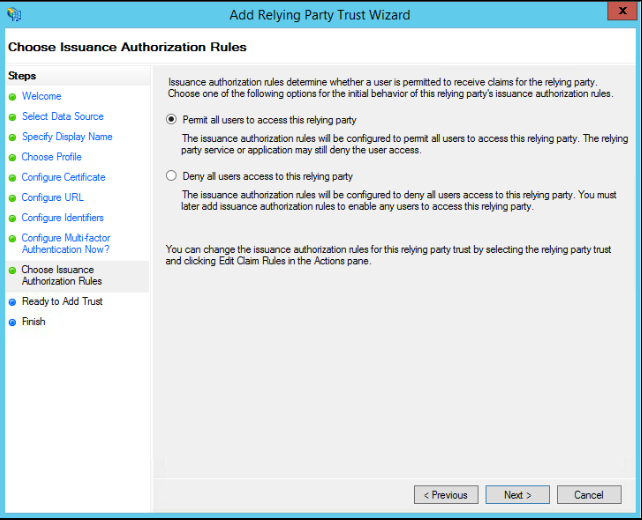
- In the Choose Issuance Authorization Rules window, select Permit all users to access this relying party. If you prefer to limit access to a subset of all ADFS authenticated users, select Deny all users access to this relying part, then create an issuance authorization rule that allows only that subset of users based on group membership. Click Next.
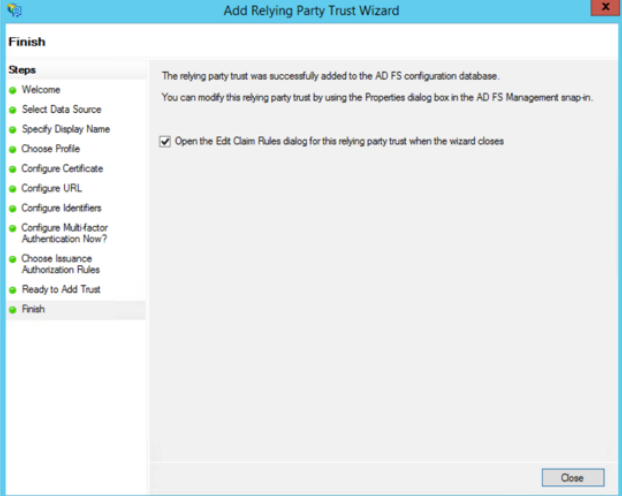
- Review your settings, keep the check box selected, and then click Close to exit and move to the next task, where you will specify claim rules.
Create claim rules
After creating the relying party trust, create the claim rules and update the relying party trust as needed. The editing interface opens automatically when you complete the Relying Party Trust wizard.
The claim rule requires an Email Attribute in the assertion, either the SAML Subject or another SAML attribute per the SAML configuration. The value of the Email Attribute must be a valid email address. It is used to uniquely identify the user in the organization.
Sumo Logic only validates that the email address format is valid, not that the email address actually exists during login. Using a nonexistent email address will work, but will reduce the ability of the user to receive some system notifications and access third-party services that require the user to verify email address ownership.
To create claim rules:
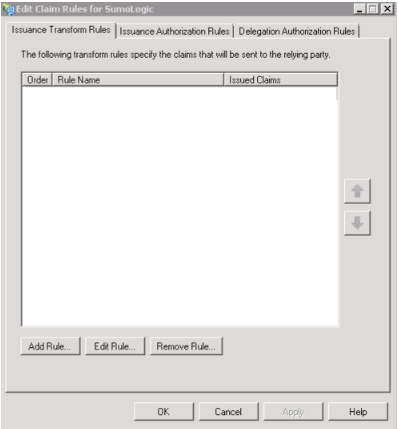
- In the Edit Claim Rules window, click Add Rule.
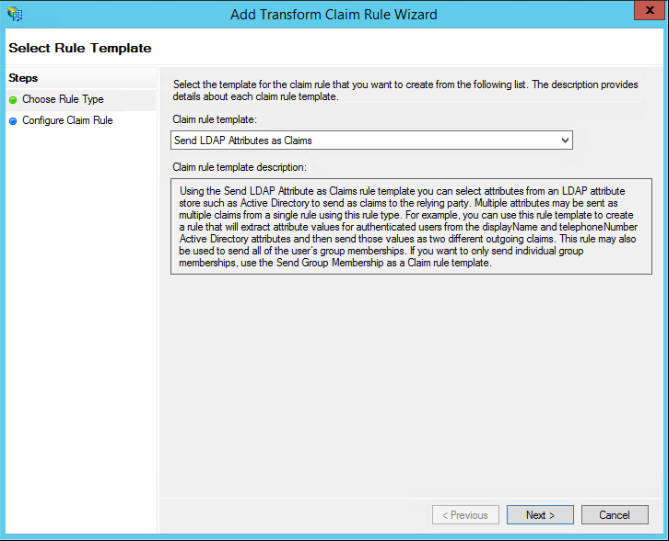
- In the Select Rule Template window, select the Send LDAP Attributes as Claims template and click Next.
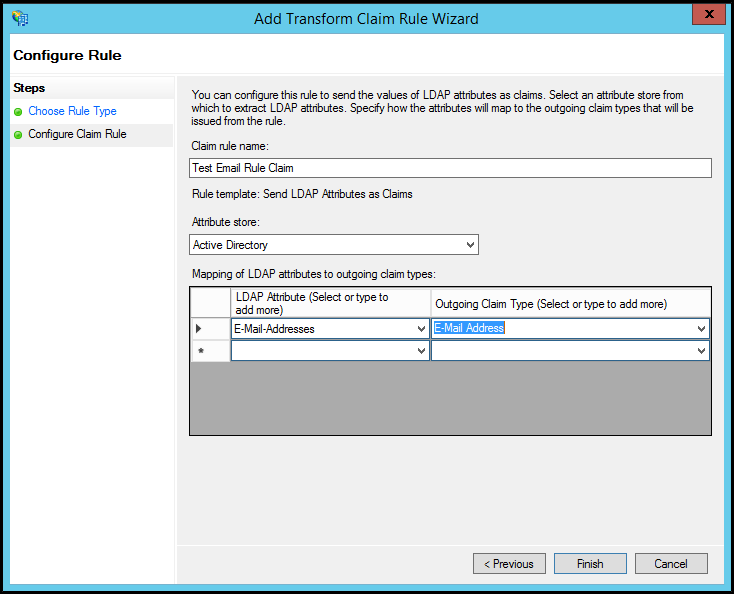
- In the Edit Rule window:
- Enter a name for the claim rule.
- Select Active Directory as the attribute store.
- Select E-Mail Addresses for both the LDAP attribute and outgoing claim type.
- If you set up on-demand provisioning when configuring Sumo SAML, you should also map the LDAP attributes Given Name and Surname. Select "Given Name" and "Surname" from the dropdown and then ADFS will correctly send claim types.
- Select Click OK to save the rule.
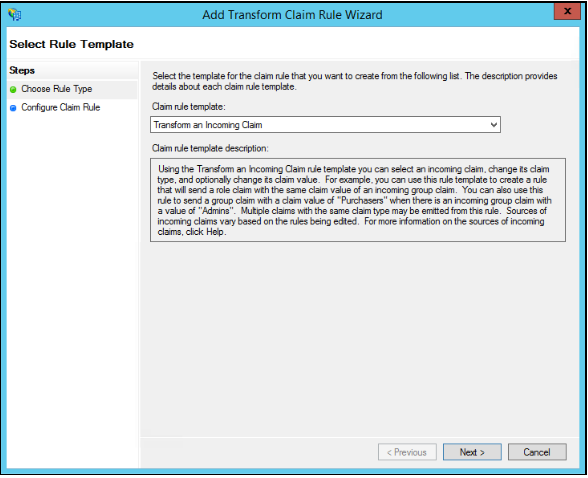
- Click Add Rule to create another rule. Select Transform an Incoming Claim as the template and click Next.
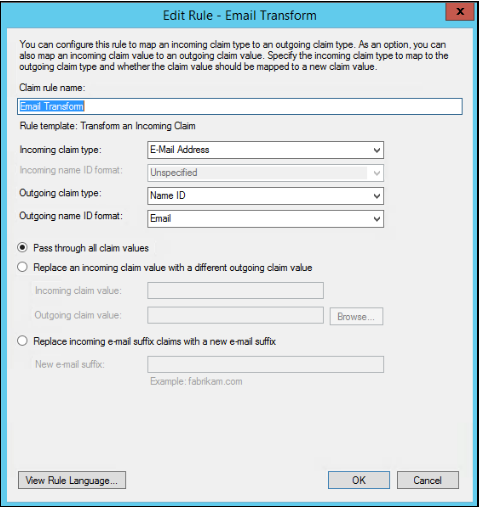
- Enter a name for the claim rule, and specify the following settings:
- Incoming Claim Type. Select Email Address.
- Outgoing Claim Type. Select Name ID.
- Outgoing Name ID Format: Select Email.
- Click the Pass through all claim values option.
- Click OK to save the settings and OK again to close the rule editing window.
Adjusting the trust settings
There are a few relying party trust settings that aren’t accessible through the wizard.
-
To specify these settings, select the relying party trust entry in the ADFS Management application and select Actions > Properties.
-
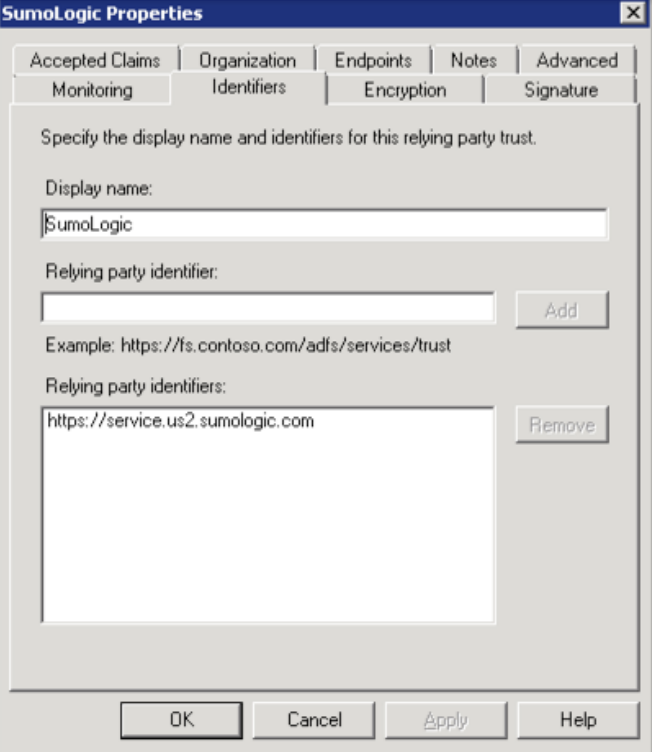
On the Identifiers tab, enter a display name. Enter your relying party identifier and click Add.
-
On the Endpoints tab, add the SAML Assertion Consumer Endpoint URL to point to the Assertion Consumer URL that the Sumo Logic SAML configuration specifies. For example:
https://service.us2.sumologic.com/sumo/saml/consume/1234567890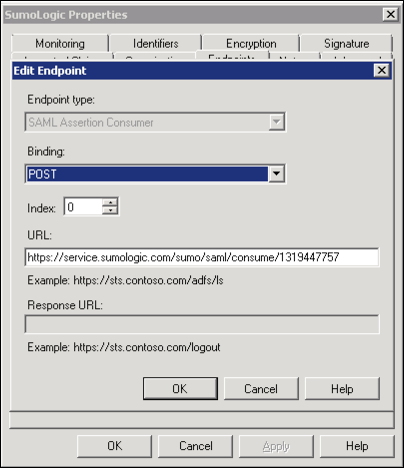
-
The new endpoint appears on the Endpoints tab.
-
On the Endpoints tab, click to add a new endpoint.
- Endpoint type. Select "SAML Logout".
- Binding. Select "POST".
- Trusted URL: Create a URL, composed of:
- The URL of your ADFS server.
- The ADFS SAML endpoint, typically '/adfs/ls'
- The string '?wa=wsignout1.0'
- The resulting URL should have a format like this:
https://adfs.myserver.tld/adfs/ls/?wa=wsignout1.0 - Leave the Response URL blank.
-
Click OK to complete and save your changes.
Test ADFS SSO
You can now test the ADFS SSO implementation by attempting to log in from the login URL. If you have any trouble, return to Sumo Logic and perform the following steps:
- Choose Administration > Security > SAML.
- Select the Debug Mode check box and click Save.
- Test again.