SailPoint

Version: 1.1
Updated: Jul 07, 2023
SailPoint is an identity management solution that helps organizations manage employee permissions, digital identities, information security, data access, compliance and more on a unified portal.
Actions
- Accounts List (Enrichment) - Returns a list of accounts.
- Get Account Activity (Enrichment) - Gets a single account activity by its ID.
- Get Account Details (Enrichment) - Returns the details for a single account based on the ID.
- Search Access Profiles (Enrichment) - Performs a search in access profiles with provided query and returns matching result collection.
- Search Roles (Enrichment) - Performs a search in roles with provided query and returns matching result collection.
- Search Entitlements (Enrichment) - Performs a search in entitlements with provided query and returns matching result collection.
- Search Events (Enrichment) - Performs a search in events with provided query and returns matching result collection.
- Search Identities (Enrichment) - Performs a search in identities with provided query and returns matching result collection.
- Search Query Aggregation (Enrichment) - Performs a search query aggregation and returns aggregation result.
- Enable Account (Containment) - This action submits a task to enable account and returns the task ID.
- Disable Account (Containment) - This action submits a task to disable the account and returns the task ID.
- List Personal Access Tokens (Enrichment) - Gets a collection of personal access tokens associated with the optional owner-id.
- Create Personal Access Token (Containment) - Creates a personal access token.
- Delete Personal Access Token (Containment) - Deletes a personal access token.
SailPoint configuration
- Sign in in SailPoint using your username and password.
- Go to your account in the right up corner and select Preferences.
- In Preferences, select Personal Access Tokens.
- Answer the Question What's this token for? And click Create Token.
- Your secret and client ID will appear. Make sure you copy and save them.
SailPoint in Automation Service and Cloud SOAR
- Access integrations in the Automation Service or Cloud SOAR.
- After the list of the integrations appears, search/look for the integration and click on the row.
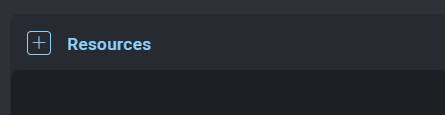
- The integration details will appear. Click on the "+" button to add new Resource.
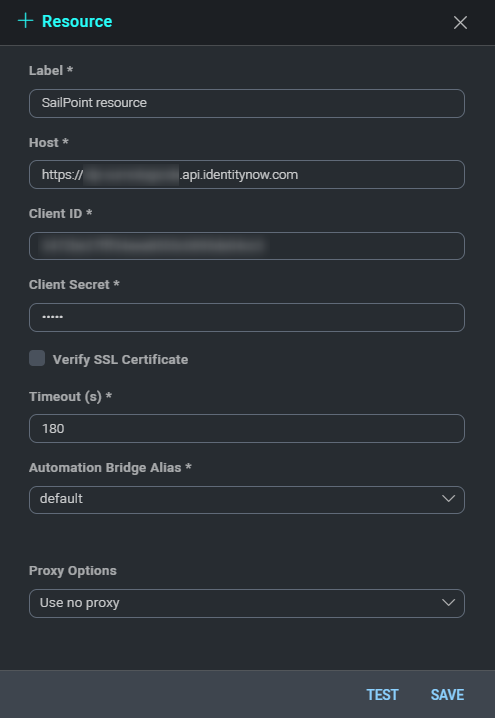
- Populate all the required fields (*).
- In the Client ID and Client Secret fields, insert the previously copied client ID and secret respectively.
- Click SAVE.
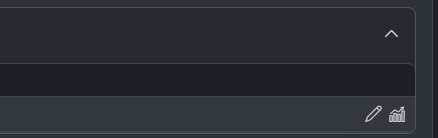
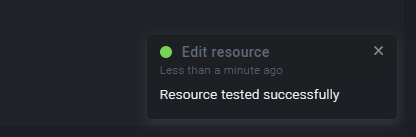
- To make sure the resource is working, hover over the resource and then click the pencil icon that appears on the right.
- Click TEST SAVED SETTINGS.
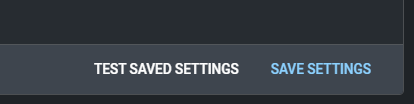
- You should receive a successful notification in the bottom right corner.
Change Log
- March 29, 2022 - First upload
- July 7, 2023 (v1.1) - Updated the integration with Environmental Variables